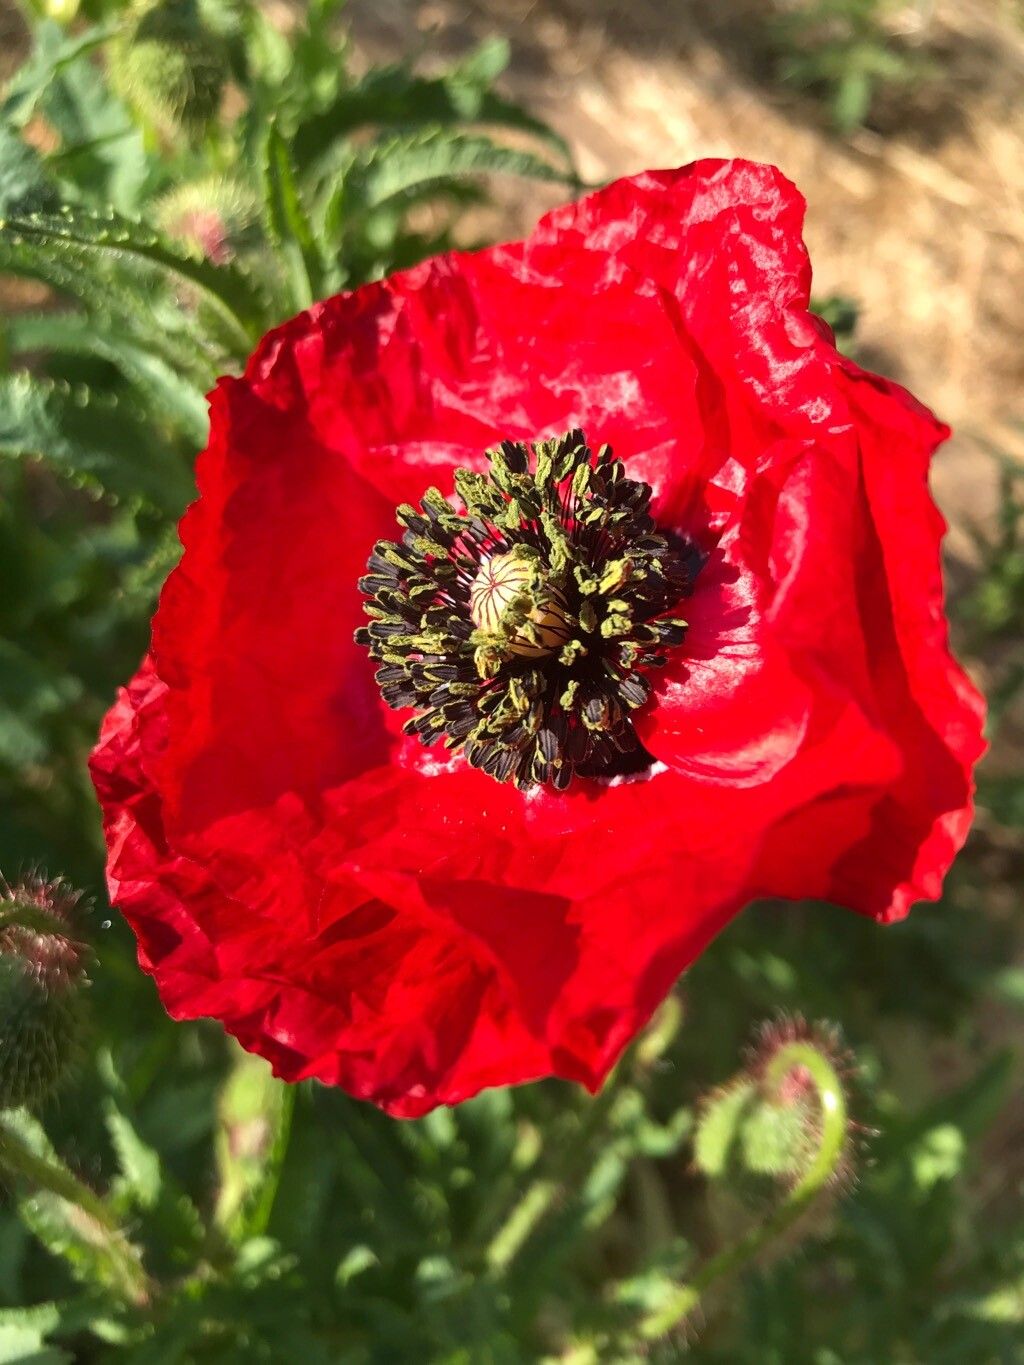
Ah, the poppy! Specifically, our dear friend, Papaver rhoeas, the common corn poppy. There’s something truly magical about those delicate, papery petals, isn’t there? They dance in the breeze and bring a pop of vibrant red, or sometimes pink and white, to any garden. Growing them from seed feels like bottling a little piece of sunshine. And the best part? You can easily multiply that sunshine. Propagating Papaver rhoeas is surprisingly straightforward, making it a wonderful project for even the newest gardener to tackle. I remember my first few attempts, a little nervous, but oh-so-pleased when those tiny roots finally showed up!
The Best Time to Start
For Papaver rhoeas, timing is everything. We’re looking to sow seeds directly outdoors, ideally in early spring, as soon as the soil can be worked. Think March or April, depending on where you live. You can also try a late summer or early autumn sowing. This allows the seedlings to get a good start before winter sets in, and they’ll often flower earlier the following spring. I find that sowing directly offers the best results – these beauties don’t always love being transplanted!
Supplies You’ll Need
You won’t need a fancy arsenal for this. Here’s what I usually grab:
- Seed-starting mix: A light, well-draining mix is key.
- Fine-leaved rake or hoe: For preparing the soil bed.
- Watering can with a fine rose attachment: To water gently without disturbing the seeds.
- Small trowel or dibber: For making shallow furrows or indentations.
- Labels: To remember what you sowed and where!
Propagation Methods
While Papaver rhoeas is typically grown from seed, and that’s where I’d encourage you to start, I will focus on the most successful route for this particular poppy: direct sowing. Stem cuttings and water propagation are generally not effective for Papaver rhoeas due to their delicate nature and the way they exude latex when cut. Division is also not a common or particularly effective method for this annual.
Direct Sowing (Your Best Bet!):
- Prepare your patch: Choose a sunny spot. Loosen the soil to a depth of about six inches. Remove any weeds or large stones.
- Sow thinly: Scatter the seeds directly onto the prepared soil surface. Don’t worry about spacing them perfectly; they’re small! A good rule of thumb is to sow them about as thickly as you’d like them to grow.
- Barely cover: This is crucial! Papaver rhoeas seeds need light to germinate. Gently rake the soil over the seeds, just enough to barely cover them. Think of it as a whisper of soil, not a blanket.
- Water gently: Using your watering can with a fine rose, water the area very lightly. You want to moisten the soil without washing the tiny seeds away.
- Keep moist: The most important thing now is to keep the soil consistently moist, but not waterlogged, until germination occurs. This usually takes about 7-14 days.
- Thin if necessary: Once your seedlings are a few inches tall and you can see them clearly, you may need to thin them. Gently pull out the weaker seedlings, aiming for a final spacing of about 6-8 inches apart. This gives them room to grow and reduces competition.
The “Secret Sauce” (Pro Tips)
Here are a couple of things I’ve learned over the years that really make a difference:
- The “Scratch and Sow” Trick: Before sowing, I like to lightly scratch the surface of the soil with a rake just where I want to sow. This creates tiny grooves that help the seeds settle in nicely and ensures good contact with the soil.
- Don’t Disturb Those Roots! When thinning, try your absolute best not to disturb the roots of the seedlings you’re keeping. Papaver rhoeas can be quite sensitive to root disturbance, so a gentle touch is key. If you’re really struggling with thinning, try using a small pair of sharp scissors to snip off unwanted seedlings at the base.
Aftercare & Troubleshooting
Once your seedlings are established and thinned, they’re pretty self-sufficient, especially if you’ve sown them in a sunny spot with decent soil. They’re quite drought-tolerant once they mature, but a good watering during extended dry spells will help them perform their best.
The main thing to watch out for is damping off, a fungal disease that can affect seedlings, especially in cool, wet conditions. It causes the stem to rot at soil level, and the seedling collapses. Good air circulation and avoiding overwatering are your best defenses. If you see signs of this, unfortunately, it’s often best to remove the affected seedlings to prevent it from spreading.
A Encouraging Closing
See? Not so daunting after all! Growing Papaver rhoeas from seed is a delightful way to connect with your garden and the natural world. Be patient with the germination – those tiny seeds are working hard! Enjoy the unfolding process, and soon you’ll be rewarded with those stunning, delicate blooms that dance in the sun. Happy gardening!
Resource:
https://identify.plantnet.org/k-world-flora/species/Papaver%20rhoeas%20L./data