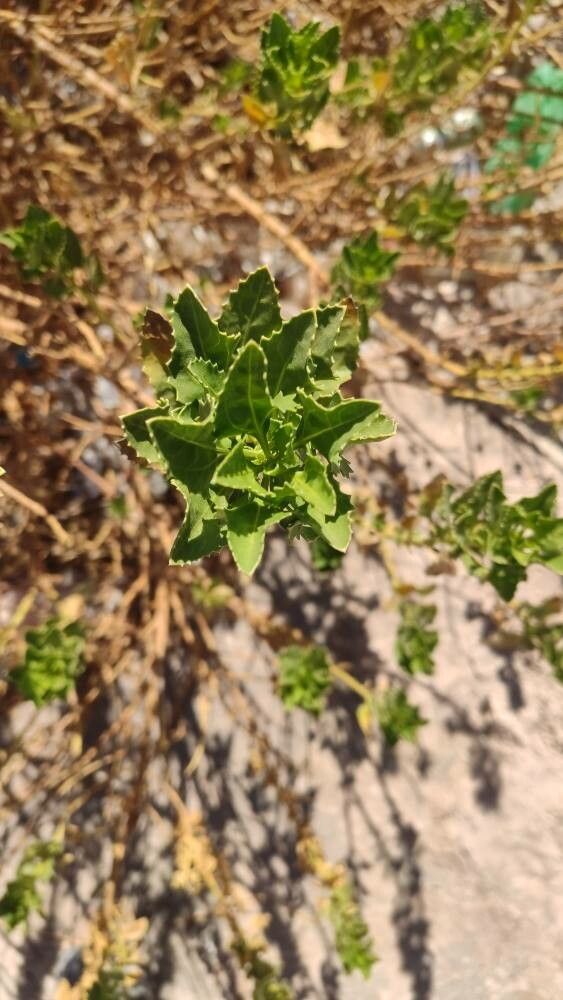
Hello fellow garden enthusiasts! Today, we’re diving into the delightful world of Baccharis scandens, a plant that deserves a spot in more gardens, in my opinion. Known for its toughness and attractive, often silvery foliage, it’s a fantastic choice for drier, sunnier spots. And the best part? It’s surprisingly rewarding to propagate! For those just starting out, don’t let the scientific name intimidate you; Baccharis scandens is quite forgiving, making it a great plant to practice your propagation skills on.
The Best Time to Start
When it comes to getting new Baccharis scandens plants, late spring to early summer is your golden window. This is when the plant is actively growing, and the stems are typically semi-hardwood – not too soft and floppy, but not completely woody either. This stage offers the best chance for cuttings to root successfully. Waiting until the plant has finished its most vigorous spring growth is key.
Supplies You’ll Need
Gathering your supplies beforehand makes the process so much smoother. Here’s what I recommend:
- Sharp pruning shears or a clean knife: For making clean cuts.
- Rooting hormone (optional but recommended): A powdered or liquid form can give your cuttings a helpful boost.
- A well-draining potting mix: I like a blend of peat moss or coco coir, perlite, and a bit of sand.
- Small pots or seed trays: Clean ones are essential to prevent disease.
- A clear plastic bag or propagator: To create a humid environment.
- Water: For, well, watering and rinsing!
- Labels: To keep track of what you’ve planted and when.
Propagation Methods
I find stem cuttings to be the most reliable and efficient way to propagate Baccharis scandens. It’s straightforward and yields great results.
Stem Cuttings:
- Select healthy, vigorous stems. Look for ones that are about pencil-thick and have developed a few sets of leaves since the last flush of growth. The easiest way to identify these is to gently bend a stem; if it snaps cleanly, it’s likely a good candidate. If it bends without breaking, it’s probably too soft.
- Take cuttings of about 4-6 inches long. Make your cut just below a leaf node (where a leaf attaches to the stem). This node is where roots are most likely to form.
- Remove the lower leaves. Strip off the leaves from the bottom half of the cutting. This prevents them from rotting in the soil and also reduces water loss. You want to leave at least one or two sets of leaves at the top.
- Apply rooting hormone (optional). Dip the cut end of the stem into your rooting hormone, tapping off any excess.
- Plant the cuttings. Make a small hole in your prepared potting mix with a pencil or your finger. Insert the cutting into the hole, ensuring the leaf nodes you removed are buried. Gently firm the soil around the base of the cutting to ensure good contact.
- Water gently. Water the soil thoroughly to settle it around the cuttings but avoid waterlogging.
- Create humidity. Place the pots inside a clear plastic bag or a propagator, sealing it to trap moisture. Ensure the leaves don’t touch the sides of the bag if possible. I like to prop up the bag with small stakes to give the leaves some breathing room.
- Place in bright, indirect light. Avoid direct sun, which can scorch the cuttings and dry out the humidity dome too quickly. A bright windowsill or a shaded spot outdoors is perfect.
The “Secret Sauce” (Pro Tips)
Over the years, I’ve picked up a few tricks that seem to make a real difference.
- Don’t let the leaves touch the water: This might sound obvious, but it’s crucial when you’re propagating in water or even if the humidity dome causes condensation to pool. Any submerged leaves will quickly rot and can infect your cutting.
- Bottom heat can be a game-changer: If you have a heated propagator or can place your pots on a seedling heat mat, do it! A little warmth from below can really encourage root development, especially if the air temperature is a bit cooler.
- Think about airflow: While you want humidity, stagnant air can invite fungal diseases. If using a plastic bag, I often open it up for a few minutes each day to let things “breathe” a bit.
Aftercare & Troubleshooting
Once your cuttings have started to root – and you’ll know this when you see new leaf growth or feel a gentle tug when you very carefully try to pull on a cutting – it’s time to start weaning them off the high humidity. Gradually open the plastic bag over a week or so. Keep the soil consistently moist but never soggy.
Troubleshooting is a natural part of gardening. The most common sign of failure is a wilted or mushy stem. This usually indicates rot, often caused by too much moisture and not enough airflow, or sometimes a bacterial infection. If a cutting turns black and soft, it’s best to discard it to prevent it from affecting others. Brown, crispy leaves can mean it’s drying out too quickly or is getting too much sun.
A Encouraging Closing
Propagating your own Baccharis scandens is a wonderfully rewarding experience. It connects you more deeply with your plants and, of course, gives you more of those lovely shrubs to admire or share. Be patient with the process. Some cuttings will take off immediately, while others might be a little slower to respond. Enjoy the journey, and happy gardening!
Resource:
https://identify.plantnet.org/k-world-flora/species/Baccharis%20scandens%20Pers./data