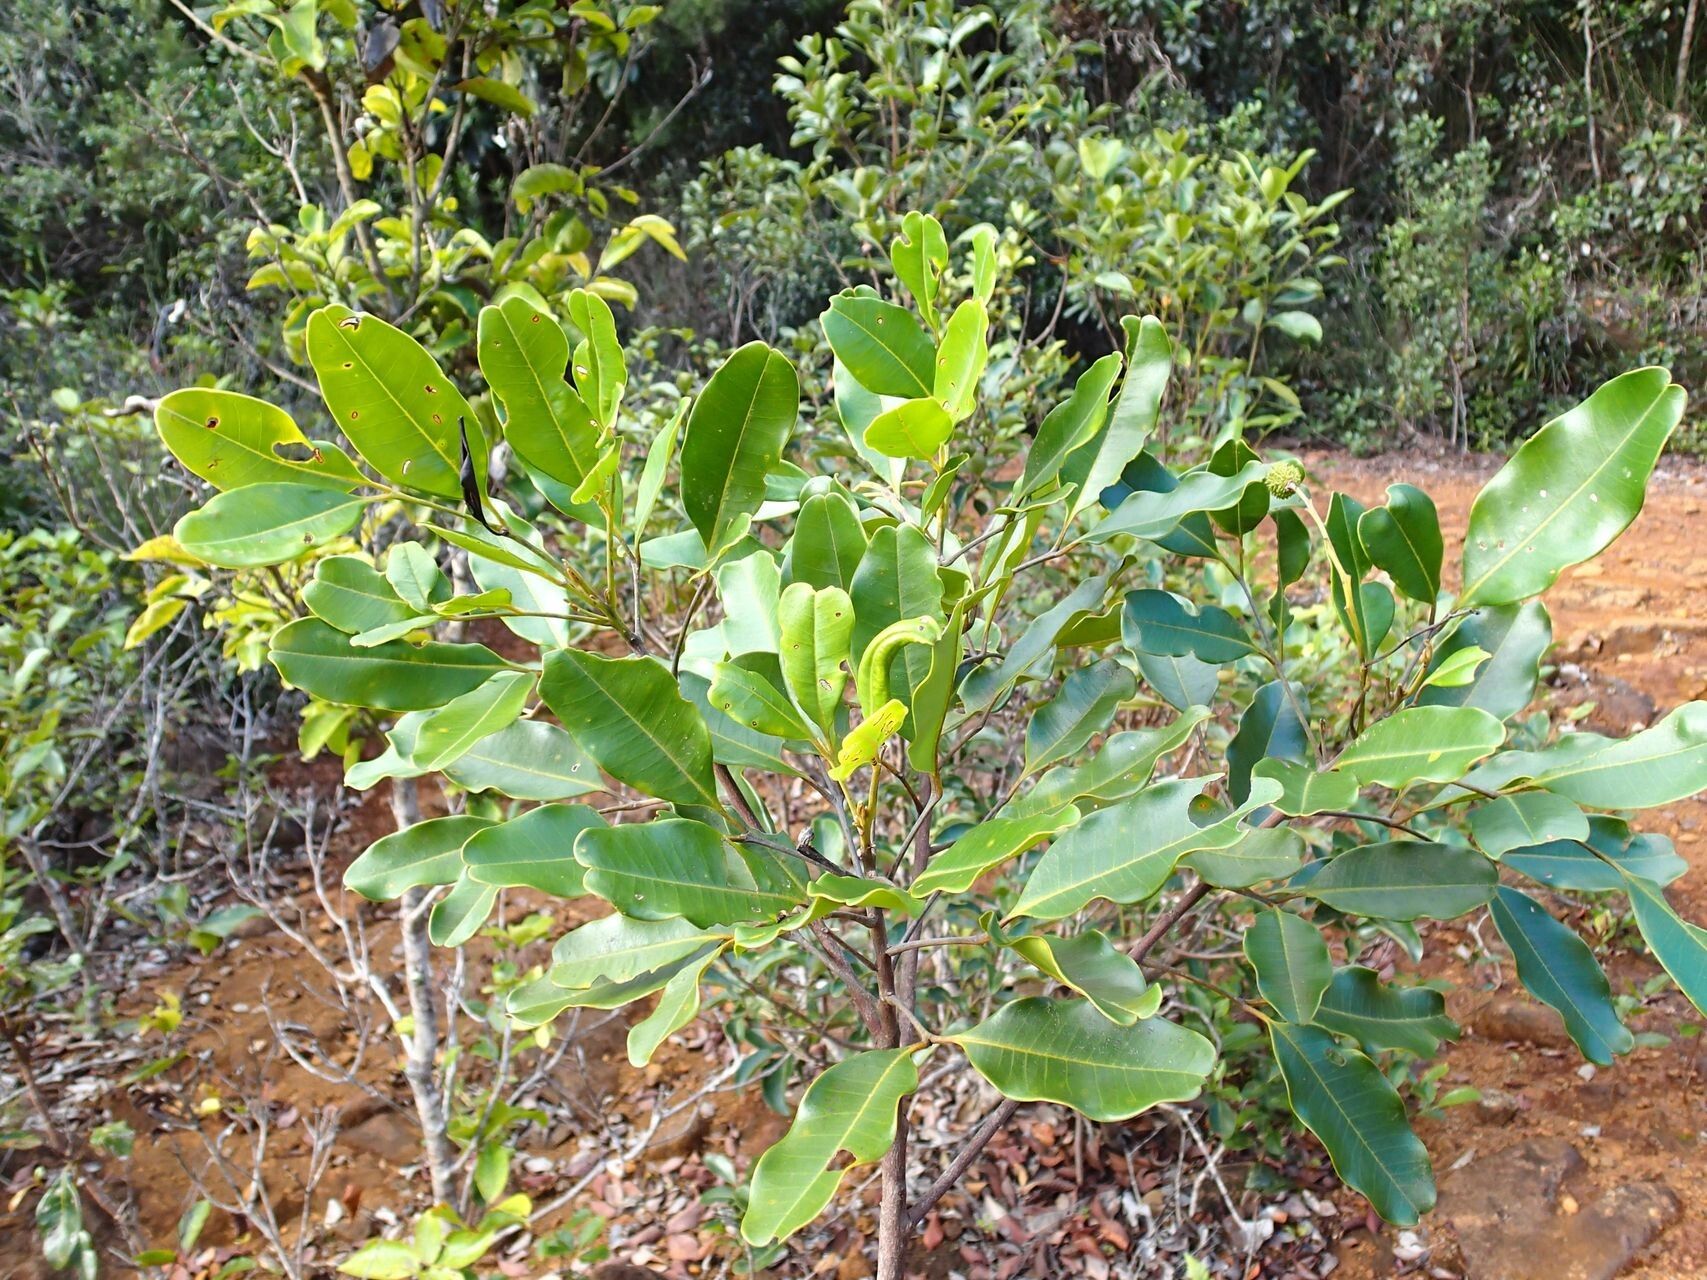
Oh, hello there! I’m so glad you’re interested in Flindersia fournieri. This beautiful tree, with its lovely foliage and potential for fragrant blooms, is a real treasure. Growing your own from scratch is incredibly satisfying. Think of it – nurturing a tiny cutting into a healthy young tree you can one day enjoy in your own garden. While it’s not the absolute easiest plant to propagate, by following a few simple steps, you’ll find it quite manageable. Let’s get our hands a little dirty!
The Best Time to Start
For Flindersia fournieri, the spring and early summer are your golden ticket. This is when the plant is actively growing and has plenty of energy to dedicate to forming new roots. You’re looking for semi-hardwood cuttings, which means stems that are firm but still have a bit of flexibility to them. Avoid very soft, new growth or old, woody stems.
Supplies You’ll Need
Here’s what you’ll want to gather before you begin:
- Sharp pruning shears or a clean knife: For taking your cuttings. Sterilize them with rubbing alcohol beforehand!
- Rooting hormone: A powder or gel specifically for cuttings can really boost your success rate.
- Potting mix: A well-draining mix is crucial. I like to use a blend of perlite and peat moss, or a commercial propagation mix. Nothing too heavy!
- Small pots or propagation trays: Clean ones, of course.
- Plastic bag or propagation dome: To create a humid environment.
- Watering can with a fine rose: For gentle watering.
- Labels and a marker: To keep track of what you planted.
Propagation Methods: Stem Cuttings
This is my go-to method for Flindersia fournieri. It gives you the best chance of success.
- Take Your Cuttings: In spring or early summer, select healthy stems that are about 4-6 inches long. Make a clean cut just below a leaf node (where a leaf attaches to the stem). Remove the lower leaves, leaving just the top few.
- Prepare the Cuttings: Dip the cut end into rooting hormone. Gently tap off any excess.
- Potting Up: Fill your small pots with your prepared potting mix. Make a hole in the center with a pencil or your finger.
- Insert the Cuttings: Carefully place the end of each cutting into the hole. Gently firm the soil around the stem to ensure good contact.
- Water Gently: Water the pots thoroughly but gently, making sure the soil is moist but not waterlogged.
- Create Humidity: Place the pots into a plastic bag or cover them with a propagation dome. Make sure the plastic doesn’t touch the leaves directly. You want to create a mini-greenhouse!
- Location, Location, Location: Place your pots in a bright spot but out of direct sunlight. A warm location is ideal.
The “Secret Sauce” (Pro Tips)
- The Gentle Dip Trick: When you dip your cuttings in water before the rooting hormone (if you do), don’t let the leaves touch the water. Clean water is best here; avoid anything too nutrient-rich at this stage.
- Bottom Heat is Your Friend: If you have access to a heat mat, placing your pots on a gentle heat mat can make a world of difference. It encourages root development from the bottom up and can significantly speed things along.
- Don’t Be Afraid to Peek (But Not Too Much!): Every week or so, you can carefully lift the bag or dome for a moment to allow for some air circulation. This helps prevent fungal issues. Resist the urge to tug on the cuttings to check for roots too often; this can disturb delicate new growth.
Aftercare & Troubleshooting
Once you start to see tiny roots emerging from the drainage holes, or the new foliage begins to grow, you know you’re successful! Gradually acclimate your new plants to normal humidity levels by slowly opening the bag or removing the dome over a week or two. Continue to water them gently when the top inch of soil feels dry.
The most common problem you might face is rot. If a cutting looks mushy or develops dark spots, it’s usually a sign of too much moisture and not enough air circulation. If you catch it early, you might be able to salvage it by removing the affected part and repotting in fresh, drier mix. Sometimes, sadly, a cutting just doesn’t take. Don’t be discouraged; it’s part of the learning process.
A Little Encouragement
Growing plants from cuttings is a wonderful journey. Be patient with your Flindersia fournieri cuttings. Some will take off quickly, while others might take their sweet time. Enjoy watching that little bit of green life emerge and know that you’ve played a part in it. Happy propagating!
Resource: