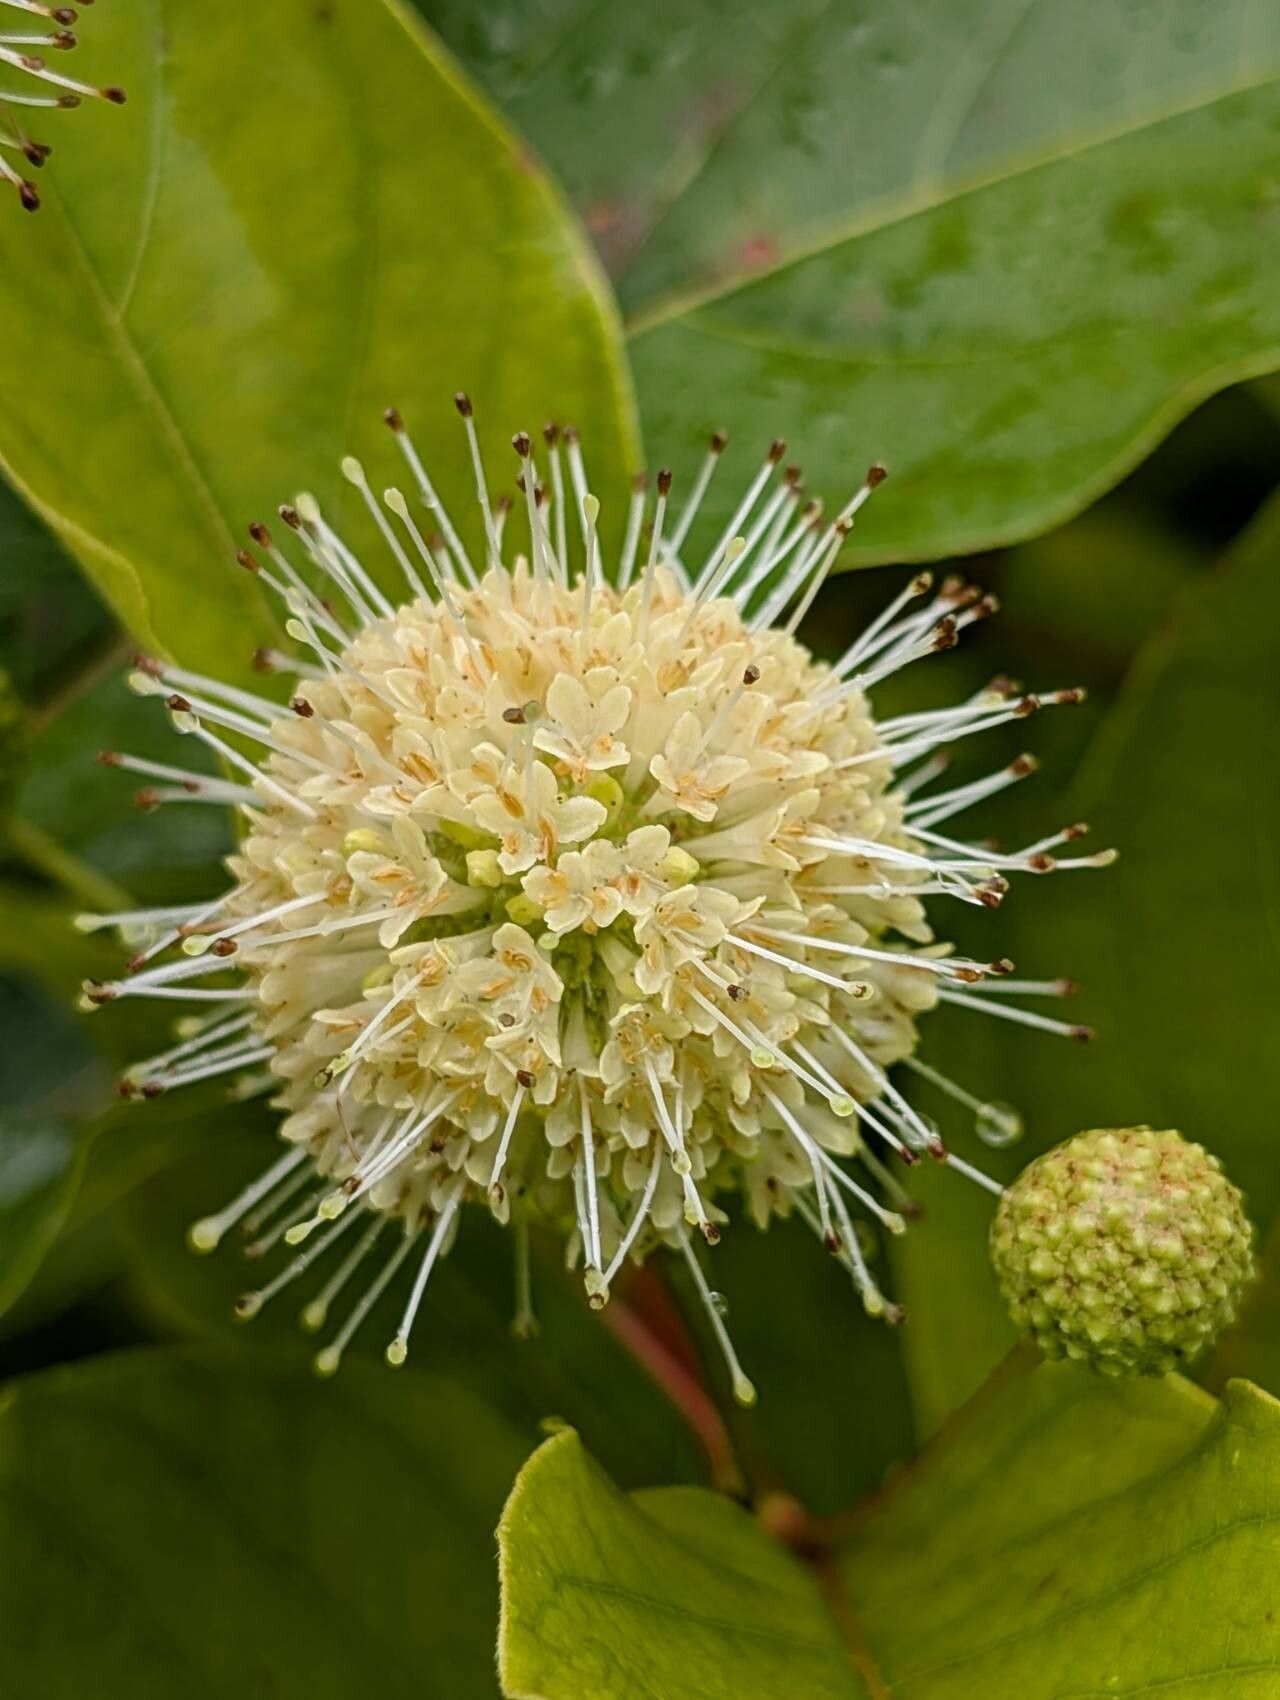
Oh, Cephalanthus occidentalis! Also known as Buttonbush, this native beauty is a true gem in any garden, especially if you’re looking to attract pollinators. Those quirky, fragrant white pom-pom flowers are just irresistible to bees and butterflies. And the best part? Growing more of them from your existing plants is surprisingly rewarding, and honestly, quite achievable even for those newer to the gardening game.
The Best Time to Start
Generally, I find the easiest time to propagate Buttonbush is when the plant is actively growing. This means late spring through early summer is your sweet spot. You’re looking for stems that are firm but still a bit flexible – not the brand-new, floppy growth, but not the woody old stuff either.
Supplies You’ll Need
- Sharp pruning shears or a clean knife: For making precise cuts.
- Small pots or a propagation tray: About 4-6 inches deep is good.
- A good rooting medium: I like a mix of equal parts perlite and peat moss, or a seed-starting mix. It needs to drain well!
- Rooting hormone (optional but helpful): A powder or gel can give your cuttings a little boost.
- Clear plastic bags or humidity domes: To keep things moist while roots form.
- Watering can or spray bottle: For gentle watering.
- A small trowel: For potting up.
Propagation Methods
Let’s dive into the most straightforward ways to get more Buttonbush:
1. Stem Cuttings: My Go-To
This is my preferred method for Buttonbush. It’s reliable and gives you a great head start.
- Take Your Cuttings: Select healthy, semi-hardwood stems. Aim for cuttings that are about 4-6 inches long. Make a clean cut just below a leaf node (where a leaf attaches to the stem).
- Prepare the Cuttings: Gently remove the leaves from the bottom half of the cutting. If the leaves are very large, you can even cut them in half to reduce water loss.
- Apply Rooting Hormone (Optional): Dip the bottom end of each cutting into your rooting hormone, tapping off any excess.
- Plant the Cuttings: Fill your pots or tray with your prepared rooting medium. Make a small hole with your finger or a pencil, then insert the cutting about 1-2 inches deep, ensuring the leaf nodes you cleared are below the surface. Gently firm the soil around it.
- Provide Humidity: Water the soil gently until it’s moist but not soggy. Then, cover the pots with a clear plastic bag or a humidity dome. This creates a mini greenhouse environment.
2. Water Propagation (A Simpler Approach)
While cuttings are my favorite, you can also try a simple water propagation if you’re feeling it.
- Select and Cut: As with stem cuttings, choose healthy semi-hardwood stems and cut them 4-6 inches long, just below a leaf node.
- Remove Lower Leaves: Again, strip the leaves from the bottom half of the cutting.
- Place in Water: Put the cuttings in a jar or vase of clean water, making sure the leaf nodes are submerged. Crucially, ensure no leaves are touching the water surface.
- Find a Spot: Place the jar in a bright spot that receives indirect sunlight. Change the water every few days to keep it fresh.
- Watch and Wait: You should start to see roots forming in a few weeks. Once the roots are about an inch long, they are ready to be carefully transplanted into potting soil.
The “Secret Sauce” (Pro Tips)
- The Importance of the Node: That little bump where the leaf attaches? That’s where the magic happens—it’s packed with growth hormones. Make sure your cuttings have at least one, preferably two, leaf nodes below the soil line (or submerged in water for water propagation).
- Bottom Heat is Your Friend: For stem cuttings, placing your pots on a gentle heat mat can significantly speed up root development. It doesn’t need to be hot, just a little warmer than room temperature. Buttonbush roots love a cozy start!
- Don’t Overwater the Cuttings: This is probably the most common mistake. Soggy soil is an invitation for rot. The goal is consistently moist soil, not waterlogged. If you’re using the plastic bag method, you’ll see condensation; this is good!
Aftercare & Troubleshooting
Once you see those first signs of new growth – a tiny leaf unfurling, or if you’ve gently tugged and feel resistance (indicating roots!) – it’s time to adjust.
- Gradual Acclimation: If you used a plastic bag, slowly start to vent it over a few days to get your new plants used to drier air.
- Regular Watering: Continue to keep the soil consistently moist. As they grow, you can start watering less frequently but more thoroughly.
- Moving to a Bigger Pot: Once your cuttings have a good root system and are growing well, you can transplant them into slightly larger pots. Use a good quality potting mix for this.
The biggest challenge you might face is rot. This usually happens from overwatering or poor drainage. If a cutting turns black or mushy, it’s likely a goner, and you’ll need to start again, perhaps with better drainage or less frequent watering. Don’t be discouraged!
A Encouraging Closing
Propagating plants is a bit like magic, and Buttonbush is a wonderful plant to practice this magic with. Be patient with your new cuttings. They’re working hard beneath the surface, and with a little care and the right conditions, you’ll soon have your very own Buttonbush babies to share or plant in your own garden. Happy propagating!
Resource:
https://identify.plantnet.org/k-world-flora/species/Cephalanthus%20occidentalis%20L./data