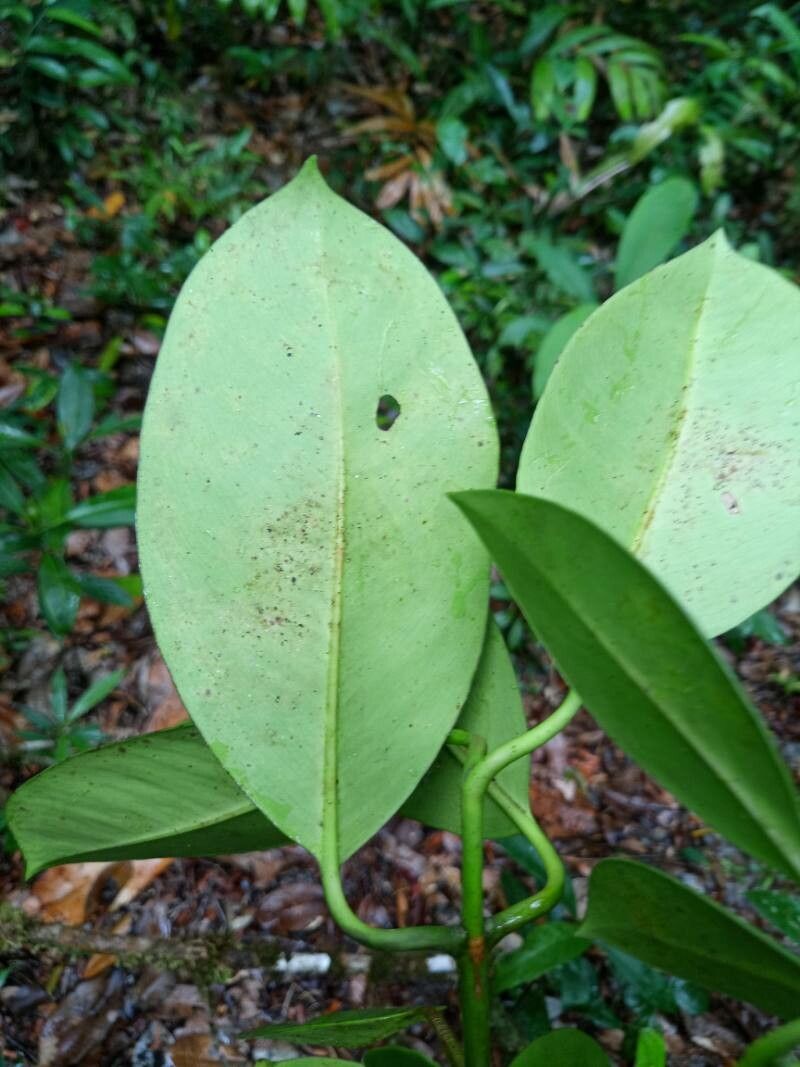
Oh, Clusia fockeana! Isn’t it just the most charming little plant? With its glossy, waxy leaves that feel so substantial, it brings a touch of the tropics right into our homes and gardens. I’ve always loved how its foliage has this almost sculptural quality. And the best part? Creating more of these beauties from your existing plant is surprisingly satisfying. It’s a fantastic way to share the greenery with friends or simply expand your own collection without spending a fortune. For beginners, I’d say Clusia fockeana is a wonderfully approachable plant to start propagating. You’ll likely find success with a little patience and these straightforward steps!
The Best Time to Start
When it comes to getting your Clusia fockeana to root with gusto, think spring and early summer. This is when the plant is really hitting its stride, pushing out new growth and full of energy. Daylight hours are longer, and the temperatures are generally warmer, creating the perfect environment for cuttings to establish. You can certainly try other times of the year, especially if you’re using supplemental light and heat, but this vibrant season offers a bit of a natural boost that makes things a tad easier for us. Keep an eye out for those healthy, new stems – they are your prime candidates.
Supplies You’ll Need
Gathering your tools beforehand makes the whole process much smoother. Here’s what I usually have on hand:
- Sharp Pruning Shears or a Clean Knife: For making clean cuts. This is crucial to avoid damaging the plant.
- Rooting Hormone (Optional but Recommended): A little sprinkle can significantly speed up root development and improve success rates. Look for one that’s suitable for semi-hardwood cuttings.
- Potting Mix: A well-draining mix is key. I often use a blend of equal parts perlite and peat moss or a good quality succulent/cactus mix.
- Small Pots or Seedling Trays: Clean pots, about 4-6 inches in diameter, are perfect. Drainage holes are non-negotiable!
- Plastic Bags or Clear Domes: To create a humid environment for your cuttings.
- Watering Can or Spray Bottle: For gentle watering.
- Labels and a Pen: To keep track of what you’ve potted and when.
Propagation Methods
While you might find other methods, the most reliable and easiest way to propagate Clusia fockeana is through stem cuttings. It’s straightforward and usually yields great results.
Here’s how I do it:
- Select Your Cuttings: Look for healthy, non-flowering stems that are about 4-6 inches long. You want stems that have grown in the last season – they should be firm but not woody. Gently bend a stem; if it snaps cleanly, it’s a good candidate. Avoid very soft, new growth as it can be prone to rot.
- Make the Cut: Using your sharp pruning shears or knife, take a cutting just below a leaf node. A leaf node is where a leaf attaches to the stem – this is where roots will most likely emerge. Try to make your cut clean and quick.
- Prepare the Cutting: Carefully remove the lower leaves from the cutting, leaving just a few leaves at the top. This prevents the submerged leaves from rotting in the soil. If the remaining leaves are very large, you can even cut them in half horizontally to reduce water loss.
- Apply Rooting Hormone (If Using): Dip the cut end of the stem into your rooting hormone powder. Tap off any excess. This step isn’t strictly vital for Clusia, but it’s a nice little boost.
- Plant the Cuttings: Fill your small pots with your moistened potting mix. Make a small hole in the center of the soil with your finger or a pencil. Insert the cutting into the hole, ensuring the leaf nodes are buried. Gently firm the soil around the stem.
- Create a Humid Environment: Water the soil gently until it’s evenly moist. Then, cover the pot with a clear plastic bag (making sure the leaves don’t touch the plastic, or use stakes to prop it up) or a clear plastic dome. This traps humidity around the cutting, which is vital for root development.
- Provide Light and Warmth: Place your potted cuttings in a bright spot but out of direct sunlight. A windowsill that gets bright, indirect light is ideal. If your home is on the cooler side, consider placing the pots on a heat mat.
The “Secret Sauce” (Pro Tips)
After years of trial and error, a few little tricks just make propagating Clusia fockeana even more of a sure thing:
- The Water Dip Trick: Before dipping your cuttings in rooting hormone, and before planting them, I sometimes give the cut end a quick dip in clean water. This helps the rooting hormone adhere better to the stem.
- Bottom Heat is Your Friend: Clusia fockeana absolutely loves a warm bottom. If you can provide gentle warmth from below (think a seedling heat mat on a low setting) for your cuttings, you’ll see root formation happen much faster. It mimics the warm soil they’d naturally find in their native habitat.
- Don’t Rush the Repotting: Patience is truly a virtue here. Resist the urge to tug on your cuttings to check for roots. Wait until you see new leaf growth appearing at the top. That’s your surest sign that roots have formed and you can carefully transition it to its own little pot.
Aftercare & Troubleshooting
Once you see signs of new growth – a tiny new leaf unfurling or the stem looking fuller – it’s time to begin gradually acclimatizing your new plant. First, start by removing the plastic bag or dome for an hour or two each day, slowly increasing the time over a week or two. This helps it adjust to normal humidity. Once it’s fully acclimatized, you can remove the cover permanently and continue to keep the soil lightly moist.
The most common issue you might encounter is rot. If your cutting starts to look mushy, brown, or black at the base, it’s likely too much moisture combined with not enough airflow. If you catch it early, you might be able to salvage it by taking a clean cutting from above the rotten part and starting again, ensuring better drainage and perhaps a bit more airflow next time. Yellowing leaves on the cutting before roots form can sometimes mean it’s naturally shedding older foliage to focus energy on roots, or it might be a sign of overwatering. Trust your gut, observe your plant, and adjust.
A Encouraging Closing
Propagating plants is such a rewarding journey, isn’t it? It’s a little bit of magic, a bit of science, and a whole lot of nature’s resilience. Don’t get discouraged if your first attempt isn’t a storybook success; every cutting is a learning opportunity. Be patient, enjoy the process of nurturing these tiny beginnings, and soon you’ll have a whole new happy family of Clusia fockeana to admire and share. Happy growing!
Resource:
https://identify.plantnet.org/k-world-flora/species/Clusia%20fockeana%20Miq./data