Hello, fellow plant enthusiasts! I’m so excited to chat with you today about a truly special plant: Suaeda californica. If you’ve ever seen this beauty decorating a coastal garden or a rocky, arid landscape, you know what I mean. Its silvery-blue foliage, its resilient nature, and its subtle charm are just captivating. And guess what? Propagating it is a wonderfully rewarding endeavor that can fill your garden with even more of this delightful native.
Why Suaeda californica is a Great Plant to Propagate
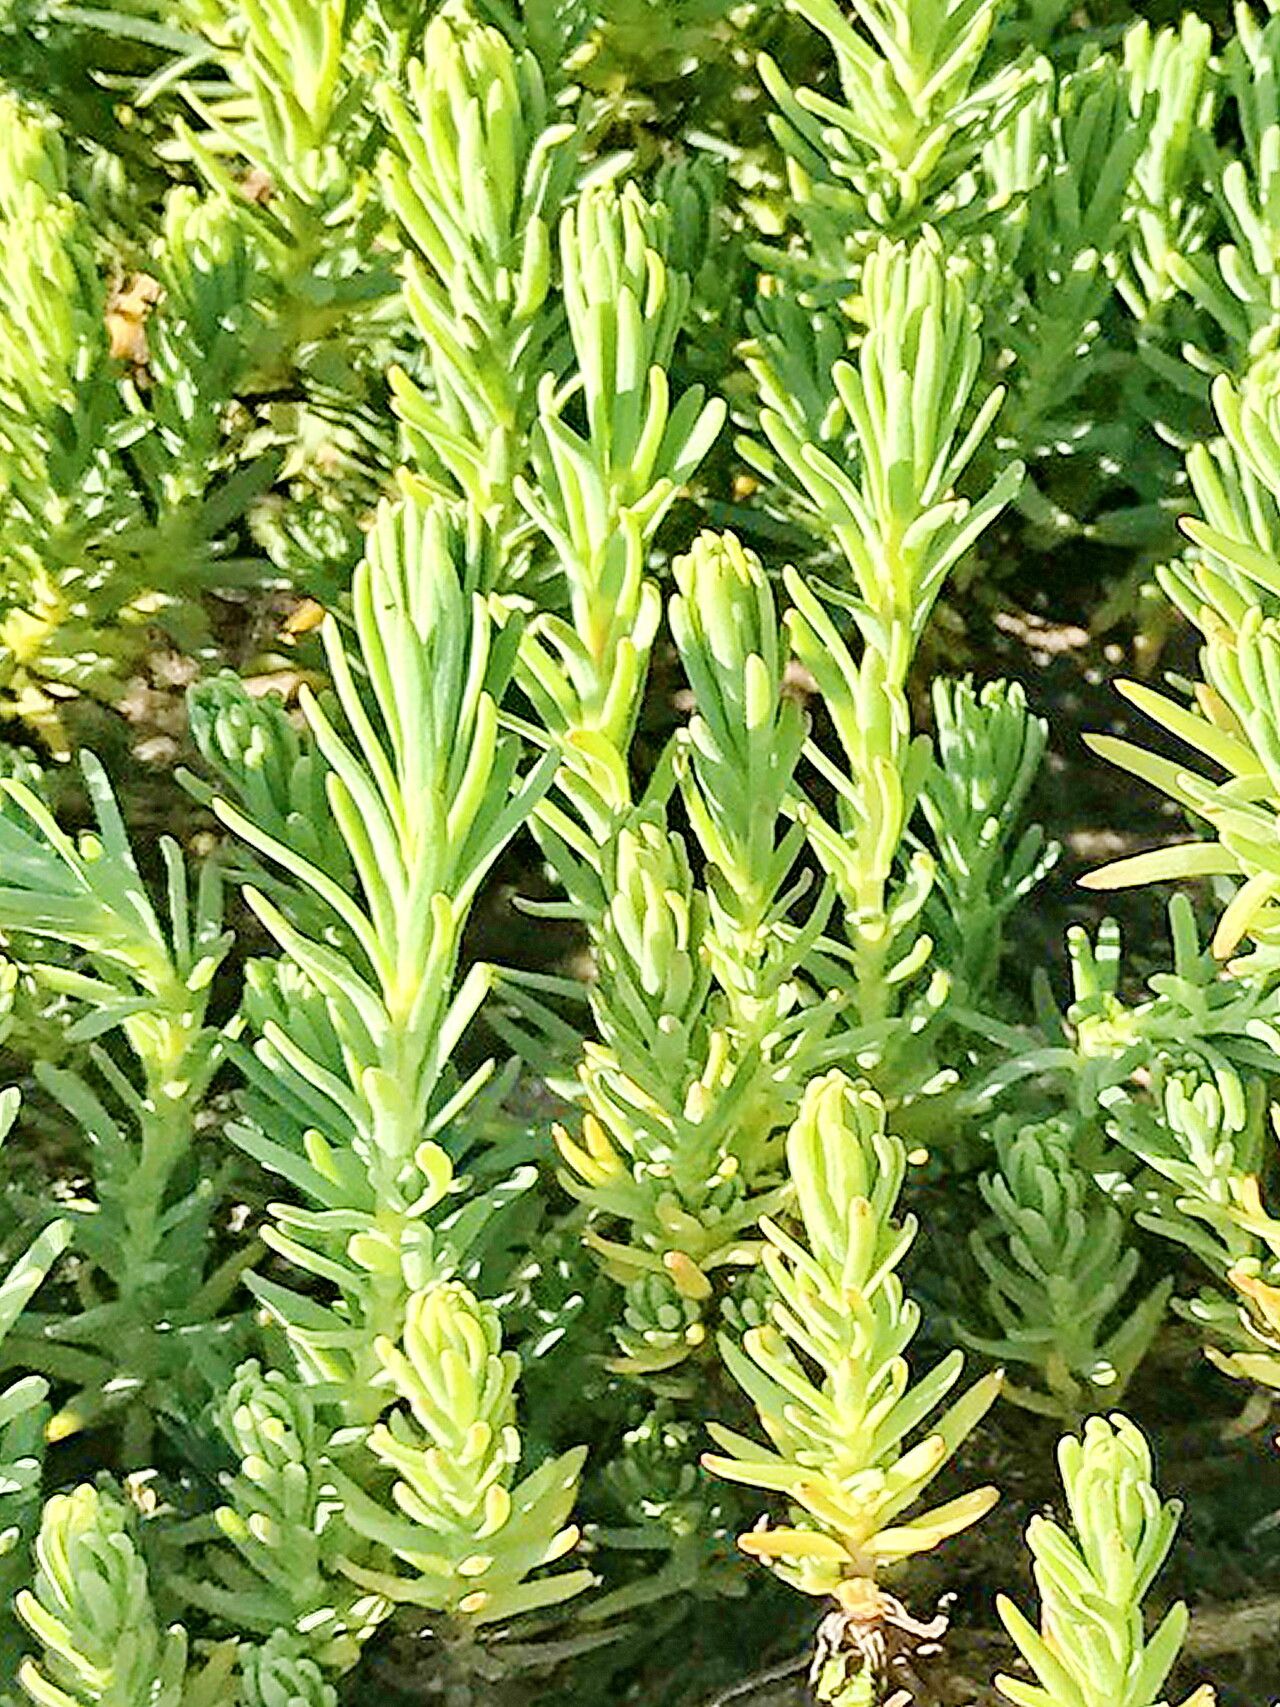
I’ve found Suaeda californica, often called California Seepweed or Annual Seepweed, to be a plant that’s quite forgiving. While it thrives in tough conditions, it’s also surprisingly amenable to propagation. For beginners, this isn’t an overly fussy plant to start with. Watching those little cuttings take hold and grow into their own beautiful specimens is a joy. It’s a wonderful way to share a piece of our local flora and expand your garden without breaking the bank.
When to Get Your Hands Dirty: The Best Time to Start
The sweet spot for propagating Suaeda californica is definitely late spring to mid-summer. This is when the plant is actively growing, full of vigor, and has plenty of suitable young, semi-hardwood stems to work with. Starting during its peak growth period gives your cuttings the best chance to establish roots quickly.
Your Propagation Toolkit
Before we dive in, let’s gather our supplies. You’ll want to have these ready:
- Sharp, clean pruning shears or a sharp knife: Crucial for making clean cuts that heal well.
- Rooting hormone (optional but recommended): A good quality rooting powder or gel can significantly boost success.
- Well-draining potting mix: I like a blend of equal parts perlite and seedling starter mix. You could also use a cactus and succulent mix.
- Small pots or seedling trays: Clean containers are key to preventing disease.
- Plastic bags or humidity domes: To create a mini-greenhouse environment.
- Watering can with a fine rose: For gentle watering.
- Labels and a marker: Essential for keeping track of your cuttings!
Bringing New Life: Propagation Methods
Generally, I find stem cuttings to be the most effective and straightforward method for Suaeda californica.
- Taking the Cuttings: In late spring or early summer, select healthy, vigorous stems that are pencil-thick and about 4-6 inches long. Look for stems that are slightly softened but not floppy – this is often called semi-hardwood. Using your clean shears or knife, make a cut just below a leaf node (where a leaf attaches to the stem). Remove the lower leaves, leaving just a few at the top.
- Preparing the Cuttings: If you’re using rooting hormone, dip the cut end of each stem into the powder or gel. Gently tap off any excess.
- Planting the Cuttings: Fill your small pots or trays with your prepared, moistened potting mix. Make a hole in the center of the soil with your finger or a pencil. Insert the cut end of the stem into the hole, ensuring the leaf nodes that will be buried are covered by the soil. Gently firm the soil around the stem.
- Creating a Humid Environment: Water the soil gently. Then, cover the pots with a plastic bag (holding it up with stakes if needed so it doesn’t touch the leaves) or place them under a humidity dome. This is vital for preventing the cuttings from drying out before they can root.
My “Secret Sauce” for Success
After many years of playing in the dirt, I’ve learned a few tricks that make all the difference.
- Don’t go overboard with the rooting hormone: A light dusting is all you need. Sometimes, too much can hinder rooting.
- Bottom heat is your friend: If you have access to a propagation mat, placing your pots on it provides gentle warmth from below, encouraging root development from the get-go. It’s like a cozy warm bed for your baby plants!
- Watch for the “wiggle test”: After a few weeks, very gently tug on a cutting. If you feel resistance, that’s a good sign roots have formed!
Nurturing Your New Sprouts: Aftercare & Troubleshooting
Once your cuttings have rooted and you see new growth appearing (which can take anywhere from 4-8 weeks, sometimes longer), it’s time to adjust their care. Gradually remove the plastic bag or humidity dome over a few days to acclimate them to drier air. Continue to keep the soil consistently moist but not waterlogged.
The most common issue you’ll face is rot, often caused by too much moisture and poor air circulation. If a cutting turns black and mushy, sadly, it’s likely gone. That’s why that well-draining soil and careful watering are so important. Don’t despair if some don’t make it; it’s part of the learning process.
Happy Growing!
Propagating Suaeda californica is such a rewarding way to connect with nature and expand your green haven. Be patient with your cuttings, give them the right conditions, and most importantly, enjoy the journey. Watching those tiny roots emerge and new leaves unfurl is a truly magical experience. Happy gardening!
Resource:
https://identify.plantnet.org/k-world-flora/species/Suaeda%20californica%20S.Watson/data