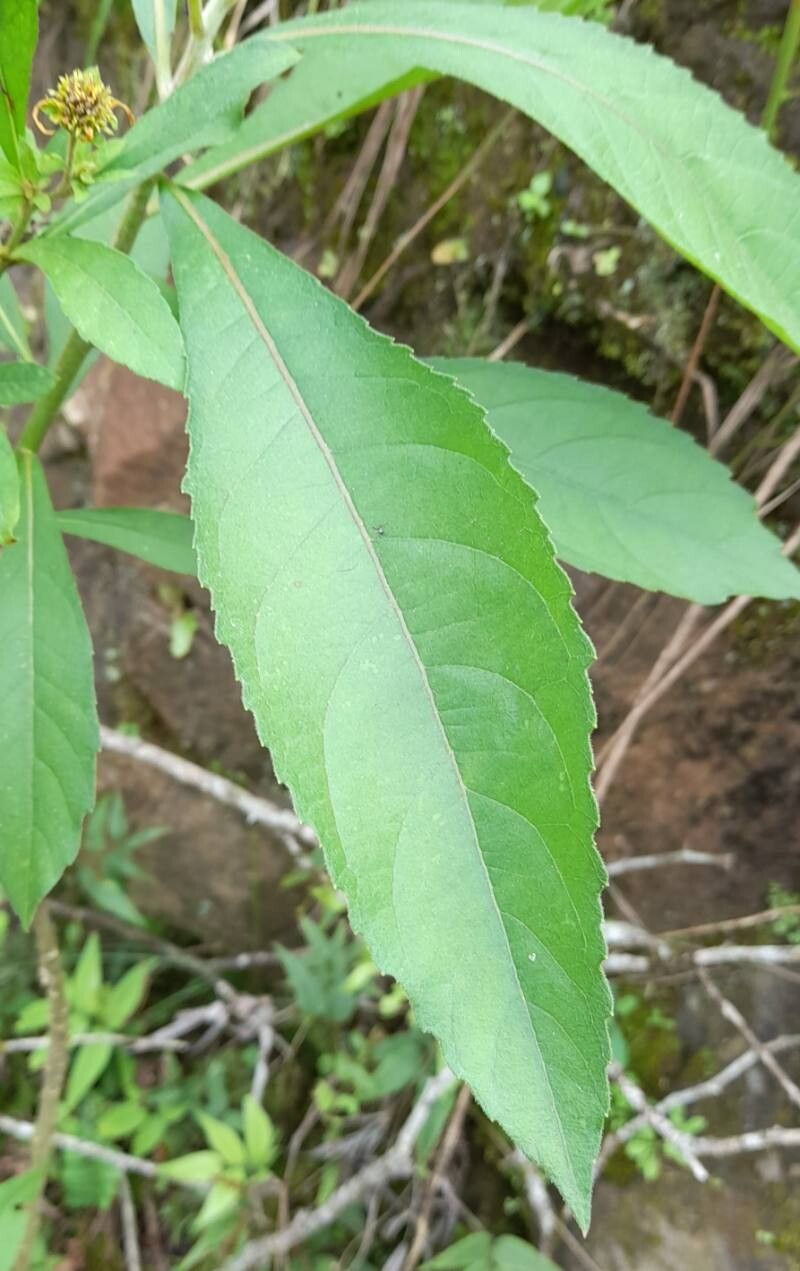
Oh, hello there! Come on in, pull up a chair. It’s lovely to see you. Today, I want to chat about a plant that’s truly captured my heart over the years: Verbesina subcordata. Sometimes called the Texas Crownbeard, it’s a real stunner. Imagine delicate, soft yellow flowers scattered like sunshine, attracting all sorts of pollinators. It’s a native beauty that brings a touch of wild elegance to any garden.
And the best part? Sharing these beauties. Propagating Verbesina subcordata isn’t just about getting more plants; it’s about multiplication, about spreading that joy. For those of you just starting your gardening journey, I think you’ll find this one quite forgiving. It’s not one of those finicky divas that requires endless fuss.
The Best Time to Start
When I’m looking to take cuttings, I always aim for late spring to early summer. This is when the plant is actively growing, putting out fresh, new shoots. These are the sprigs that have the most energy to root. If you wait until the plant is already in full bloom, you might find it’s putting its energy into flowers rather than roots. So, hit it when it’s young and vigorous!
Supplies You’ll Need
Gathering your tools beforehand makes the whole process so much smoother. Here’s what I usually have on hand:
- Sharp Pruning Shears or a Clean Knife: For making clean cuts. A dull tool can crush the stems.
- Rooting Hormone (Optional but Recommended): I find it gives cuttings a helpful boost. Look for powders or gels.
- Potting Mix: A good blend for this is equal parts perlite and peat moss, or a seed-starting mix. You want something airy and well-draining.
- Small Pots or Trays: Clean containers are essential to avoid disease.
- Plastic Bags or a Clear Dome: To create a humid environment for your cuttings.
- Spray Bottle: For misting.
- Labels: To keep track of what’s what!
Propagation Methods
For Verbesina subcordata, I’ve had the most success with stem cuttings. It’s straightforward and gives you a great chance of rooting.
Taking Stem Cuttings:
- Find a Healthy Shoot: Look for a stem that’s about 4-6 inches long and hasn’t flowered yet. It should be firm but still flexible, not woody.
- Make the Cut: Using your sharp shears or knife, slice just below a leaf node. A leaf node is where a leaf attaches to the stem – this is where the magic happens! I like to make the cut at a 45-degree angle.
- Prepare the Cutting: Gently remove the lower leaves, leaving just a few at the top. This prevents them from rotting in the soil. If the leaves are quite large, you can even cut them in half to reduce water loss.
- Dip in Rooting Hormone: If you’re using it, dip the cut end of the stem into the rooting hormone. Tap off any excess.
- Insert into Potting Mix: Lightly moisten your potting mix. Make a little hole with your finger or a pencil, and gently insert the cutting. Firm the soil around the stem so it stands upright.
- Mist and Cover: Lightly mist the cutting and the soil. Then, cover the pot with a plastic bag or place it under a clear dome. This helps maintain high humidity, which is crucial. Ensure the leaves don’t touch the plastic.
Water Propagation (A Simpler Alternative):
If you’re a bit hesitant about soil right away, this is a lovely way to start.
- Follow steps 1-3 above for taking and preparing your cutting.
- Place in Water: Find a clean jar or glass and fill it with fresh, room-temperature water.
- Submerge the Cut End: Place the cutting in the water, making sure the leaf nodes (where you removed the leaves) are submerged, but the remaining leaves are above the water line.
- Change Water Regularly: Change the water every couple of days to keep it fresh and prevent rot.
- Watch for Roots: You should start to see tiny white roots forming in a few weeks.
The “Secret Sauce” (Pro Tips)
Now, let me share a couple of things I’ve learned that make a real difference:
- Bottom Heat is Your Friend: If you have a seedling heat mat, it’s a game-changer for cuttings. Providing gentle warmth from below encourages root development much faster. Just place your pots on the mat.
- Don’t Drown Them: While humidity is key, you don’t want soggy soil. Once roots start to form, you can gradually reduce the humidity by opening the bag or dome a little each day over a week. Err on the side of slightly dry rather than soaking wet.
- Patience is a Virtue: You might be tempted to tug on your cutting to see if it’s rooted. Resist! Give them a good 3-4 weeks before you even think about gently testing for resistance.
Aftercare & Troubleshooting
Once you spot those lovely new roots emerging from the drainage holes, or feel good resistance when you gently tug, it’s time to treat them like the precious new babies they are. Pot them up into their own small pots using a good quality, well-draining potting mix. Keep them tucked away in a bright spot, but out of direct, harsh sunlight for the first week or two. Continue to mist them, and water when the top inch of soil feels dry.
The most common issue you’ll encounter is rot. If a cutting turns black and mushy, it’s usually a sign of too much moisture and not enough air circulation. It’s heartbreaking, but don’t let it discourage you. Just discard the rotted cutting and try again! Another sign that things aren’t going well is a yellowing of leaves that progresses quickly and then the stem wilting. This often means the cutting didn’t get enough humidity or the cutting itself was too old.
A Little Encouragement
So there you have it! My methods for bringing more of that beautiful Verbesina subcordata into your life. Remember, gardening is all about experimenting and learning. Don’t be afraid to try, and don’t be disheartened if you have a few failures along the way. Each attempt teaches you something new. Enjoy the process, and soon you’ll be surrounded by even more sunshine-yellow blooms and happy pollinators! Happy gardening!
Resource:
https://identify.plantnet.org/k-world-flora/species/Verbesina%20subcordata%20DC./data