Hello there, fellow garden enthusiasts! I’m thrilled to share my passion for propagating plants with you today. There’s something incredibly special about taking a piece of a beloved plant and coaxing it into a whole new life – a little bit of magic, if you ask me. Today, we’re diving into the wonderful world of Bignonia aequinoctialis, also known as the crossvine.
The Allure of the Crossvine and the Joy of Sharing
Those showy, trumpet-shaped blooms of Bignonia aequinoctialis are a sight for sore eyes, aren’t they? They really liven up a garden with their vibrant colors and lovely fragrance. And the best part? They’re surprisingly vigorous growers! Propagating them is not only a fantastic way to get more of this beauty for your own space, but it’s also a wonderful way to share plant treasures with friends and family. For those just dipping their toes into propagation, I’d say Bignonia aequinoctialis is a gentle friend. It’s not overly fussy, making it a great choice for beginners looking for a rewarding success.
When to Give New Vines a Start
The sweet spot for propagating Bignonia aequinoctialis is definitely late spring to early summer. This is when the plant is in full swing, energetically growing new shoots. You’ll want to look for stems that are semi-hardwood – they’re not brand new and still tender, but not yet woody and old. Think of a pencil, firm but with a little flexibility.
Gather Your Propagation Toolkit
Before we get our hands dirty, let’s make sure we have everything we need. A well-equipped station means smoother sailing!
- Sharp Pruning Shears or a Knife: Clean cuts are crucial for plant health and preventing disease.
- Rooting Hormone: This isn’t strictly necessary for Bignonia aequinoctialis, but it can give your cuttings a helpful boost. Look for one specifically for softwood or semi-hardwood cuttings.
- Well-Draining Potting Mix: A blend of equal parts peat moss or coco coir and perlite or coarse sand works wonders. You want something that lets water drain quickly.
- Small Pots or Seed Starting Trays: Clean pots are a must!
- Plastic Bag or Clear Cloche: To create a humid environment for your cuttings.
- Water: For a quick dip and for keeping things moist.
- Labels and a Marker: To remember which plant is which!
Letting New Life Bloom: Propagation Methods
Bignonia aequinoctialis is a champion when it comes to stem cuttings. It’s straightforward and usually yields great results.
Stem Cuttings: The Reliable Route
- Select Your Stems: Head out to your plant during the ideal propagation window. Look for healthy, vigorous stems that are about 6-8 inches long.
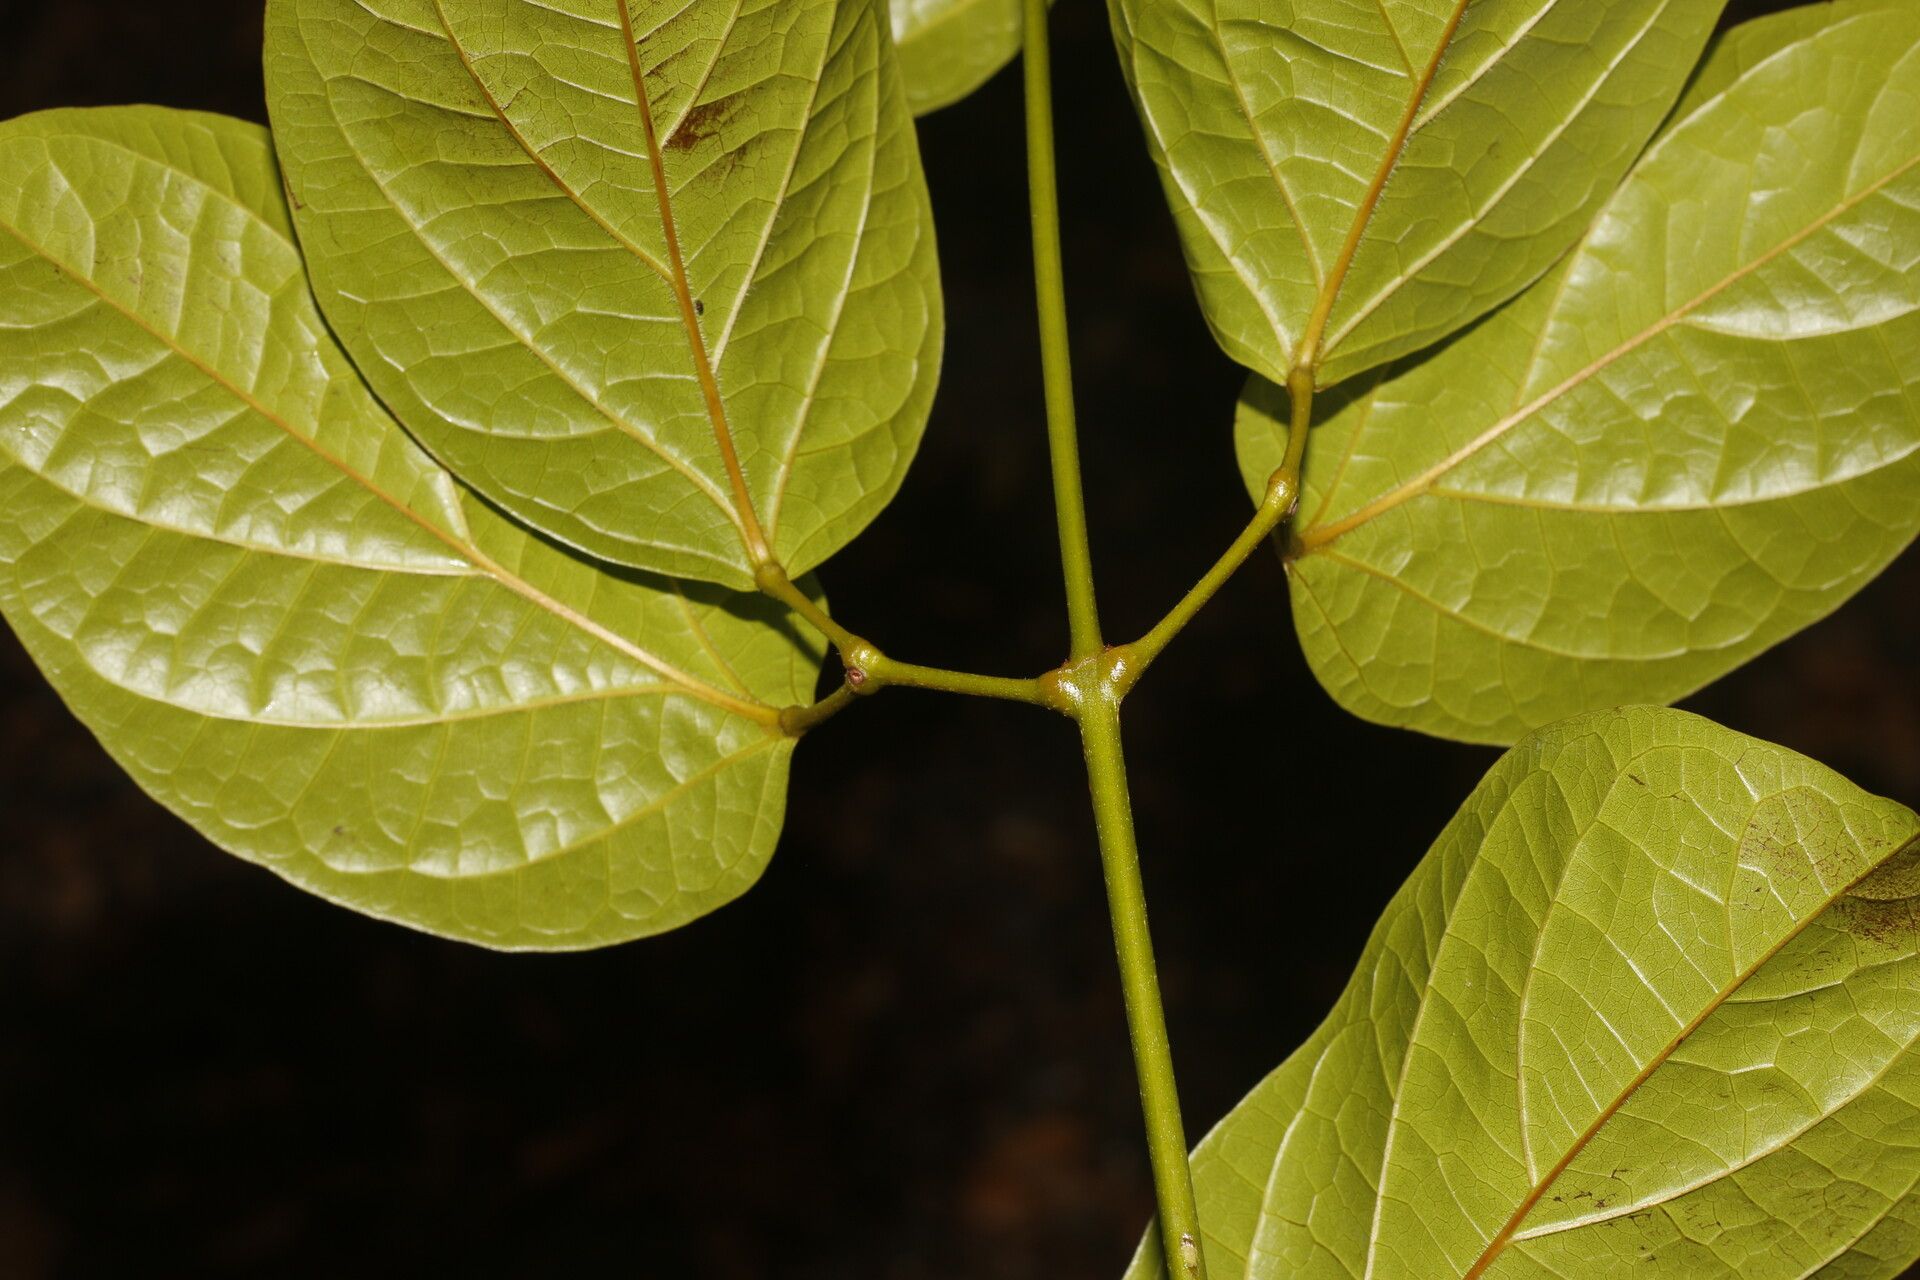
- Make the Cut: Using your clean pruning shears, make a cut just below a leaf node. A leaf node is where a leaf attaches to the stem. This is where the magic happens for root development.
- Prepare the Cuttings: Gently remove the leaves from the bottom two-thirds of the stem. You want to expose those nodes. If the remaining leaves are very large, you can cut them in half horizontally to reduce water loss.
- Apply Rooting Hormone (Optional): Dip the cut end of the stem into your rooting hormone, tapping off any excess.
- Plant Your Cuttings: Fill your small pots with your prepared, moistened potting mix. Make a small hole with your finger or a pencil and gently insert the cut end of the stem, ensuring at least a couple of leaf nodes are buried. Firm the soil around the stem.
- Create a Humid Environment: Water the soil lightly. Then, place a plastic bag over the pot, securing it around the rim with a rubber band, or use a clear cloche. This traps moisture and creates that essential humid microclimate.
- Find a Cozy Spot: Place your pots in a location that receives bright, indirect light. Avoid direct sun, especially for new cuttings, as it can scorch them.
The “Secret Sauce”: My Insider Tips
After nurturing countless plants, I’ve picked up a few little tricks that often make all the difference.
- Don’t Let Leaves Dwell in Water: If you’re choosing to do a quick water propagation first (which Bignonia aequinoctialis can tolerate!), make sure no leaves are submerged in the water. Submerged leaves will rot, and that’s the fast track to losing your cutting.
- Bottom Heat is Your Friend: For cuttings that are taking their time, a little gentle bottom heat can really speed up root formation. You can achieve this with a seedling heat mat. It acts like a warm hug for those developing roots.
- Patience with the Potting Mix: Don’t be tempted to waterlogged your cuttings even once they’re in the soil. Allow the top layer of soil to dry slightly between waterings. Overwatering is the most common mistake, and it leads to dreaded rot.
Nurturing the New Sprouts and What to Watch For
Once your Bignonia aequinoctialis cuttings have developed roots – and this can take anywhere from 3 to 6 weeks, sometimes longer – you’ll start to see new leaf growth. This is your most reliable sign they’ve taken hold!
- Transition Gradually: When you see good root development and new growth, you can start to acclimate your new plants to less humidity. Gradually open up the plastic bag or cloche over a week or two.
- Potting Up: Once they’re strong enough, you can carefully pot them up into slightly larger containers with a good quality potting mix.
- Watch for Wilt: If your cuttings are wilting consistently, and the soil feels damp, it could be a sign of root rot. Unfortunately, there’s often not much to be done once rot sets in. This is why good drainage and avoiding overwatering are so critical.
- Soft, Mushy Stems: Another red flag for rot is when the stem itself becomes soft and mushy near the soil line.
Go Forth and Propagate!
So there you have it – your guide to successfully propagating Bignonia aequinoctialis. Remember, every gardener has their own journey, and sometimes things don’t work out exactly as planned. That’s part of the learning process. Be patient with yourself and your new plant babies, and most importantly, enjoy the magical act of creation. Happy gardening!
Resource:
https://identify.plantnet.org/k-world-flora/species/Bignonia%20aequinoctialis%20L./data