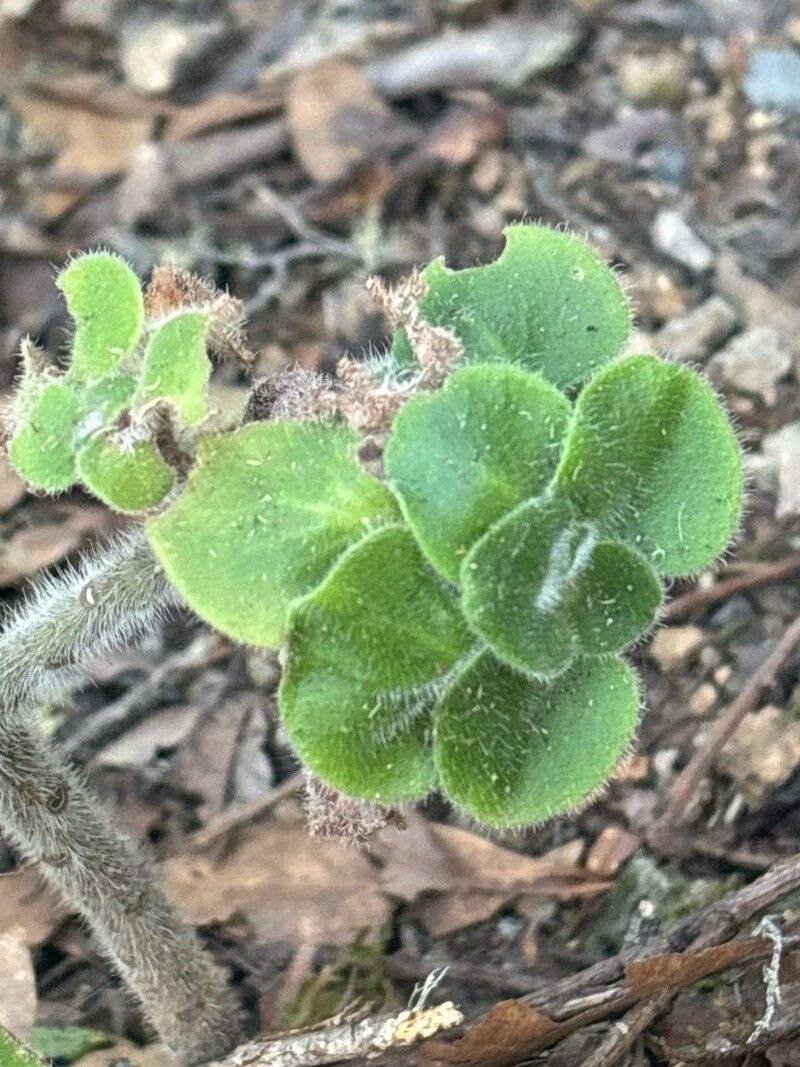
Hello fellow plant lovers! Today, I’m absolutely thrilled to talk about a gem that’s been bringing a smile to my face for years: Aichryson laxum. You know those lovely, succulent-like plants with their charming, rosettes of soft green leaves? That’s Aichryson laxum for you. They’re just delightful, and the best part? They’re surprisingly easy to multiply. If you’re new to the plant propagation game, you’re in for a treat. This is a fantastic plant to start with.
The Best Time to Start
Honestly, Aichryson laxum is pretty forgiving, but for the absolute best results, I like to start in late spring or early summer. This is when the plant is in its active growth phase. The days are longer, the temperatures are warming up, and new growth is really vigorous. Give it a little sunshine and you’ll see cuttings take off in no time.
Supplies You’ll Need
Here’s what I always have on hand when I’m propagating Aichryson laxum:
- Sharp Pruning Shears or a Clean Knife: For making clean cuts.
- Rooting Hormone (Optional but Recommended): A little boost can speed things up.
- Well-Draining Potting Mix: I love a mix of succulent/cactus soil with a bit of perlite added.
- Small Pots or Propagation Trays: With drainage holes, of course!
- Watering Can or Spray Bottle: For gentle watering.
- Labels (for labeling!): Trust me, you’ll thank yourself later.
Propagation Methods
Let’s get our hands dirty! Aichryson laxum is a superstar for a couple of methods.
Stem Cuttings
This is my go-to for Aichryson laxum.
- Select a Healthy Stem: Look for a piece of stem that’s at least 3-4 inches long and has a few sets of leaves. Avoid anything that looks leggy or stressed.
- Make the Cut: Using your sharp pruning shears or knife, make a clean cut just below a leaf node (where the leaves attach to the stem).
- Prepare the Cutting: Gently remove the lower leaves from the bottom inch or two of the stem. This prevents them from rotting in the soil.
- Apply Rooting Hormone (Optional): If you’re using rooting hormone, dip the cut end into the powder or gel. Tap off any excess.
- Plant the Cutting: Stick the cut end of the stem into your prepared well-draining potting mix. Make sure at least one leaf node is buried. Give it a light watering.
- Place in Bright, Indirect Light: Find a spot that gets plenty of light but no direct sun, which can scorch the young cuttings.
Water Propagation
This method is really satisfying to watch!
- Take Your Cutting: Same as above, select a healthy stem and make a clean cut below a leaf node.
- Remove Lower Leaves: Again, remove any leaves that would be submerged in water.
- Place in Water: Pop the cutting into a small jar or glass of water. Make sure only the leafless stem is in the water, not the leaves themselves.
- Change Water Regularly: Every few days, refresh the water to keep it clean and oxygenated.
- Wait for Roots: You’ll start to see tiny white roots emerge from the nodes. Once these roots are about an inch long, it’s time to transplant.
- Plant in Soil: Gently plant your rooted cutting into a pot with your well-draining potting mix. Water it lightly.
The “Secret Sauce”
Here are a couple of things I’ve learned over the years that make a big difference:
- The “Callousing” Trick: For stem cuttings, I sometimes let the cut end “callous over” for a day or two before planting. Just set the cutting on a dry surface in a shaded spot. This helps prevent rot and encourages better root development.
- Bottom Heat is Your Friend: If you’re propagating in a cooler environment or want to speed things up, using a heat mat under your pots can be a game-changer. It mimics the warmth of spring and encourages faster rooting.
Aftercare & Troubleshooting
Once you see those adorable little roots peeking out or your cuttings are showing signs of new growth, it’s time for a little extra TLC.
- Gentle Watering: Continue to water sparingly. Let the soil dry out slightly between waterings. Overwatering is the quickest way to lose your new plant.
- Gradual Acclimation: If your cuttings were in a shadier spot, gradually introduce them to brighter light over a week or two.
- Signs of Trouble: The biggest enemy? Rot. If your cuttings turn mushy or black, it’s usually a sign of too much moisture. If they start to wilt and look dry, they might need a bit more water or a different location. Don’t be discouraged if a few don’t make it; it’s all part of the learning process.
Happy Propagating!
I truly hope this inspires you to try your hand at propagating Aichryson laxum. It’s such a rewarding experience to see a new plant emerge from a tiny cutting. Be patient, enjoy the process, and you’ll be rewarded with more of these little green wonders to share or keep for yourself! Happy gardening!
Resource:
https://identify.plantnet.org/k-world-flora/species/Aichryson%20laxum%20(Haw.)%20Bramwell/data