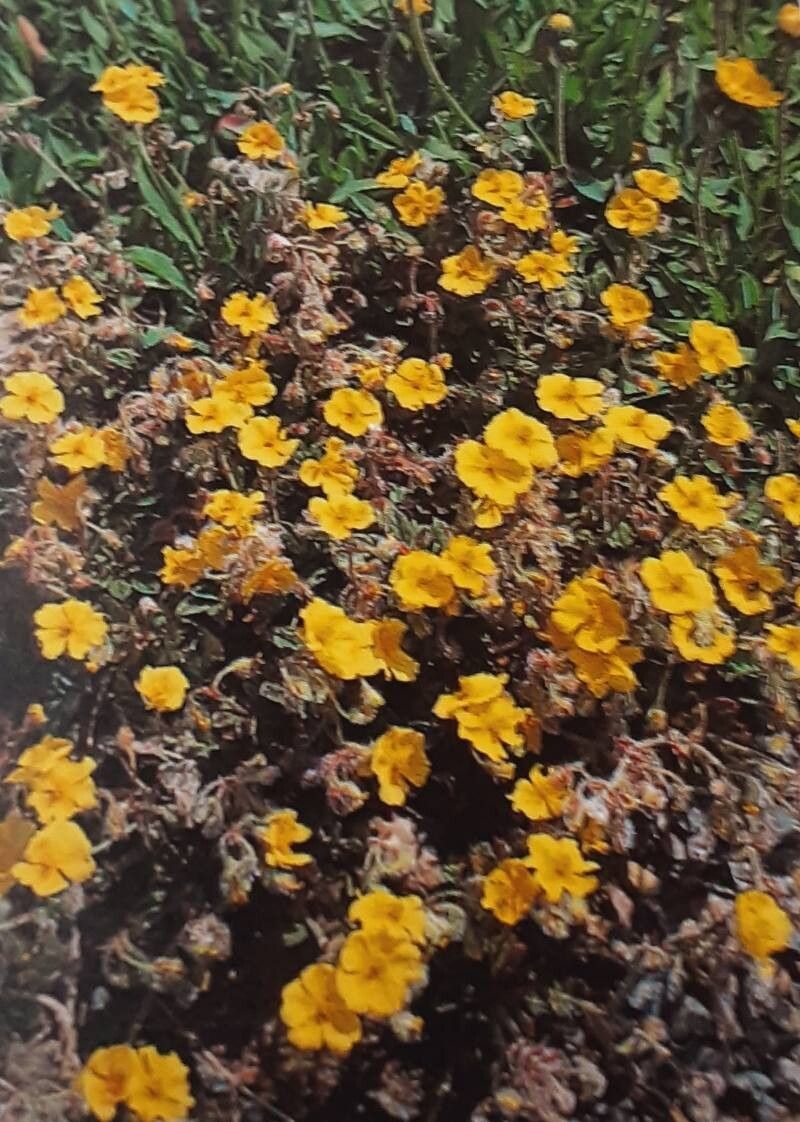
Hello my fellow garden enthusiasts! Today, I want to chat about a plant that truly sparkles in the sunshine: Helianthemum cinereum, commonly known as Grey Rockrose or Ash-leaved Rockrose. Its delicate, papery blooms in shades of yellow, pink, or white, nestled amongst silvery foliage, bring a touch of Mediterranean charm to any garden bed or container. And the best part? You can easily multiply this beauty yourself! Propagating Helianthemum is a wonderfully rewarding endeavor, and I’m here to walk you through it. Don’t worry, it’s not a fussy plant by any means, and I think even beginners will find this quite achievable.
The Best Time to Start
For Helianthemum cinereum, my go-to time for propagation is late spring to early summer. This is when the plant is actively growing and has plenty of fresh, healthy material to work with. Waiting until the newest growth has just started to firm up – not the soft, floppy tips, but the bits just below that – is key. You want some flexibility, but also a bit of structure to your cuttings.
Supplies You’ll Need
Gathering your tools beforehand makes the whole process smoother. Here’s what I recommend:
- Sharp pruning shears or a clean craft knife: For taking clean cuts.
- Rooting hormone (optional but recommended): Powder or gel will do.
- A well-draining potting mix: I like a 50/50 blend of perlite and peat moss or coco coir. You can also buy specific succulent or seed-starting mixes.
- Small pots or seed trays: Clean ones are a must to prevent disease.
- A watering can with a fine rose or a spray bottle: For gentle watering.
- Plastic bags or a propagator lid: To create a humid environment.
- Gravel or grit: For improving drainage in the pots.
Propagation Methods
The most reliable way I’ve found to propagate Helianthemum cinereum is through stem cuttings. It’s straightforward and gives a high success rate.
Stem Cuttings:
- Take Your Cuttings: Using your clean shears, snip off sections of healthy stem that are about 4-6 inches long. Aim to take them from non-flowering shoots if possible. Make sure each cutting has at least two or three sets of leaves.
- Prepare the Cuttings: Gently remove the lower leaves from the cutting, leaving just two or three at the top. This prevents them from rotting when buried in the soil. If you’re using rooting hormone, dip the cut end of the stem into it, tapping off any excess.
- Potting Up: Fill your small pots or trays with your well-draining potting mix. Make a small hole in the center of the soil with your finger or a pencil.
- Insert the Cuttings: Carefully place the prepared cuttings into the holes, ensuring the base of the stem is well-covered by soil. Gently firm the soil around them.
- Water and Cover: Water the pot gently to settle the soil. Then, cover the pot with a plastic bag or place it in a propagator. This helps maintain humidity, which is crucial for root development.
The “Secret Sauce” (Pro Tips)
Here are a couple of little tricks I’ve picked up over the years that really make a difference:
- Don’t overcrowd: Give your cuttings ample space. Overcrowding can lead to fungal issues and poor air circulation, which are the enemies of successful propagation.
- Bottom heat is your friend: For even faster and more robust root development, placing your pots on a gentle heat mat or in a warm spot (like on top of the fridge, where it’s not too hot!) can work wonders. It mimics the warmth of spring soil.
Aftercare & Troubleshooting
Once your cuttings are potted up, find them a bright spot, but avoid direct, scorching sunlight, especially in the first few weeks. Keep the soil consistently moist but not soggy. You’ll know they’re happy when they start to look perkier and you see new leaf growth.
As for troubleshooting, the most common issue is rot. If a cutting turns mushy and black at the base, it’s likely succumbed to rot. This usually happens from overwatering or poor drainage. Discard any affected cuttings immediately and ensure your remaining ones have good airflow and aren’t sitting in water. Patience is key here; it can take several weeks for roots to form. Give them a gentle tug after about 4-6 weeks. If there’s resistance, you’ve got roots!
A Encouraging Closing
So there you have it! Propagating Helianthemum cinereum is a simple and deeply satisfying way to fill your garden or pots with more of this delightful plant. Don’t be discouraged if your first attempt isn’t perfect. Gardening is all about learning and experimenting. Enjoy the process, celebrate each new root and leaf, and soon you’ll have a whole little army of Grey Rockroses to share and admire. Happy propagating!
Resource:
https://identify.plantnet.org/k-world-flora/species/Helianthemum%20cinereum%20(Cav.)%20Pers./data