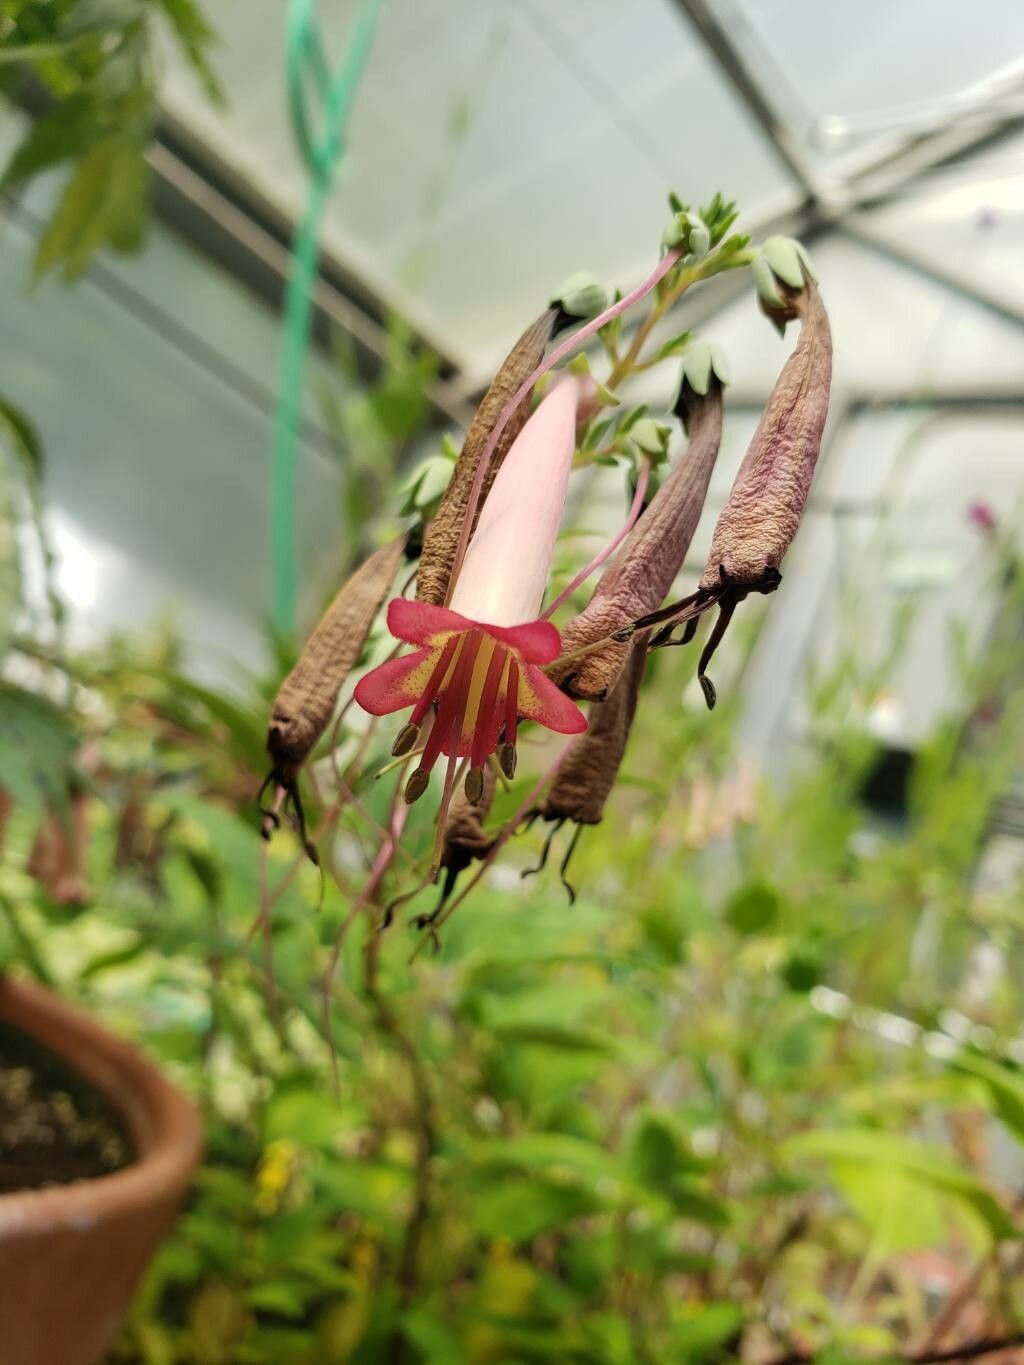
Hello there, fellow plant enthusiasts! It’s your gardening friend here, ready to chat about a truly captivating plant: Phygelius capensis, also known as the Cape fuchsia. With its delicate yet vibrant tubular flowers that just beg for a visit from hummingbirds and other beneficial insects, it brings a wonderful splash of color and life to any garden border or container. Believe me, there’s a special joy in taking a simple piece of a plant and nurturing it into a whole new, thriving individual. And the good news? If you’ve got a bit of patience, propagating Phygelius capensis is absolutely achievable, even for those just dipping their toes into the world of propagation.
The Best Time to Start
For the very best chance of success with your Phygelius capensis, I find that late spring or early summer is your golden ticket. This is when the plant is actively growing, producing lots of lovely new shoots that will readily form roots. You want to be looking for stems that are firm and have a bit of a woody feel, but haven’t gotten too old and tough. Think of it as trying to catch them at their most energetic!
Supplies You’ll Need
Before we dive in, let’s gather our tools. Having everything at the ready makes the whole process so much smoother. Here’s what I usually grab:
- Sharp pruning shears or a clean knife: For taking clean cuts.
- Rooting hormone (optional but helpful): This little boost can significantly speed up the rooting process.
- Small pots or seed trays: For your cuttings.
- Well-draining potting mix: I like a blend of module compost and perlite or coarse sand – something that won’t hold too much moisture.
- A plastic bag or propagator: To create a humid environment.
- Watering can with a fine rose attachment: For gentle watering.
- Labels and a pen: To keep track of what you’ve planted where!
Propagation Methods
Now, let’s get our hands dirty! I’ve found that stem cuttings are by far the most reliable and rewarding way to propagate Phygelius capensis.
Stem Cuttings:
- Select your cuttings: From a healthy, actively growing Phygelius, choose stems that are about 4-6 inches long. Look for side shoots or the tips of main stems that snap cleanly when bent slightly (they shouldn’t be floppy or woody).
- Make the cut: Using your sharp, clean shears or knife, make a clean cut just below a leaf node. A leaf node is where a leaf emerges from the stem; this is where those magical root-forming cells are concentrated.
- Prepare the cutting: Gently remove the lower leaves, leaving just a couple of leaves at the very top. You can also pinch off any flower buds that might be present. These can drain precious energy from the cutting that it needs for root development.
- Apply rooting hormone (optional): If you’re using rooting hormone, dip the cut end of the stem into the powder, tapping off any excess.
- Plant the cuttings: Fill your small pots or trays with your prepared, moistened potting mix. Make a small hole with your finger or a pencil and gently insert the cutting, ensuring the leaf node you removed leaves from is below the soil surface. Firm the soil gently around the stem.
- Create a humid environment: Water the potting mix gently. Then, you can either place the pot inside a clear plastic bag, propped up with sticks so the leaves don’t touch the sides, or place the entire tray into a small propagator. This traps moisture and keeps the cuttings from drying out.
- Place in bright, indirect light: Find a warm spot that receives bright, indirect sunlight. Avoid direct sun, which can scorch the delicate cuttings.
The “Secret Sauce” (Pro Tips)
Here are a couple of tricks I’ve learned over the years that can really make a difference:
- One thing I always do is tap the pot gently after inserting cuttings. This helps settle the soil and ensure excellent contact between the stem and the potting mix, which is crucial for root formation.
- If you have one, using a heat mat placed under your propagator can dramatically speed up rooting. The warmth encourages those root cells to get to work much faster! Just make sure the heat isn’t too intense.
Aftercare & Troubleshooting
Once your cuttings are nestled in their pots, the waiting game begins! Keep the potting mix consistently moist but not waterlogged. The plastic bag or propagator lid will help maintain humidity. You’ll want to open the bag or propagator lid for a few minutes each day to allow for some air circulation and prevent fungal issues.
You’ll know your cuttings are rooting when you see new leaf growth or feel a gentle tug when you lightly pull on the stem. This usually takes anywhere from four to eight weeks, depending on conditions.
The biggest enemy at this stage is rot. If you see stems turning mushy or blackening, it’s usually a sign of too much moisture and not enough air circulation. If you spot this, remove the affected cutting immediately and try to improve ventilation. If the whole pot seems damp and unhappy, you might need to repot the healthy cuttings into drier soil.
A Encouraging Closing
Propagating plants is a journey, and with Phygelius capensis, it’s a deeply rewarding one. Be patient with your little cuttings. Some might take off beautifully, while others might be a bit more stubborn – that’s just nature! Don’t be discouraged. Celebrate every tiny sign of progress and enjoy the process of nurturing life. Happy propagating!
Resource:
https://identify.plantnet.org/k-world-flora/species/Phygelius%20capensis%20E.Mey.%20ex%20Benth./data