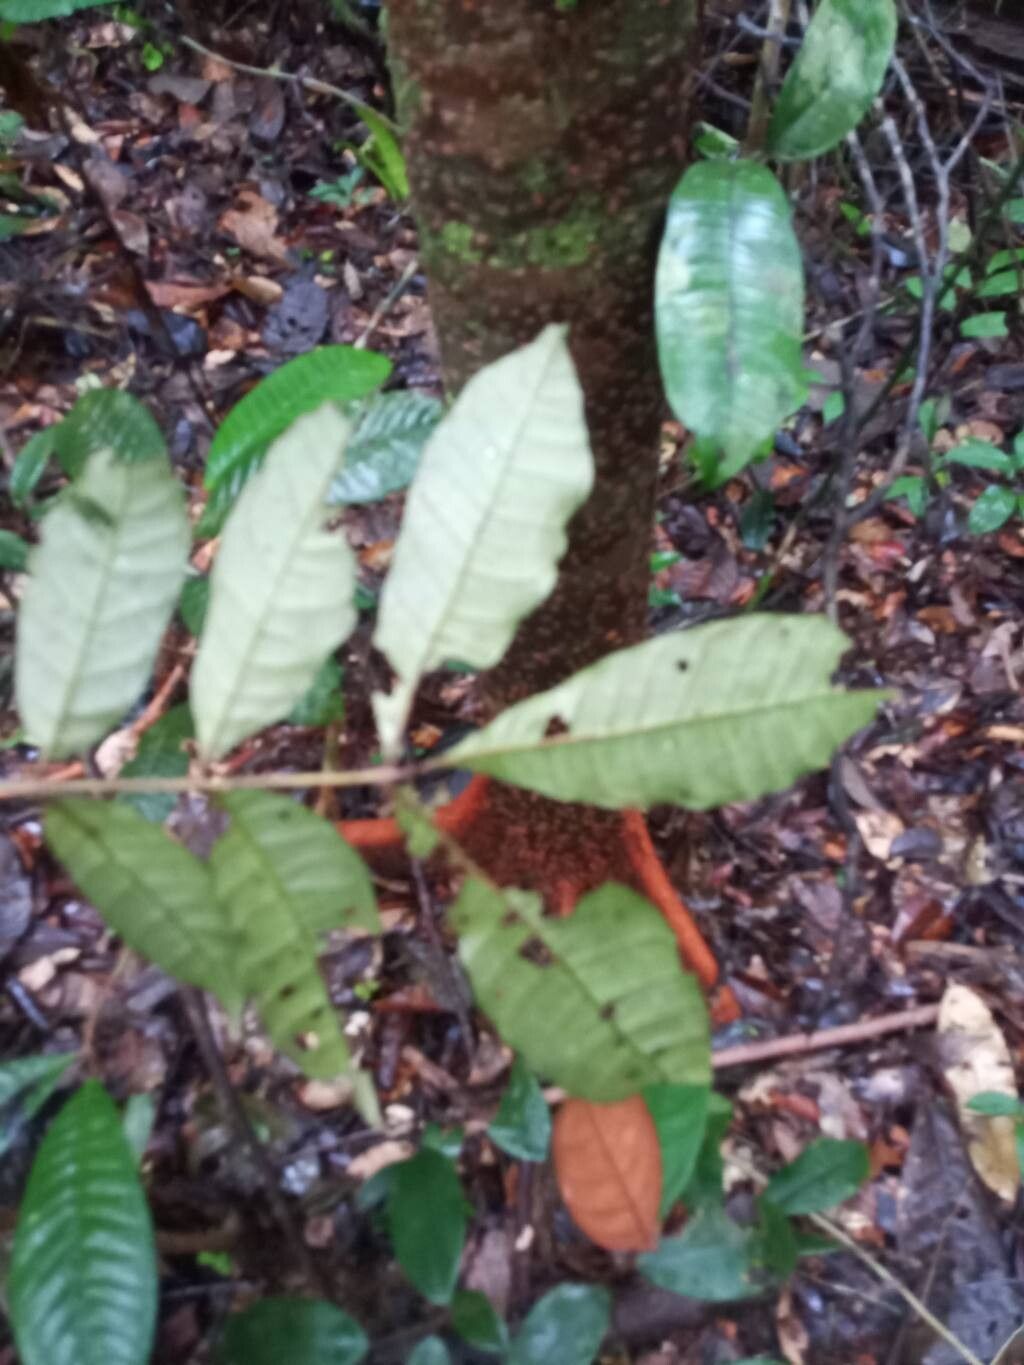
Oh, hello there! Come on in, grab a mug. Let’s chat about a plant that’s truly captured my heart over the years: Tapirira obtusa. Have you seen its lush, glossy leaves? They catch the light just so, and the way it matures into a beautiful, bushy specimen is a real treat for the eyes. Sharing this beauty by propagating it yourself? It’s one of those incredibly satisfying gardening victories. Now, for the honest truth – is Tapirira obtusa a walk in the park for absolute beginners? I’d say it leans a little more towards the intermediate gardener, but with a little patience and these tips, you absolutely can master it.
The Best Time to Start
When it comes to coaxing new life from your Tapirira obtusa, the sweet spot is definitely late spring to early summer. This is when the plant is in its most active growth phase. You want to take cuttings from stems that are semi-hardwood. What does that mean? Imagine a stem that’s not brand new and flimsy, but also not tough and woody. It should snap cleanly when bent, rather than just bending. This is the prime time for rooting success.
Supplies You’ll Need
Here’s a little kit of goodies that will make our propagation journey smoother:
- Sharp Pruning Shears or a Craft Knife: Clean cuts are crucial for preventing disease.
- Rooting Hormone: Powder or gel, this is a real helper for encouraging roots to form. Don’t skip it!
- Well-Draining Potting Mix: A blend of peat moss, perlite, and a bit of coarse sand works wonders. You can also buy a good-quality seed-starting mix and amend it with perlite.
- Small Pots or Propagation Trays: Clean, small pots (around 3-4 inches) are perfect for individual cuttings.
- Clear Plastic Bags or Domes: To create a humid environment for your cuttings.
- Warmth: A heat mat is incredibly beneficial, really speeding up the rooting process.
- Watering Can with a Fine Rose: For gentle watering.
- Rubbing Alcohol: To sterilize your tools.
Propagation Methods: Let’s Get Our Hands Dirty!
For Tapirira obtusa, stem cuttings are by far the most reliable method. Here’s how we’ll do it:
- Select Your Stems: Get your sterilized pruning shears ready. Look for those nice, semi-hardwood stems we talked about. You want to take cuttings that are about 4-6 inches long. Don’t be shy; a healthy plant can spare a few.
- Make the Cut: At the base of a leaf node (the little bump where a leaf attaches to the stem), make a clean cut. This is where rooting hormones and new roots love to emerge. Remove any flowers or developing buds – these take energy away from root formation.
- Prepare the Cutting: Strip off the lower leaves from your cutting, leaving just a few at the very top. This reduces water loss and prevents leaves from rotting in the soil.
- Dip in Rooting Hormone: Gently dip the cut end of the stem into your rooting hormone, tapping off any excess. Get a good coating all around the base.
- Plant Your Cuttings: Fill your small pots with your prepared, slightly damp potting mix. Make a pilot hole with a pencil or dowel. Insert the cutting, ensuring the leaf nodes (where you stripped the leaves) are buried in the soil. Gently firm the soil around the cutting.
- Create the Humid Environment: Water the soil lightly. Then, cover the pot with a clear plastic bag, securing it around the rim of the pot with a rubber band, or place it under a plastic dome. This creates a mini-greenhouse.
- Provide Warmth: Place your pots on a heat mat if you have one. This is a game-changer for Tapirira obtusa, giving those roots a cozy place to start.
The “Secret Sauce” (Pro Tips)
Every gardener has their little tricks, right? Here are a couple I’ve found make all the difference with Tapirira obtusa:
- Bottom Heat is Key: I can’t stress this enough. Tapirira obtusa absolutely loves warmth at its base. A heat mat is like giving your cuttings a cozy, indoor sunbeam. It dramatically increases your success rate and speeds up rooting.
- Don’t Drown Your Cuttings: While humidity is essential, soggy soil is the enemy. Allow the top layer of soil to dry out slightly between waterings. You want it consistently moist, not waterlogged. Overwatering is the quickest way to invite rot.
- Air Circulation is Your Friend (Eventually): Once you see good signs of rooting (new leaf growth is a big clue!), start gradually increasing ventilation. Open the plastic bag for an hour or two each day, slowly increasing the time. This helps the new plant adjust to less humid conditions and prevents fungal issues.
Aftercare & Troubleshooting
Once your cuttings have started to show signs of life – new leaf buds and a bit of upward growth are great indicators – it’s time for a little extra attention. Gently tug on a cutting. If you feel resistance, congratulations, you have roots!
Continue to keep the soil consistently moist but not soggy. As the new plant gets stronger, you can gradually acclimate it to room humidity by opening the plastic cover a bit more each day. Eventually, you can remove it entirely. When the pot feels full of roots (you can sometimes see them peeking out the drainage holes), it’s time to transplant your new Tapirira obtusa into a slightly larger pot with fresh potting mix.
Now, what if things don’t go as planned? The most common culprit is rot. If your cuttings turn black and mushy, or if the leaves yellow and fall off rapidly, it’s usually a sign of too much moisture and not enough air circulation, or possibly an unhygienic setup. Don’t be discouraged! Clean your pots thoroughly, start again with fresh cuttings, and be extra mindful of that drainage and ventilation.
A Encouraging Closing
Growing new plants is a journey, and with Tapirira obtusa, it’s a very rewarding one. Be patient with your cuttings. Sometimes it takes longer than you expect, and not every attempt will be a success, but that’s the beautiful dance of gardening. Each little sprout is a testament to your care and a little piece of green magic you brought into being. So go on, give it a try. You’ve got this!
Resource:
https://identify.plantnet.org/k-world-flora/species/Tapirira%20obtusa%20(Benth.)%20J.D.Mitch./data