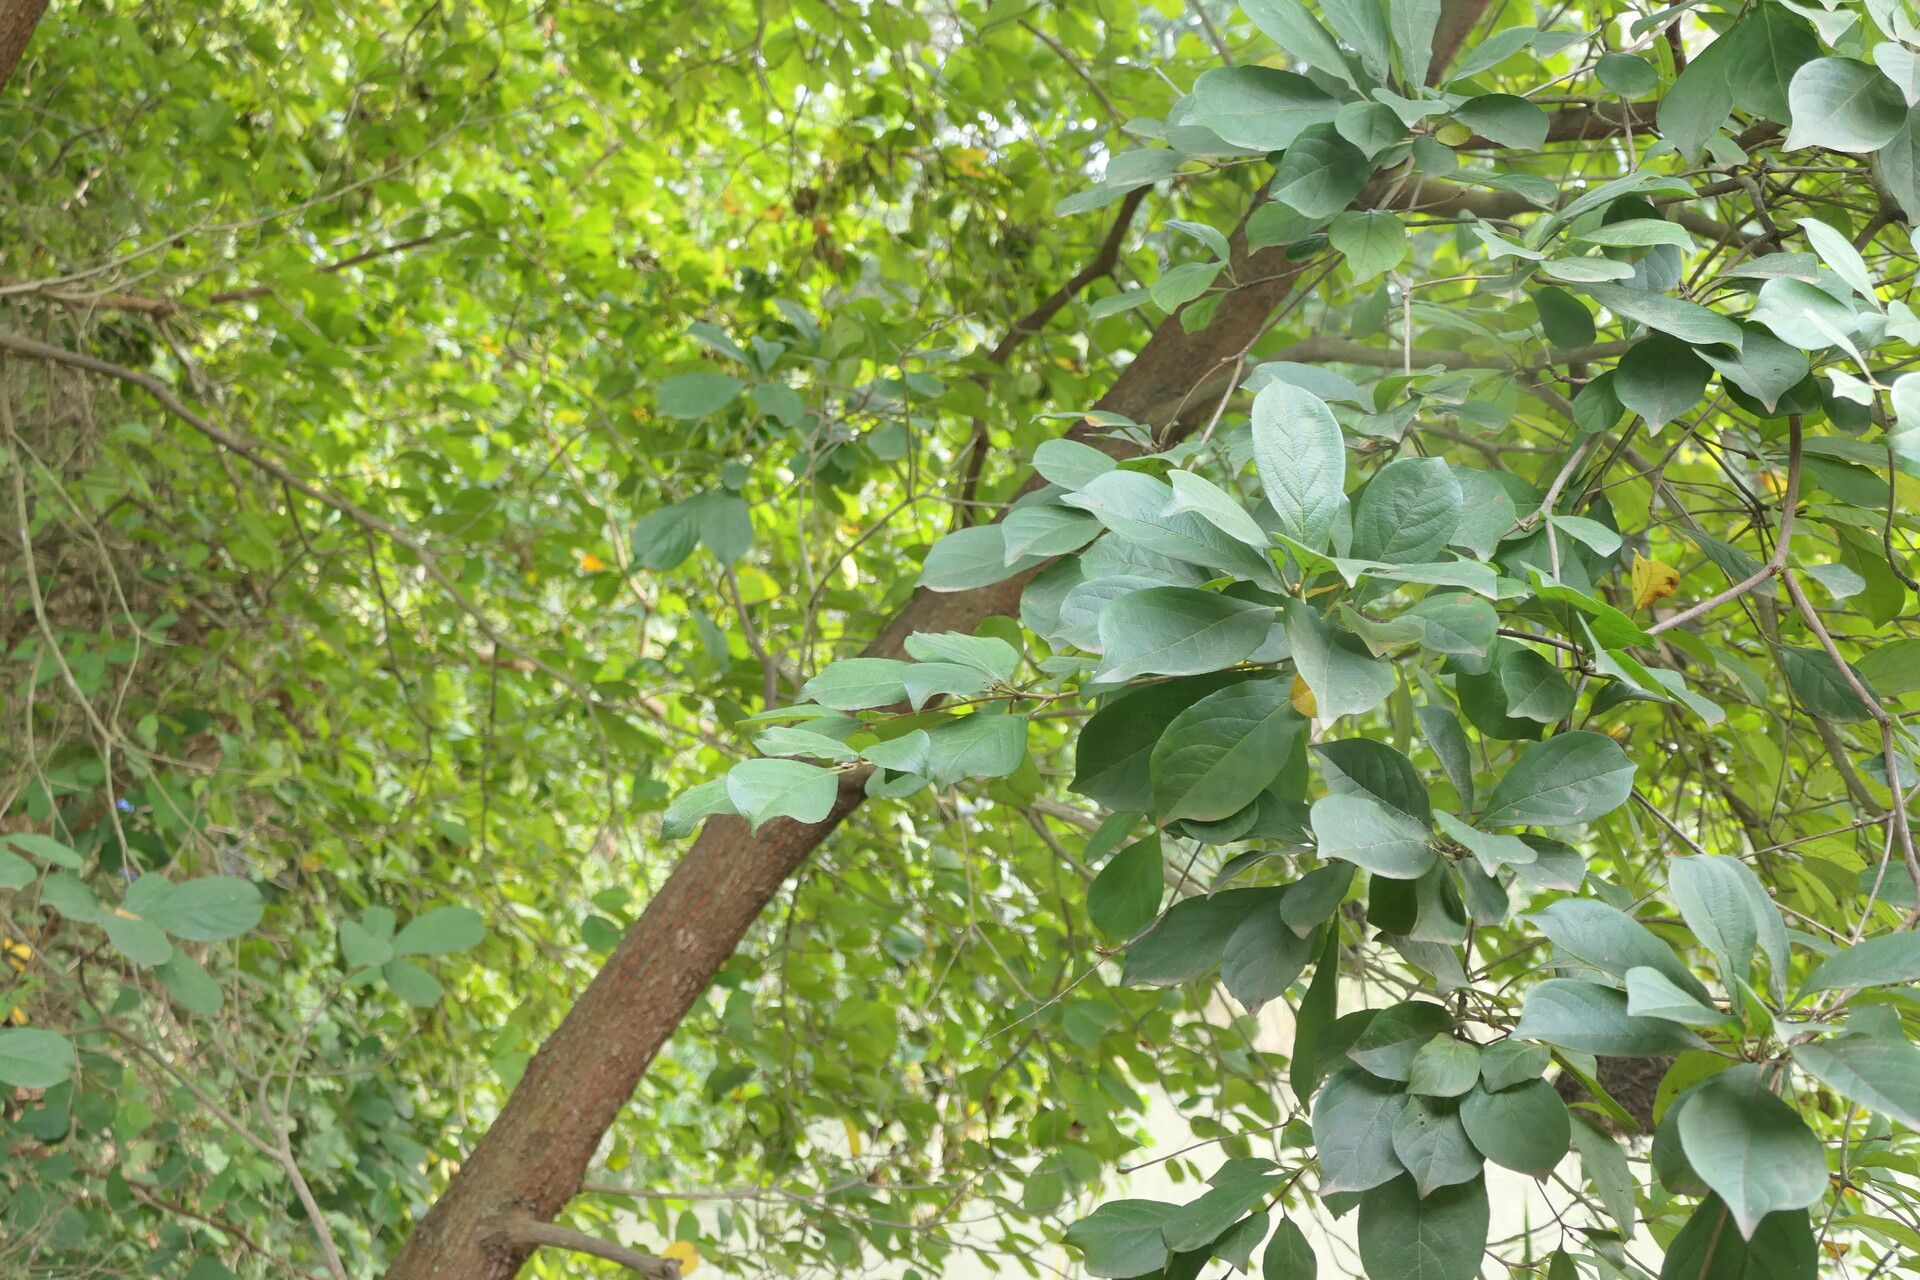
Oh, hello there! Fancy meeting you in the garden today. We’re going to chat about a truly delightful plant: Cordia caffra. You know the one, with its lovely, glossy leaves and the promise of delicate white flowers, often followed by little berries. It’s a plant that brings a touch of the tropics, or at least a bit of sunny charm, to any space. And you know what I love most? Sharing that charm. Propagating Cordia caffra is wonderfully rewarding, a chance to multiply that beauty and even share it with friends. It’s a plant that’s generally quite forgiving, making it a good choice if you’re just starting out on your propagation journey.
The Best Time to Start
When it comes to giving your little Cordia caffra babies the best start, spring is generally your golden ticket. Think of it as the plant’s big awakening after a rest. As the days get longer and warmer, and new growth begins to push out, that’s when the plant is full of vigor and ready to put its energy into creating new roots. You can also have success in early summer, but avoid trying this too late in the year when things start to cool down.
Supplies You’ll Need
Let’s gather our little helpers, shall we? Having the right tools makes all the difference.
- Sharp pruning shears or a clean knife: A clean cut is crucial to prevent disease.
- Rooting hormone (optional but recommended): Look for one formulated for hardwood or semi-hardwood cuttings.
- A well-draining potting mix: A good blend for us is typically finer bark chips, perlite, and a bit of peat moss. You want it light and airy.
- Small pots or seed trays: Clean ones, of course!
- A mister or spray bottle: For keeping things humid.
- Plastic bags or a propagator: To create a mini greenhouse environment.
- Labels and a marker: Trust me, you’ll thank yourself later!
Propagation Methods
Now for the magic! Cordia caffra is quite adaptable, but I’ve found stem cuttings to be the most reliable route.
Stem Cuttings:
- Select your parent plant: Choose a healthy, non-flowering stem from your Cordia caffra. You want a piece that’s not too woody and not too soft – think of the stage just before it starts to feel really rigid.
- Take your cuttings: Using your sharp shears, take cuttings that are about 4 to 6 inches long. Make your cut just below a leaf node – that’s where the magic really happens, where roots are eager to form.
- Prepare the cuttings: Gently remove the lower leaves. You want to leave just a couple of leaves at the top to keep the energy flowing. If you decide to use rooting hormone, dip the cut end of the stem into it now, tapping off any excess.
- Pot them up: Fill your clean pots with your well-draining potting mix. Make a little hole with your finger or a pencil, and gently insert the cutting. Firm the soil gently around it.
- Water and cover: Water the soil lightly. Then, cover the pot with a clear plastic bag or pop it into a propagator. This creates that humid environment cuttings crave.
The “Secret Sauce” (Pro Tips)
Every gardener has a few little tricks up their sleeve, right? Here are a couple of things I’ve learned over the years that really seem to boost success with Cordia caffra:
- Don’t let leaves touch the water (if doing water propagation): While I prefer soil for this plant, if you do try water, make sure only the cut end of the stem is submerged. Any leaves dipping into the water will just promote rot. We want roots, not mush!
- Bottom heat is your friend: If you have a seedling heat mat, placing your pots on top of it can make a world of difference. It encourages those roots to start forming much faster and more reliably. Just a gentle warmth is all they need.
Aftercare & Troubleshooting
Once your cuttings are tucked in, patience is key. Keep them in a bright spot, but out of direct, harsh sunlight. Check the soil moisture regularly and mist the leaves lightly every few days, especially if they’re in a propagator.
You’ll know your cutting is taking when you see new leaf growth appearing. This usually takes a few weeks, sometimes even a couple of months. If you gently tug on a cutting and feel resistance, that’s a good sign roots are starting to form!
Now, what if things take a turn? The most common issue is rot. This usually happens if the soil is too wet and there isn’t enough airflow. If you see your cutting turning black and mushy, it’s probably time to say goodbye to that particular one and try again. Don’t get discouraged! It happens to the best of us.
A Rewarding Journey
Propagating Cordia caffra is a little garden adventure, and like all good adventures, it requires a bit of patience and a willingness to learn. Don’t worry if not every cutting takes – nature has its own pace. Enjoy the process, celebrate your successes, and soon you’ll have a whole little family of Cordia caffra to admire. Happy gardening!
Resource:
https://identify.plantnet.org/k-world-flora/species/Cordia%20caffra%20Sond./data