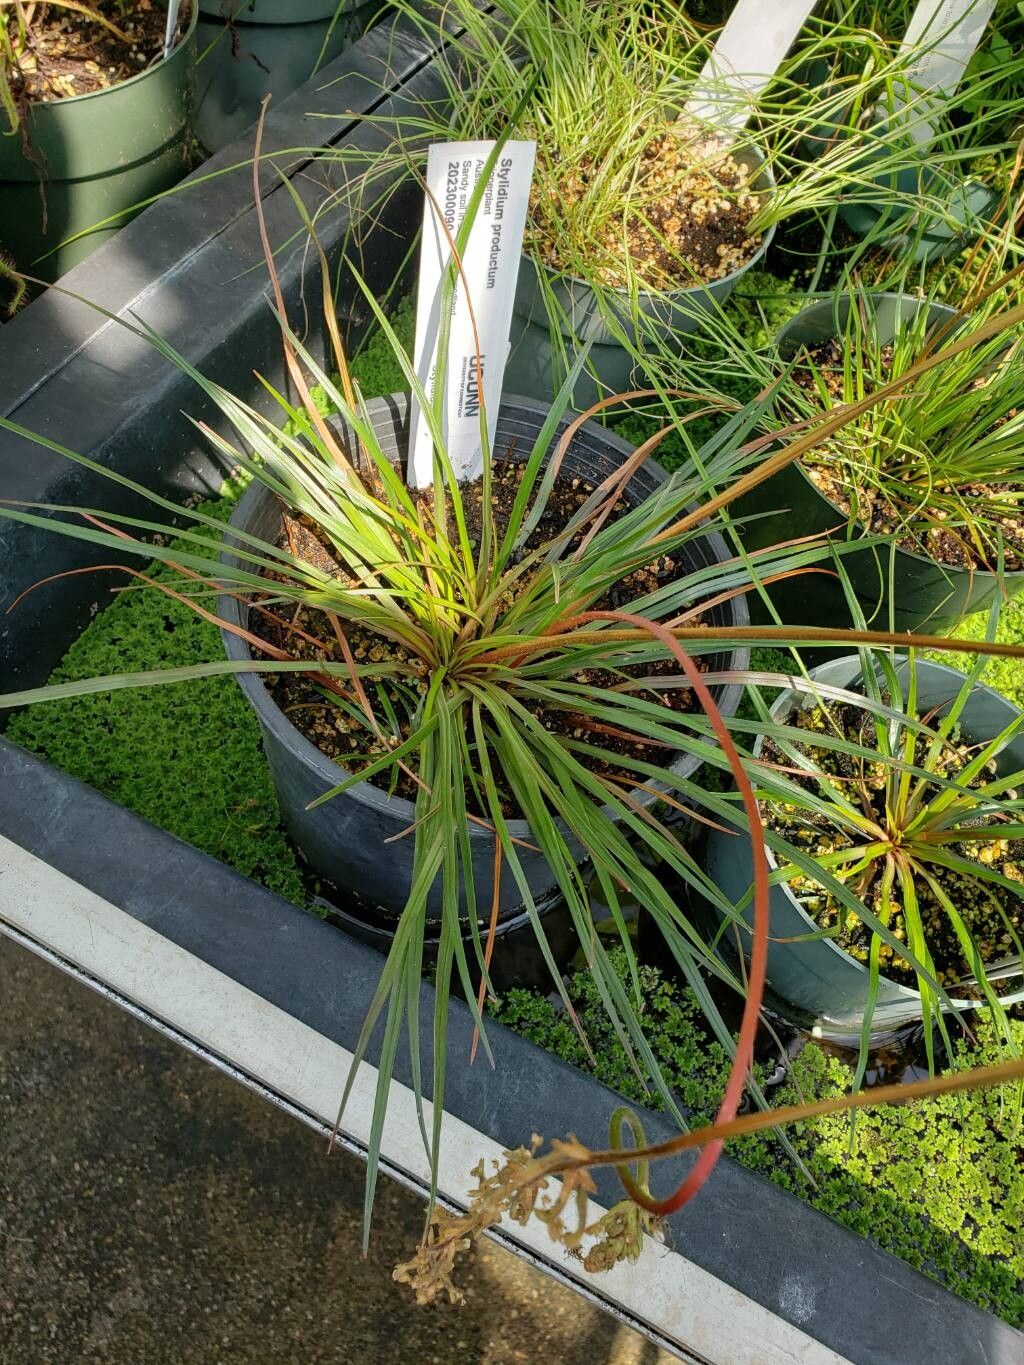
Oh, hello there! Come on in, grab a mug. Today, we’re diving into the delightful world of Stylidium productum, or as many of us simply call them, trigger plants. Aren’t they just fascinating? Their little flowers, with that curious trigger mechanism that flicks pollen onto visiting insects (and sometimes us, if we’re not careful!), are a constant source of wonder in the garden. Propagating them is such a rewarding way to share this charm, and I’m genuinely excited to guide you through it. Don’t worry, while they have a bit of a reputation, with a few pointers, they’re quite manageable.
The Best Time to Start
For trigger plants, the sweet spot for propagation is usually late spring through early summer. This is when the plant is in its active growth phase. You’ll notice it’s putting out plenty of new, healthy stems. Starting new life from an established, thriving plant just makes good sense, doesn’t it?
Supplies You’ll Need
Alright, let’s get our toolkit ready. You won’t need anything too fancy, but having the right bits and pieces will make a big difference.
- Sharp, clean pruning shears or a craft knife: For making those crucial cuts. Sterilize them with rubbing alcohol between uses to prevent disease.
- Well-draining potting mix: A mix formulated for succulents or cacti is often ideal. You can also create your own by combining equal parts perlite, coarse sand, and peat moss or coco coir.
- Small pots or seedling trays: Clean ones, of course!
- Rooting hormone (optional but recommended): This little helper can really boost your success rate. Look for one containing IBA.
- A mister or small watering can: For gently moistening things.
- Labels and a marker: Trust me, you’ll thank yourself later!
Propagation Methods
Trigger plants are most commonly propagated from stem cuttings. It’s my personal favorite because it’s so straightforward.
- Taking the Cuttings: Find a healthy, non-flowering stem. Using your sharp shears or knife, make a clean cut just below a leaf node. You want cuttings that are about 3-4 inches long. Remove the lower leaves, leaving just a couple at the very top. This reduces moisture loss and prevents rot.
- Dipping in Hormone (Optional): If you’re using rooting hormone, lightly dip the cut end of the stem into the powder or gel. Tap off any excess.
- Planting the Cuttings: Make a small hole in your prepared potting mix with a pencil or your finger. Gently insert the cutting, ensuring the leaf nodes that were just below the soil line are buried. The leaves at the top should not be touching the soil.
- Firming and Watering: Lightly firm the soil around the cutting. Then, gently mist the soil surface. You want it moist, not soggy.
- Creating a Humid Environment: This is key! Cover the pots or tray loosely with a clear plastic bag or place them in a propagator. This traps humidity, which is vital for cuttings to root. Avoid direct sunlight at this stage; bright, indirect light is perfect.
The “Secret Sauce” (Pro Tips)
Now, let me share a couple of things I’ve learned over the years that can really give you an edge.
- The Bottom Heat Trick: If you can, place your propagation tray on a gentle heat mat. This provides warmth to the base of the cuttings, encouraging root development from below. It’s like tucking them into a cozy bed! Just a low setting is all you need.
- Patience with Watering: Once you’ve initially misted, resist the urge to water constantly. Let the surface of the soil dry out slightly between waterings. Overwatering is the quickest way to invite rot. You’ll get a feel for it with practice.
Aftercare & Troubleshooting
Once you start seeing little roots peeking out – and you will! – the real fun begins.
When roots have formed and the plant feels a little more secure (you can gently tug on it; if there’s resistance, it’s got roots), it’s time to gradually acclimate it to normal conditions. Remove the plastic cover for increasing periods each day over a week. Continue to keep the soil moist but not saturated. Eventually, you can move it to its own small pot.
The most common issue you might encounter is rot. If your cuttings turn black and mushy, that’s rot. Usually, this is a sign of too much moisture and not enough air circulation. If you catch it early on a stem, you might be able to salvage a seemingly healthy part, but often, it’s best to discard the affected cutting and try again, paying closer attention to watering and humidity.
A Encouraging Closing
So there you have it! Propagating Stylidium productum is a journey, and each successful new plant is a little triumph. Be patient with yourself and your little green charges. Nurture them, learn from them, and most importantly, enjoy the process. Happy propagating!
Resource: