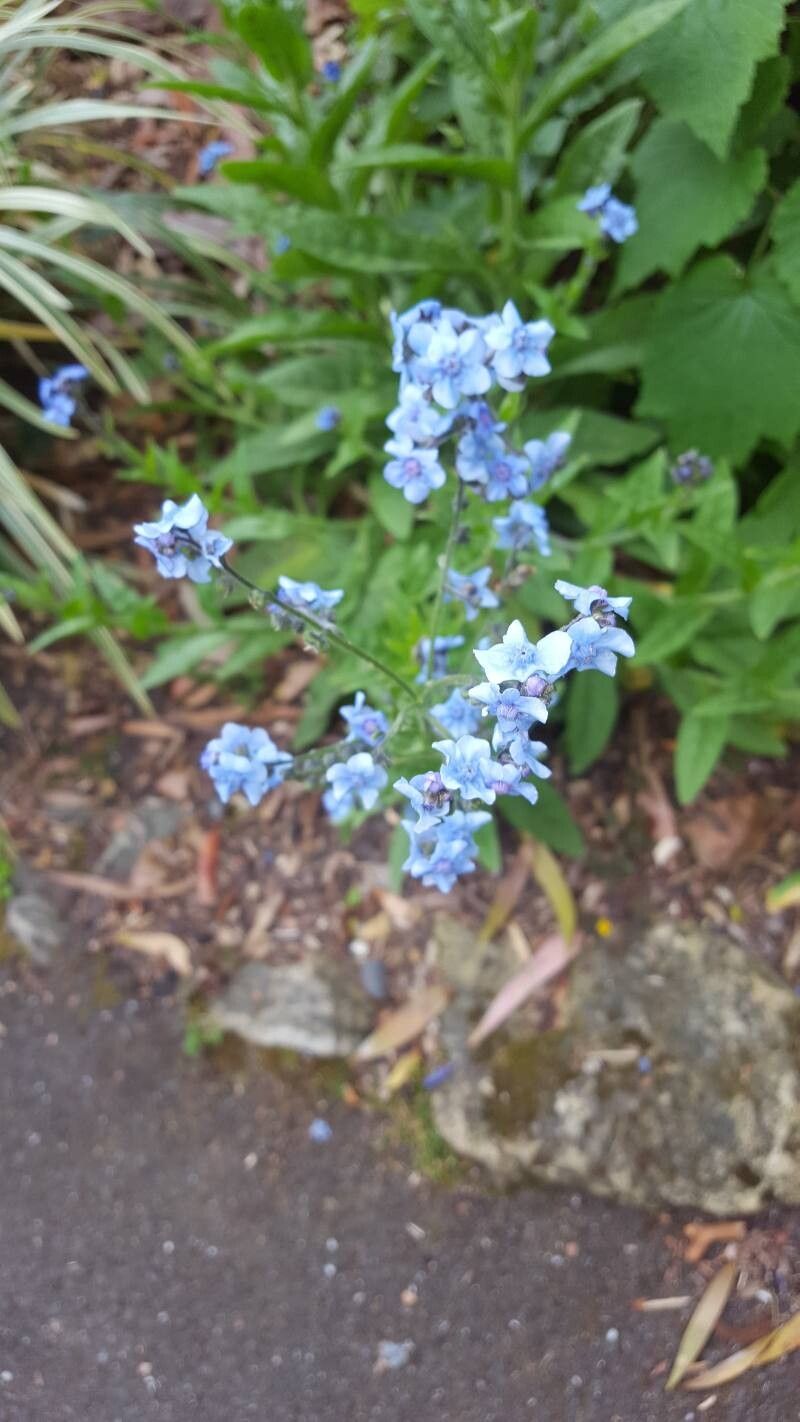
Hello fellow plant lovers! I’m so excited to chat with you today about propagating one of my personal favorites: Cynoglossum amabile, often called Chinese Forget-me-nots. These charming little plants, with their delicate sprays of bright blue flowers, are absolute magnets for pollinators. They add such a wonderful splash of color to borders and containers, and the joy of seeing your own garden grow from seeds you started yourself is truly unmatched.
If you’re new to the world of plant propagation, I have good news! Chinese Forget-me-nots are generally quite forgiving. I’d say they lean towards the easier side of things, making them a perfect plant to get your feet wet with. You’ll likely find the process rewarding and not overly technical.
The Best Time to Start
For the most success, you’ll want to start your propagation efforts in late spring or early summer. This is when the plant is actively growing and has plenty of energy to put into developing new roots. You can also try collecting seeds in the fall once they’ve fully matured and dried on the plant, but starting from cuttings in the warmer months often gives a stronger, faster start.
Supplies You’ll Need
To set yourself up for success, gather these few essentials:
- Sterile potting mix: A good seed-starting mix or a light blend of peat moss and perlite works beautifully.
- Clean pots or trays: Small pots, plug trays, or even recycled yogurt cups with drainage holes will do.
- Sharp pruning shears or a clean knife: For taking cuttings.
- Rooting hormone (optional but helpful): A powder or gel can give your cuttings a boost.
- Watering can with a fine rose or a spray bottle: For gentle watering.
- Clear plastic bag or dome: To create a humid environment for cuttings.
- Labels: So you don’t forget what you planted where!
Propagation Methods
Chinese Forget-me-nots have a few avenues for propagation, but for ease and reliability, I often recommend starting with stem cuttings.
Stem Cuttings:
- Select healthy stems: In late spring or early summer, look for vigorous, non-flowering shoots on a mature plant. You want stems that are about 4-6 inches long.
- Make the cut: Using your sharp shears or knife, make a clean cut just below a leaf node. A leaf node is where a leaf attaches to the stem. This is where the magic rooting hormones are concentrated.
- Prepare the cutting: Gently remove the lower leaves from the stem, leaving only the top couple of leaves. If the remaining leaves are very large, you can cut them in half to reduce water loss through transpiration.
- Apply rooting hormone (if using): Dip the cut end of the stem into your rooting hormone, tapping off any excess. This step isn’t strictly necessary, but it can give your cuttings a lovely head start.
- Potting up: Fill your small pots or trays with your sterile potting mix. Make a small hole in the center with your finger or a pencil.
- Insert the cutting: Gently place the prepared cutting into the hole, ensuring the leaf nodes that will be below the soil surface are covered. Firm the soil gently around the base of the cutting.
- Water gently: Water thoroughly using your fine rose watering can or spray bottle until the soil is evenly moist.
- Provide humidity: Cover the pot with a clear plastic bag, stretching it over the top to create a mini-greenhouse. You can secure it with a rubber band. Alternatively, use a clear plastic dome on your tray.
The “Secret Sauce” (Pro Tips)
Here are a few little tricks I’ve picked up over the years that can make a big difference:
- Don’t let the leaves touch the water: When you water, try not to let any of the leaves sit in standing water. This is a sure way to invite rot, and we want happy, healthy roots, not mushy stems! Keep the soil moist, but not soggy.
- Bottom heat is your friend: If you have a heat mat designed for propagation, placing your pots on it can be a game-changer. Consistent warmth from below encourages faster root development. It really speeds things up!
- Patience is key: Sometimes, you won’t see any signs of rooting for several weeks. Resist the urge to constantly pull up your cuttings to check for roots. Trust the process. If the leaves are still green and plump, there’s a good chance things are happening beneath the surface.
Aftercare & Troubleshooting
Once you start to see new leaf growth on your cuttings, that’s a fantastic sign that roots are forming! You can gently tug on the cutting; if you feel resistance, roots have taken hold.
At this stage, you can gradually acclimate your new plants to drier air by slowly opening up the plastic bag or removing the dome for increasing periods each day. Once they are fully established, meaning they can withstand normal room humidity, you can transplant them into slightly larger pots or into their final garden spot.
The most common issue you might encounter is rot. If you notice your cuttings becoming a slimy, black mess, it’s usually a sign of too much moisture and not enough air circulation. Make sure your pots drain well and avoid overwatering. If rot sets in, it’s usually best to discard the affected cutting and start fresh, perhaps adjusting your watering schedule or increasing air flow.
A Warm Closing
There you have it! Propagating Cynoglossum amabile is a wonderfully accessible way to expand your garden. Be patient with yourself and the process. Nature works on her own timeline, and the reward of nurturing these little plants from a single stem is truly special. Happy gardening, my friends!
Resource: