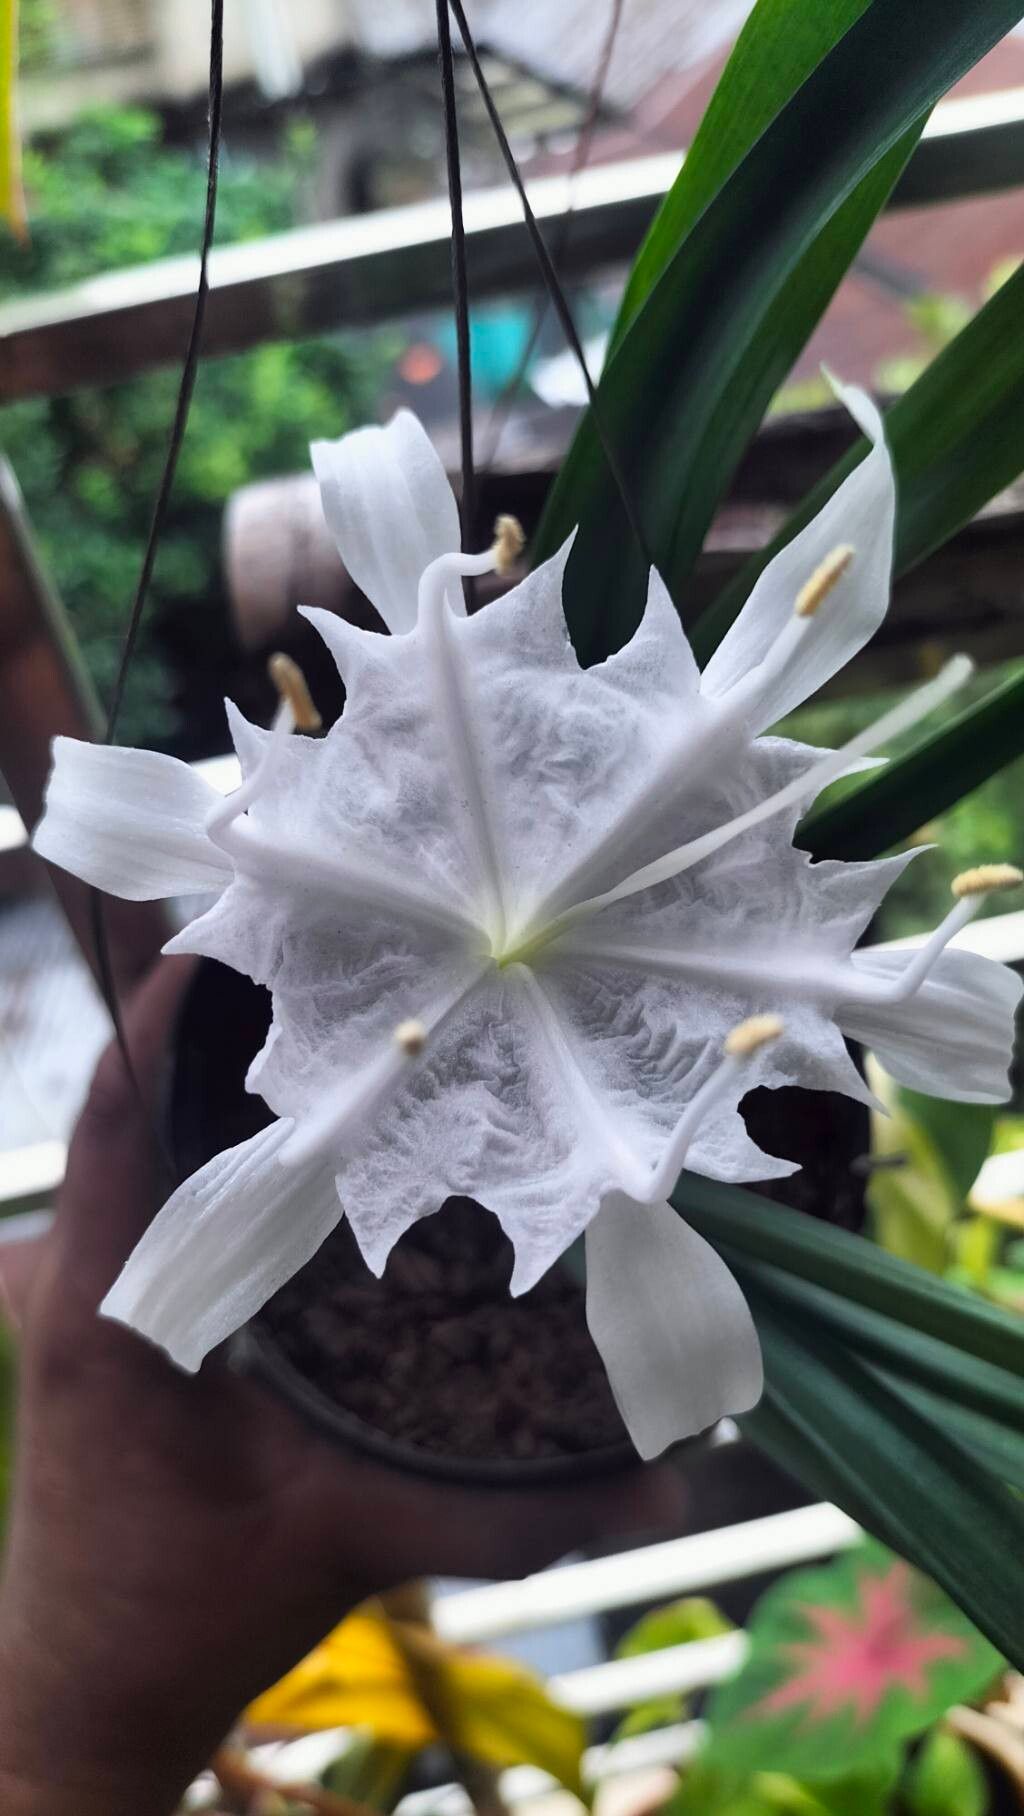
Oh, hello there! Come on in, grab a mug – I’ve got some fresh-brewed wisdom just for you. Today, we’re diving into the enchanting world of Pancratium zeylanicum, also known as the Spider Lily or Candle Lily. If you’ve ever seen these beauties, with their elegant, star-shaped white flowers and that intoxicating perfume, you know exactly why I’m so smitten. Growing more of them is like bottling sunshine and sharing it. It’s a truly rewarding endeavor, and I’m here to guide you through it. Now, are they a walk in the park for absolute beginners? Hmm, I’d say they’re a happy medium. A little patience and attention go a long way, and with this guide, you’ll be well on your way to doubling your collection.
The Best Time to Start
When it comes to our Pancratium zeylanicum, the sweet spot for propagation is generally in the spring or early summer. This is when the plant is actively growing and full of energy. You want to work with bulbs that are robust and healthy, ideally after they’ve finished their blooming cycle. Think of it as tapping into their peak vitality – they’re just more eager to get on with things then!
Supplies You’ll Need
To get your spider lily propagation off to a flying start, you’ll want to have these bits and bobs ready:
- Sharp, clean pruning shears or a knife: For making precise cuts. Sterilize them with rubbing alcohol before you begin, please!
- Well-draining potting mix: A blend of coarse sand, perlite, and peat moss is excellent. You can also use a pre-made cactus or succulent mix. We want to avoid soggy bottoms at all costs.
- Small pots or trays: Clean ones, of course! About 4-6 inches in diameter is a good start.
- Rooting hormone (optional but recommended): This can give your cuttings an extra boost. Look for a powder or gel formula designed for bulb propagation.
- Watering can or spray bottle: For gentle hydration.
- Labels: So you don’t forget what you’ve planted where!
Propagation Methods
Pancratium zeylanicum primarily propagates through division of its bulbs. It’s straightforward and often the most effective way to get new plants.
- Gently Excavate: When the plant is dormant or has finished flowering, carefully dig it up from its current pot or garden bed. Be as gentle as possible to avoid damaging the bulbs or roots.
- Inspect the Bulbs: Gently brush away excess soil. You’ll likely see one main bulb with smaller offsets (baby bulbs) attached. These offsets are what we’re after.
- Separate the Offsets: Using your sterilized pruning shears or knife, carefully cut away the offsets from the mother bulb. If an offset already has a small root system attached, that’s a great sign! It’s usually best to leave at least one or two healthy offsets per bulb cluster if you’re dividing a large clump.
- Let Them Dry (Optional): Some gardeners like to let the separated offsets sit for a day or two in a cool, dry place. This allows any cut surfaces to callus over, which can help prevent rot. This step isn’t always necessary, especially if you’re careful with your cuts.
- Potting Up: Plant each offset in its own pot filled with your well-draining potting mix. The top of the bulb should be just at or slightly above the soil surface. You want to see a bit of the bulb peeking out – this helps prevent rot and encourages good air circulation.
- Initial Watering: Water the newly potted bulbs lightly. You want the soil to be moist, but not waterlogged.
The “Secret Sauce” (Pro Tips)
Here are a few little tricks I’ve picked up over the years that can make a big difference:
- Don’t Bury Them Too Deep: I mentioned this when potting, but it’s worth repeating. Pancratium zeylanicum bulbs like to have their heads in the sun, so to speak. Burying them too deeply can lead to rot, as they’ll stay too wet. Just a gentle covering is all they need.
- Patience is Your Best Friend: These bulbs can be a bit slow to establish. Don’t panic if you don’t see new growth immediately. Give them several weeks to settle in and start rooting. They’re working beneath the surface, believe me!
- A Touch of Warmth: If you’re propagating in a cooler environment or early in the spring, consider placing your potted bulbs on a gentle heat mat. This gentle bottom heat can really encourage root development and speed up the process, especially if your home is on the cooler side.
Aftercare & Troubleshooting
Once your Pancratium zeylanicum has rooted and is showing signs of new growth (a tiny leaf emerging is your cue!), you can treat it like a mature plant.
- Watering: Water when the top inch of soil feels dry. Be mindful not to overwater, especially when they are young.
- Light: They appreciate bright, indirect light. Direct, scorching sun can be too much for young plants.
- Fertilizing: Once you see active growth, you can start a light feeding program with a balanced liquid fertilizer, diluted to half strength, every 4-6 weeks during the growing season.
Now, what if things don’t go quite as planned? The most common culprit is rot. If you notice your bulb becoming soft, mushy, or developing black spots, it’s usually a sign of overwatering or poor drainage. Unfortunately, once rot sets in, it’s hard to save. Your best bet is to prevent it by sticking to that well-draining mix and watering judiciously. Sometimes, a bulb just doesn’t have enough energy to get going, and that’s okay too. Don’t be discouraged if a few don’t make it.
A Little Encouragement to Finish
So there you have it! Propagating Pancratium zeylanicum is a beautiful way to multiply your joy. Remember to be patient, observe your plants closely, and trust the process. Before you know it, you’ll have more of those exquisite blooms gracing your garden or home. Happy propagating, my green-thumbed friend! I’m cheering you on.
Resource:
https://identify.plantnet.org/k-world-flora/species/Pancratium%20zeylanicum%20L./data