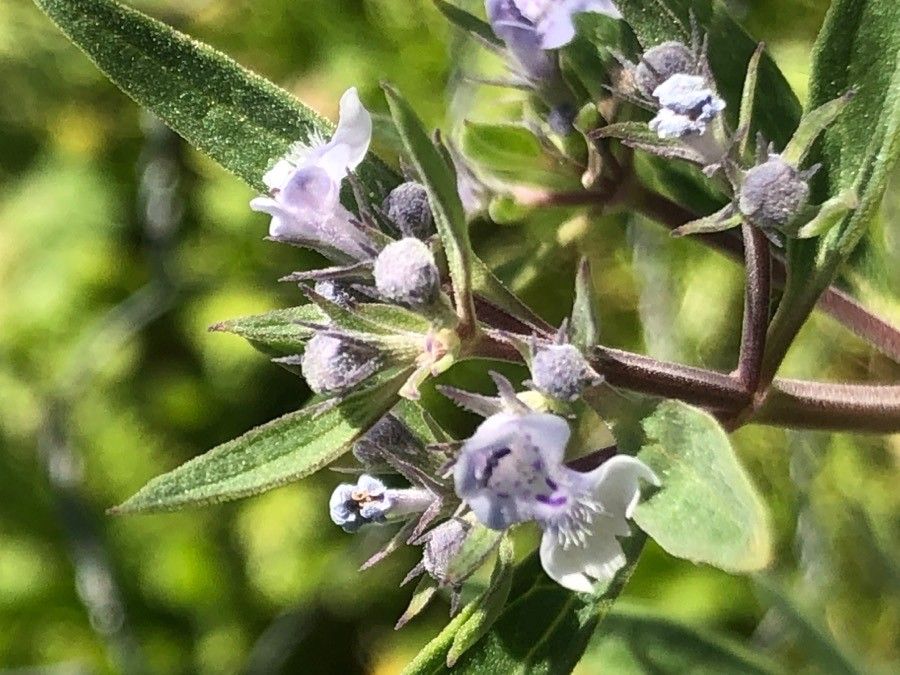
Oh, hello there! So glad you stopped by. Today, we’re diving into the delightful world of Nepeta hispanica, or as some of us affectionately call it, Spanish Catmint. If you’re a fan of those soft, silvery-grey leaves and the lovely, delicate lavender flowers that bloom so generously, then you’re in for a treat. Propagating this beauty is not only a fantastic way to fill your garden (or pots!) with more of it, but it’s also incredibly satisfying. And for you beginners out there, rest assured, Nepeta hispanica is quite forgiving. I’d say it’s a great plant to start your propagation journey with.
The Best Time to Start
For the absolute best success, I always lean towards late spring or early summer. This is when the plant is actively growing, pushing out new, vigorous stems. These young, supple shoots are much more eager to form roots than older, woodier bits. It’s like trying to bend a young sapling versus a mature tree – much easier to work with the former! Aim for a time when the weather is warm but not scorching, and you’ve just finished admiring its spring flush of growth.
Supplies You’ll Need
Gathering your tools beforehand makes the whole process so much smoother. Here’s what I typically have on hand:
- Sharp pruning shears or a clean knife: For making clean cuts.
- Rooting hormone: While not always strictly necessary for Nepeta, it can give cuttings a little boost. I prefer the powder form.
- A good potting mix: I like a mix that drains well. A blend of peat moss, perlite, and a bit of compost works wonders. You can also buy specific seed starting or propagation mixes.
- Small pots or seed trays: Clean ones, of course!
- Watering can with a fine rose: Gentle watering is key.
- Plastic bags or a propagator: To create a humid environment for your cuttings.
- Labels: Don’t forget to label your projects!
Propagation Methods
Nepeta hispanica is happy to be propagated in a couple of easy ways. I’ll walk you through my favorites.
Stem Cuttings
This is my go-to method for Nepeta. It’s incredibly reliable.
- Select Your Cuttings: Look for healthy, non-flowering shoots that are about 4-6 inches long. Gently snap or snip them from the parent plant.
- Prepare the Cuttings: Remove the lower leaves carefully. You want to bare the bottom inch or so of the stem. If a cutting has a flower bud, pinch it off. We want that energy focused on roots, not flowers!
- Apply Rooting Hormone (Optional): Dip the bottom of the cutting into the rooting hormone powder, tapping off any excess.
- Plant the Cuttings: Make small holes in your prepared potting mix with a pencil or your finger. Gently insert the cuttings, ensuring the nodes (where the leaves were removed) are buried. Firm the soil gently around them.
- Water Gently: Water them thoroughly but gently. You don’t want to dislodge them.
- Create a Humid Environment: Cover the pots with a clear plastic bag or place them in a propagator. This traps in moisture and keeps the leaves from drying out.
Water Propagation
This is a wonderfully visual way to see those roots develop!
- Take Your Cuttings: Follow step 1 from the stem cutting method.
- Prepare for Water: Remove all the leaves that would sit below the water line. This is super important to prevent rot.
- Place in Water: Pop the cuttings into a clean jar or glass of room-temperature water. Make sure only the bare stem is submerged.
- Change Water Regularly: Every few days, refresh the water to keep it clean and oxygenated. You’ll be amazed at how quickly roots appear!
The “Secret Sauce” (Pro Tips)
Here are a couple of things I’ve learned over the years that make a real difference:
- Patience is Paramount with Water Propagation: Don’t be tempted to move your cuttings from water to soil the second you see a tiny root. Wait until those roots are at least an inch long and look robust. This gives them a better start when they transition to soil.
- Bottom Heat is Your Friend: If you’re doing stem cuttings and have it, placing your pots on a gentle heating mat (like those used for seed starting) can significantly speed up root development. Nepeta roots love a bit of warmth from below.
- Don’t Overcrowd: It’s tempting to stuff as many cuttings into a pot as possible, but give them a little breathing room. Good air circulation helps prevent fungal issues.
Aftercare & Troubleshooting
Once your cuttings have developed a good root system (you’ll see them poking out of the drainage holes if you lift them gently, or they’ll feel slightly resistant when tugged lightly), it’s time to treat them as established youngsters.
- Transplant Carefully: If you propagated in water, gently plant them in pots with your well-draining potting mix. If you propagated in soil, you can usually pot them up into slightly larger containers or directly into the garden if the weather is right.
- Water Wisely: Water them thoroughly after transplanting, then allow the top inch of soil to dry out between waterings. Overwatering is the quickest way to lose a new plant.
- Watch for Signs of Trouble: The most common issue with cuttings is rot, which looks like mushy, brown stems, often at the soil line. This is usually a sign of too much moisture and poor air circulation. If you see this, act fast by removing the affected cutting and ensuring the remaining ones have better drainage and less humidity. Another sign of failure is if the cutting simply wilts and never recovers – it’s unfortunately just not taken. Don’t be discouraged; just try again!
A Little Encouragement
So there you have it! Propagating Nepeta hispanica is a wonderfully rewarding endeavor. It’s a chance to nurture new life and expand your collection of this lovely plant simply and sustainably. Be patient with the process – nature has its own rhythm. Enjoy watching those tiny roots form, and know that you’re creating something beautiful from a simple snippet. Happy gardening!
Resource:
https://identify.plantnet.org/k-world-flora/species/Nepeta%20hispanica%20Boiss.%20&%20Reut./data