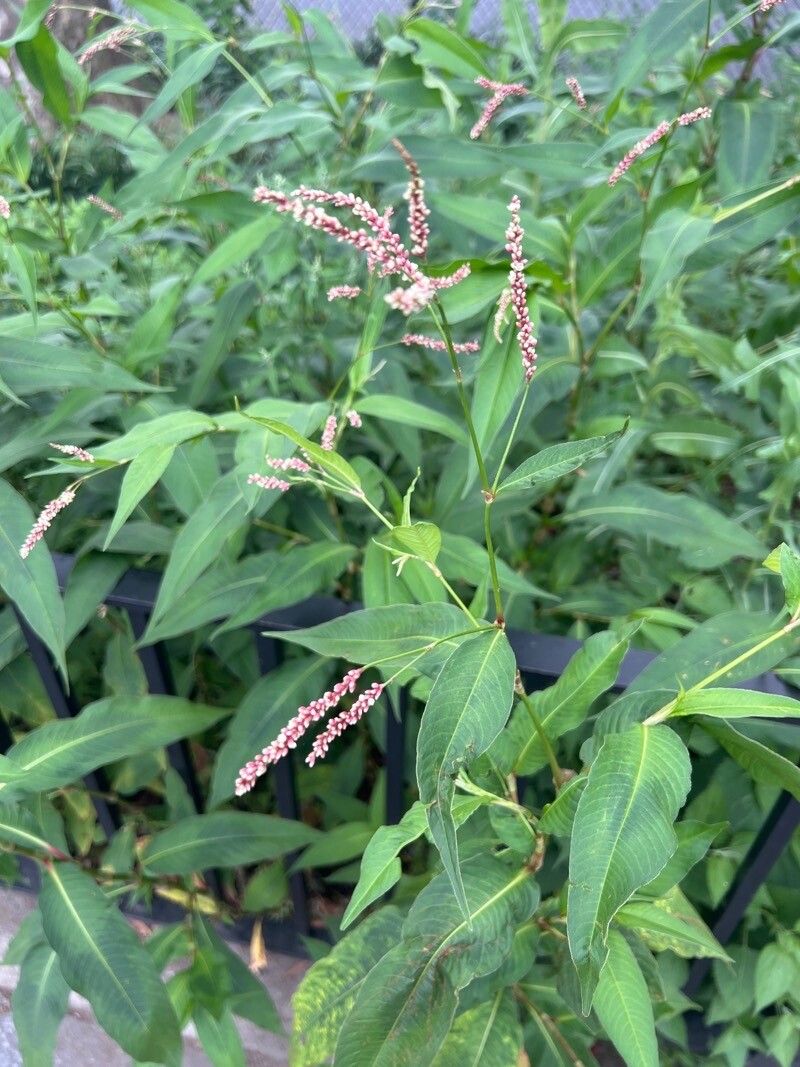
Oh, hello there, fellow plant lover! I’m so glad you’ve discovered the charm of Persicaria careyi. You know, this beauty, with its lovely pink flower spikes that dance in the late summer breeze, is really something special. And the best part? It’s incredibly rewarding to bring more of them into existence. If you’re just starting your propagation journey, you’ll be happy to know Persicaria careyi is a wonderfully forgiving plant. It’s definitely a great choice for beginners looking to expand their garden without too much fuss.
The Best Time to Start
Honestly, spring is your best friend when it comes to propagating Persicaria careyi. Once the last frost has passed and your plants are actively putting on new growth, that’s prime time. You’ll have the most vigorous stems and the most energy going into the new baby plants. Aim for a time when the days are getting longer and the temperatures are consistently mild.
Supplies You’ll Need
Here’s what you’ll want to have on hand:
- Sharp Pruning Shears or a Craft Knife: Clean cuts are key!
- Rooting Hormone (Optional but helpful): A little boost can speed things up.
- Well-Draining Potting Mix: I like a blend of good quality potting soil with perlite or coarse sand. Sterilized is best.
- Small Pots or Seed Starting Trays: Anything that can hold your cuttings and soil.
- Plastic Bags or Domes: To create a humid environment.
- Watering Can or Spray Bottle: For gentle watering.
- Marker and Labels: Because trust me, you will forget what you planted where!
Propagation Methods
Let’s get our hands dirty! Persicaria careyi is a champ when it comes to stem cuttings.
Stem Cuttings: My Go-To Method
- Select Your Material: Look for healthy, non-flowering stems on your mature Persicaria careyi. Aim for stems that are about 4-6 inches long.
- Make the Cut: Using your clean shears or knife, make a clean cut just below a leaf node. This is where the magic happens, where roots are most likely to form.
- Prepare the Cutting: Gently remove the lower leaves. You want to leave just two to four sets of leaves at the top. This reduces water loss and allows the plant to focus energy on rooting. If the remaining leaves are very large, you can even cut them in half to further reduce transpiration.
- Apply Rooting Hormone (Optional): If you’re using rooting hormone, dip the cut end of the stem into it, tapping off any excess.
- Plant Your Cuttings: Fill your small pots or seed tray with your moistened, well-draining potting mix. Make a small hole with a pencil or your finger and insert the prepared cutting. Gently firm the soil around it.
- Create a Humid Environment: Water the soil gently, then cover the pots or tray with a plastic bag or a propagator lid. Make sure the leaves aren’t crammed against the plastic – you can use stakes or skewers to prop it up.
Division: Another Easy Option
If you have an established clump of Persicaria careyi, division is a breeze.
- Dig Gently: In spring (or fall, but spring is usually best for recovery), carefully dig up the entire clump.
- Separate the Roots: Gently pull the root ball apart with your hands or use a clean trowel to divide it into smaller sections, ensuring each section has plenty of roots and at least one strong shoot.
- Replant: Pot up the divided sections as you would a new plant.
The “Secret Sauce” (Pro Tips)
Here are a couple of things I’ve learned over the years that really make a difference:
- Humidity, Humidity, Humidity: Don’t skimp on creating that humid microclimate! It’s the single most important factor for cuttings to root. I often find misting the inside of the plastic bag daily helps keep things perfectly moist without waterlogging the soil.
- Warm Feet, Cool Tops: If you can, giving your pots a little bit of bottom warmth speeds up root development significantly. A heat mat is fantastic for this, or even placing them on a sunny windowsill where the sill itself gets a bit warm. Just make sure the leaves aren’t baking in direct, scorching sun.
Aftercare & Troubleshooting
Once your cuttings have been nestled in their pots for a few weeks, you should start to see signs of life!
- Check for Roots: You can gently tug on a cutting. If you feel resistance, congratulations, roots are forming! You can also look for new leaf growth.
- Acclimate Gradually: Once you see good root development, start gradually introducing your new plants to drier air. Open the plastic bag for a few hours each day, slowly increasing the time until they are fully acclimatized and you can remove the covering entirely.
- Watering: Keep the soil consistently moist but not soggy. Overwatering is the quickest way to invite rot, which is probably the most common problem you’ll encounter. If you see stems turning mushy or blackening at the soil line, it’s likely rot. Sadly, in these cases, it’s usually best to discard the affected cuttings and learn from the experience.
A Encouraging Closing
Propagating plants is such a wonderful way to connect with nature and to build your dream garden without breaking the bank. Be patient with your little Persicaria careyi cuttings. Some will take root sooner than others, and that’s perfectly okay. Celebrate the successes, learn from the challenges, and most importantly, enjoy the journey of nurturing new life. Happy gardening!
Resource:
https://identify.plantnet.org/k-world-flora/species/Persicaria%20careyi%20(Olney)%20Greene/data