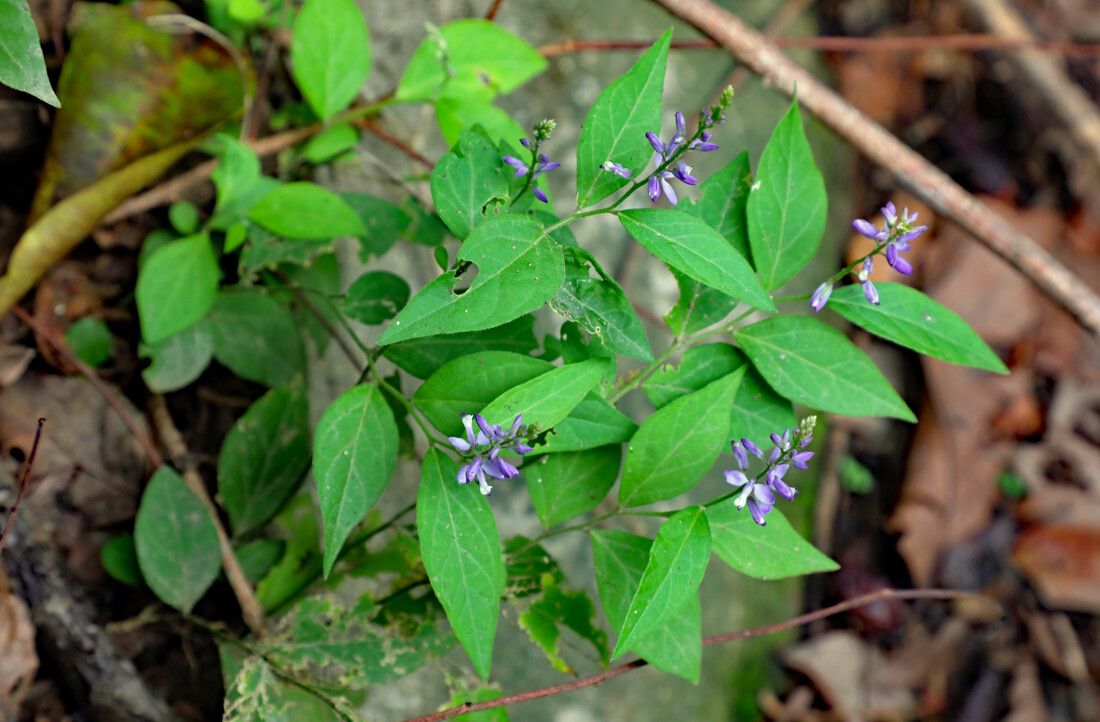
Oh, hello there! So, you’ve fallen for the charm of Hebecarpa costaricensis, have you? I don’t blame you one bit. This tropical beauty, with its lush foliage and delicate blooms, brings such a wonderful splash of lushness to any shady corner. And the best part? Growing more of them is incredibly rewarding. It’s like creating little pieces of your happy garden to share, or simply to admire from a new vantage point.
Now, I won’t lie to you. Hebecarpa costaricensis isn’t the absolute easiest plant for a complete beginner to propagate. It likes a bit of warmth and humidity. But with a little patience and these tips, I’m confident you’ll be successful. Think of it as a delightful challenge that will teach you so much!
The Best Time to Start
Generally, the spring and early summer are your best bets for propagating Hebecarpa costaricensis. This is when the plant is actively growing, and new stems are full of vigor. Think of it as the plant’s energetic “getting things done” phase. You want to take cuttings when the plant isn’t stressed by extreme heat or cold.
Supplies You’ll Need
Here’s what you’ll want to have on hand to make this process go smoothly:
- Sharp Pruning Shears or a Clean Knife: For taking clean cuts. A dull tool can crush stems, making it harder for them to root.
- Potting Mix: A well-draining mix is crucial. I like a blend of equal parts perlite and peat moss or coco coir. This airy, moisture-retentive blend is perfect.
- Small Pots or Seedling Trays: Clean containers are a must to prevent disease.
- Rooting Hormone (Optional but Recommended): A good powder or gel can really give your cuttings a boost.
- Clear Plastic Bags or a Propagator: To maintain high humidity around your cuttings.
- Water: For watering and, well, water propagation!
- Small Pebbles or Activated Charcoal (for water propagation): To keep the water fresh and prevent rot.
Propagation Methods
Let’s dive into how we’ll get these lovely plants started.
Stem Cuttings
This is my go-to method for Hebecarpa costaricensis.
- Find a Healthy Parent Plant: Look for a stem that’s actively growing but not flowering. You want it to be slightly bendy, not woody or brittle.
- Take Your Cuttings: Using your clean shears, cut a stem about 4-6 inches long. Make the cut just below a leaf node (where a leaf attaches to the stem).
- Prepare the Cuttings: Gently remove the lower leaves, leaving just a couple at the very top. This prevents them from rotting when buried. If your leaves are very large, you can even cut them in half horizontally to reduce water loss.
- Apply Rooting Hormone: Dip the cut end of the stem into your rooting hormone, tapping off any excess.
- Pot Them Up: Fill your small pots with your prepared potting mix. Make a small hole in the center with your finger or a pencil, and gently insert the cutting. Firm the soil around it.
- Water Gently: Water thoroughly to settle the soil.
- Create a Humid Environment: Place the potted cuttings into a clear plastic bag or a propagator. Seal it loosely to allow some air circulation. You can also pop a small elastic band around the pot.
Water Propagation
This is a visually satisfying method, and sometimes it works wonderfully for Hebecarpa.
- Select Your Cuttings: Similar to stem cuttings, choose healthy, non-flowering stems that are 4-6 inches long and cut just below a leaf node.
- Prepare the Cuttings: Remove the lower leaves.
- Place in Water: Fill a clean jar or glass with room-temperature water. Make sure none of the remaining leaves will be submerged. I often add a few small pebbles to the bottom of the jar to help support the cutting. Some gardeners swear by adding a tiny piece of activated charcoal to keep the water clean.
- Position the Jar: Place the jar in a bright spot out of direct sunlight.
- Change Water Regularly: Change the water every few days to keep it fresh and prevent bacterial growth.
The “Secret Sauce” (Pro Tips)
Here are a couple of things I’ve learned over the years that make a big difference:
- Bottom Heat is Your Friend: For stem cuttings in soil, placing the pots on a heat mat designed for seedlings can significantly speed up root development. Hebecarpa loves that gentle warmth. Don’t let it get too hot, though – just comfortably warm to the touch.
- Don’t Let Them Drown: When water propagating, it’s crucial that no leaves touch the water. This is a common mistake that leads to rot. If a leaf dips in, trim it off or adjust the cutting.
- Misting is Your Friend (Initially!): While you want to keep the cuttings humid, don’t overwater the soil once they’re potted. A light misting of the leaves inside the plastic bag for the first week or two can help keep them turgid without waterlogging the roots.
Aftercare & Troubleshooting
Once you see those tiny roots starting to form – hooray! You’re on your way!
- For Cuttings in Soil: As roots develop, you’ll notice the cuttings becoming firm and perhaps even showing new leaf growth. Gradually acclimate them to normal room humidity by opening the plastic bag a little more each day over a week. Once they are robust, you can remove the bag entirely. Keep them in moist, but not soggy, soil.
- For Cuttings in Water: When the roots are about an inch long, it’s time to pot them up into your prepared potting mix. Treat them just like you would the newly potted stem cuttings.
- Troubleshooting: The most common problem is rot. If a cutting becomes mushy, black, or smells foul, it’s a sure sign of rot. This usually happens from too much moisture, poor drainage, or not enough air circulation. If you start to see this, remove the affected cutting immediately to prevent it from spreading. Yellowing leaves can sometimes indicate too much or too little water, or not enough light.
A Little Patience Goes a Long Way
Watching those new roots emerge is such a satisfying moment. Don’t get discouraged if it takes a few weeks, or even a couple of months. Gardening is all about patience and observation. Enjoy the process, learn from each attempt, and soon you’ll have a little army of Hebecarpa costaricensis to brighten your world. Happy propagating!
Resource: