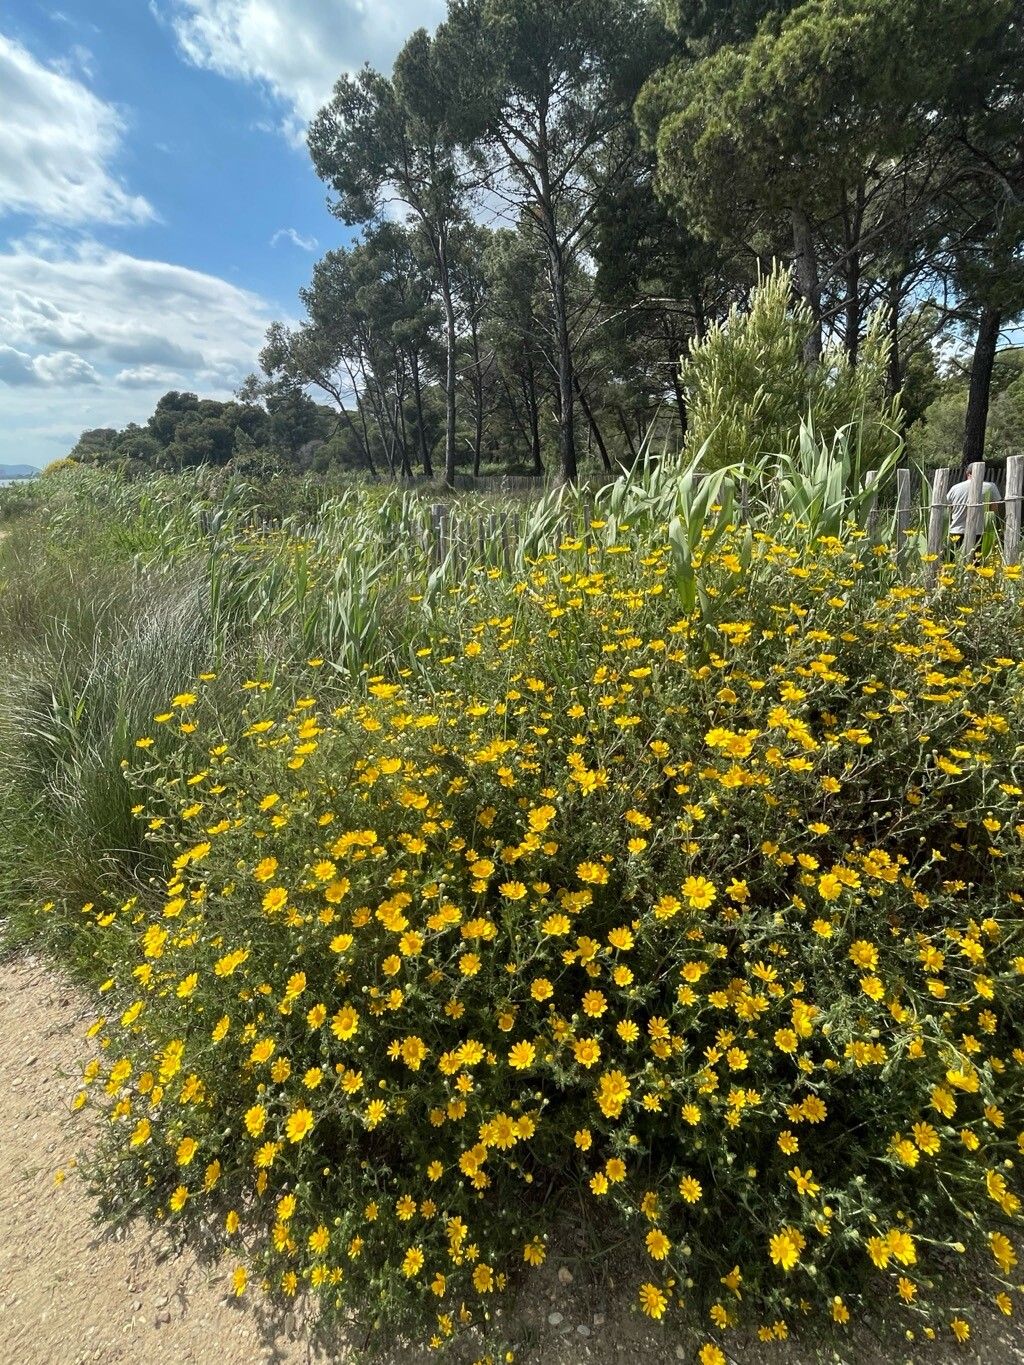
Oh, Anacyclus radiatus! If you haven’t met this sunny little darling yet, you’re in for a treat. Sometimes called ‘White Sunburst’, it’s got these absolutely cheerful daisy-like flowers with a hint of a radiating glow. They bring such brightness to a garden, don’t they? And the beauty of it is, you can easily fill your garden beds, or pots, or even share with friends, by propagating them yourself. It’s one of those plants that makes you feel like a gardening magician, and I’m happy to say, it’s a wonderfully beginner-friendly plant to start with.
The Best Time to Start
For Anacyclus radiatus, I find the best time to get stuck in is late spring to early summer. This is when the plant is actively growing, and those stems are full of life and energy. You want to grab cuttings from healthy, vigorous growth that’s not flowering or setting seed. Think of it like picking a healthy, juicy shoot – that’s the kind you want!
Supplies You’ll Need
Gathering your tools beforehand makes the whole process so much smoother. Here’s what I usually have on hand:
- Sharp pruning shears or a clean knife: For making nice, clean cuts. No crushing the stems!
- Potting mix: A well-draining mix is key. I often use a blend of equal parts potting soil and perlite or coarse sand.
- Small pots or trays: Clean ones, of course! Small nursery pots or even recycled yogurt cups with drainage holes work great.
- Rooting hormone (optional but helpful): This can give your cuttings a little boost. You can find powder or gel forms.
- Watering can or spray bottle: For gentle watering.
- Plastic bags or a propagator: To create a humid environment.
Propagation Methods
Anacyclus radiatus is a champ at growing from stem cuttings. It’s my go-to method for this plant, and it’s quite straightforward.
- Take the Cuttings: Using your clean shears, snip off healthy, non-flowering shoots that are about 4-6 inches long. Make the cut just below a leaf node (where a leaf grows from the stem).
- Prepare the Cuttings: Gently remove the lower leaves from the stem, leaving just a few at the top. This prevents them from rotting when you plant them. If you’re using rooting hormone, dip the cut end into it now according to the product’s instructions.
- Plant the Cuttings: Fill your pots with your moist, well-draining potting mix. Make a small hole in the center with your finger or a pencil. Carefully insert the cut end of the stem into the hole, ensuring the nodes where you removed leaves are below the soil surface. Gently firm the soil around the cutting.
- Create a Humid Environment: Water the soil lightly. Then, cover the pots loosely with a clear plastic bag or place them in a propagator. This traps moisture and creates that essential humid microclimate for rooting.
The “Secret Sauce” (Pro Tips)
Now, for a few little tricks I’ve picked up over the years. These can make a surprising difference!
- I find that using bottom heat – like a gentle seed-starting mat – can really speed up root development. It mimics the warmth of summertime soil, giving those roots an encouraging start. Just make sure the heat isn’t too intense.
- Don’t be tempted to keep the soil soaking wet! Anacyclus radiatus likes things on the drier side once established. For cuttings, keep the soil consistently moist but never waterlogged. Overwatering is the fastest way to invite rot.
- If you’re doing the plastic bag method, make sure none of the leaves are touching the plastic. Condensation can collect on the leaves and lead to fungal issues. A few twigs or supports inside the bag can keep it tented nicely.
Aftercare & Troubleshooting
Once you’ve got your cuttings planted, place them in a bright spot, but out of direct, harsh sunlight. Keep them there, maintaining that gentle moisture. You’ll know your cuttings are rooting when you see new growth appearing or feel a slight resistance when you gently tug on the stem. This usually takes a few weeks.
If you see leaves turning yellow or mushy, or the stem looks dark and slimy, that’s usually a sign of rot. It’s often due to too much moisture or poor air circulation. If this happens, I unfortunately have to just discard that cutting. It’s a bummer, but it happens! Sometimes, it’s just a matter of waiting, and if you don’t see any sign of life after a month or so, the cutting might not have taken.
A Encouraging Closing
So there you have it! Propagating Anacyclus radiatus is a really rewarding way to expand your garden or share the joy. Be patient with your little cuttings; they have their own timeline. Just give them consistent care, and before you know it, you’ll have a whole parade of sunbursts ready to bloom. Happy propagating!
Resource:
https://identify.plantnet.org/k-world-flora/species/Anacyclus%20radiatus%20Loisel./data