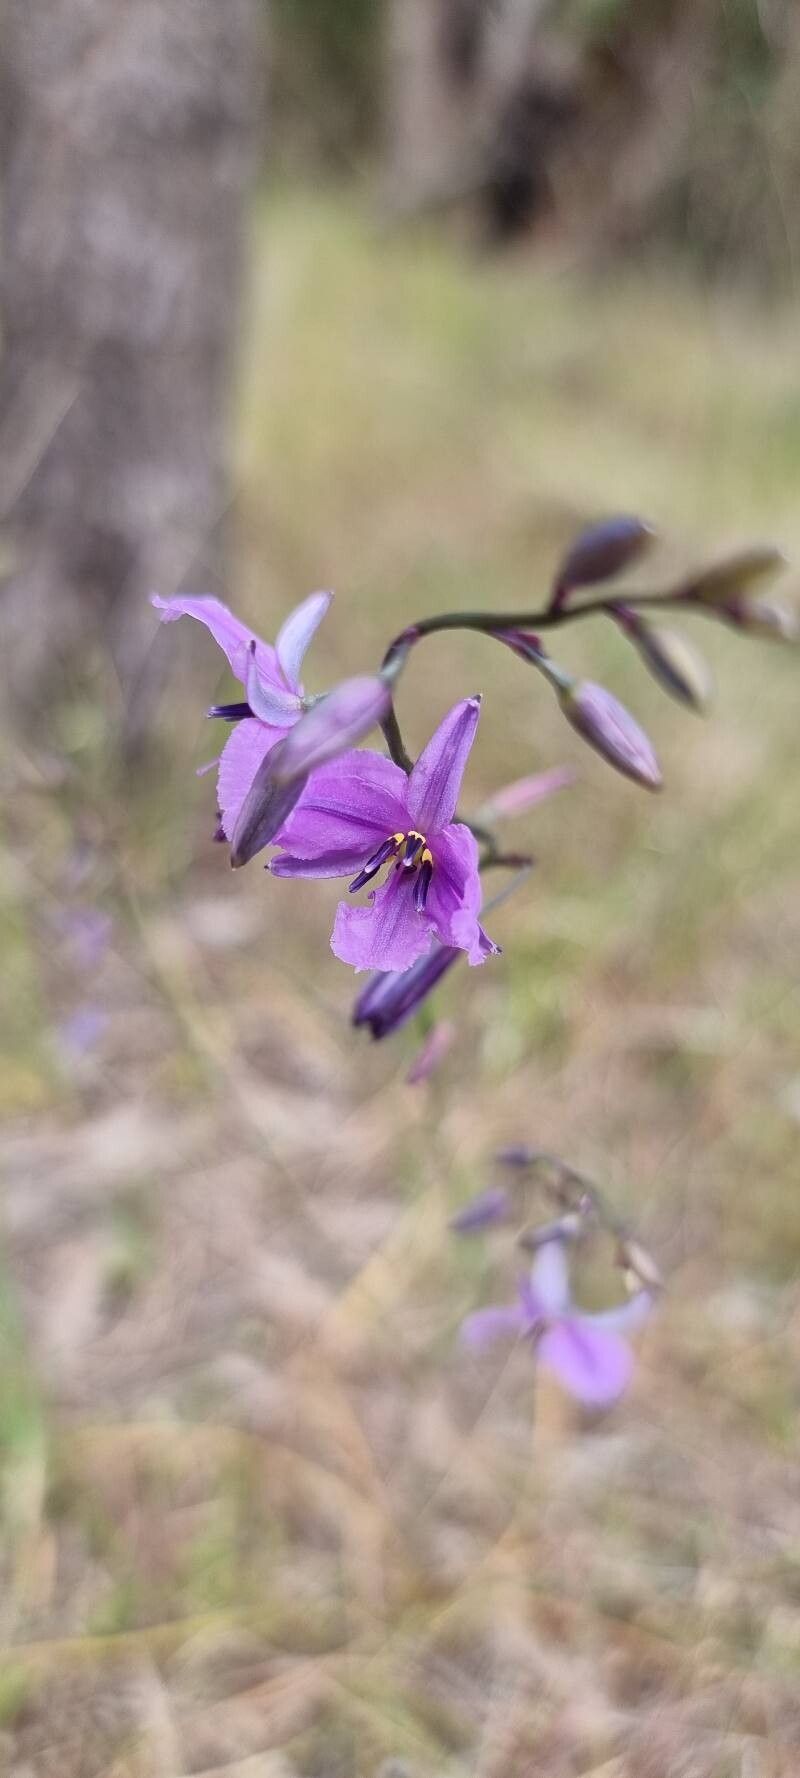
Oh, the joy of creating more of a good thing! If you’ve ever admired the delicate, star-like flowers and lush foliage of Arthropodium strictum, you’re in for a treat. This little beauty, often called Samoan Jasmine or a similar common name depending on your region, is a wonderfully rewarding plant to grow. And the even better news? Propagating it is generally quite straightforward. I’d say it’s a beginner-friendly plant for those looking to dip their toes into propagation. You’ll feel like a gardening wizard in no time, filling your space with more of its fragrant charm.
The Best Time to Start
My favorite time to get my propagation game on with Arthropodium strictum is in the late spring or early summer. This is when the plant is actively growing and has plenty of energy to put into developing new roots. You want to look for fresh, healthy stems that are neither too soft and new nor old and woody. It’s all about finding that sweet spot of vigorous growth potential.
Supplies You’ll Need
Here’s what I usually have on hand when I’m ready to propagate:
- Sharp pruning shears or a clean knife: For making neat cuts.
- Small pots or seed trays: With good drainage holes, of course!
- Well-draining potting mix: A blend of potting soil, perlite, and perhaps a touch of coco coir works wonders.
- Rooting hormone (optional but recommended): This can really give your cuttings a boost.
- Clear plastic bags or a propagator: To create a humid environment.
- Watering can with a fine rose: For gentle watering.
- Labels and a pen: To keep track of what you’ve planted and when.
Propagation Methods
There are a couple of ways I find really successful for Arthropodium strictum.
Stem Cuttings
This is my go-to method for this plant.
- Take your cuttings: In late spring or early summer, select healthy stems that have some new growth but aren’t too soft. Using your sharp shears, cut stems about 4-6 inches long, just below a leaf node (where a leaf attaches to the stem).
- Prepare the cuttings: Gently remove the lower leaves from the bottom two-thirds of the cutting. This prevents them from rotting once planted. If the remaining leaves are very large, you can even cut them in half horizontally to reduce water loss.
- Apply rooting hormone (optional): Dip the cut end of the stem into your rooting hormone powder, tapping off any excess.
- Plant the cuttings: Fill your small pots with your well-draining potting mix. Make a small hole in the center of the soil with a pencil or your finger, and gently insert the cutting. Firm the soil around the base of the cutting.
- Water and cover: Water your cuttings gently until the soil is moist but not waterlogged. Then, cover the pot with a clear plastic bag or place it in a propagator. This creates the humid environment that cuttings crave.
Division
If your Arthropodium strictum has grown into a nice clump, division is a fantastic way to get more plants and also rejuvenate the parent plant.
- Remove the plant from its pot: Gently ease the entire plant out of its container.
- Gently tease apart the roots: With clean hands or a small trowel, carefully separate the root ball into smaller sections. Aim for sections that have both roots and some healthy foliage.
- Replant immediately: Pot up each divided section into its own container with fresh, well-draining soil. Water them well.
The “Secret Sauce” (Pro Tips)
Here are a couple of things I’ve learned that make a big difference:
- Don’t let leaves touch the water: If you decide to try water propagation (which I find a bit trickier with Arthropodium as they can be prone to rot), it’s crucial that no leaves are submerged in the water. Only the stem should be in contact with the water. Change the water every few days to keep it fresh.
- Bottom heat is your friend: While not strictly necessary, placing your pots on a heated propagation mat can significantly speed up root development, especially if your home tends to be on the cooler side. It mimics the warmth of spring soil.
Aftercare & Troubleshooting
Once your cuttings have rooted – and you can gently tug on them to feel for resistance, or you might even see new growth – it’s time to give them a little extra love.
- Gradually acclimate: Slowly remove the plastic bag or open the propagator vents over a few days to let the new plants get used to normal humidity.
- Watering: Continue to water them when the top inch of soil feels dry. They’re still building their strength.
- Light: Keep them in bright, indirect light. Direct sun can scorch those delicate new leaves.
The most common issue I see is rot, which usually happens if the soil is too wet or the air circulation is poor. If you notice stems turning mushy and black, sadly, that cutting is usually a lost cause. Just remove it to prevent any spread and adjust your watering habits. And remember, patience is key! Not every cutting will make it, but that’s part of the gardening adventure.
A Encouraging Closing
Don’t be discouraged if your first attempt isn’t perfect. Gardening is a learning process, and each plant teaches us something new. Take joy in the anticipation, the nurturing, and the eventual success of bringing more of these lovely Arthropodiums into your world. Happy propagating!
Resource:
https://identify.plantnet.org/k-world-flora/species/Arthropodium%20strictum%20R.Br./data