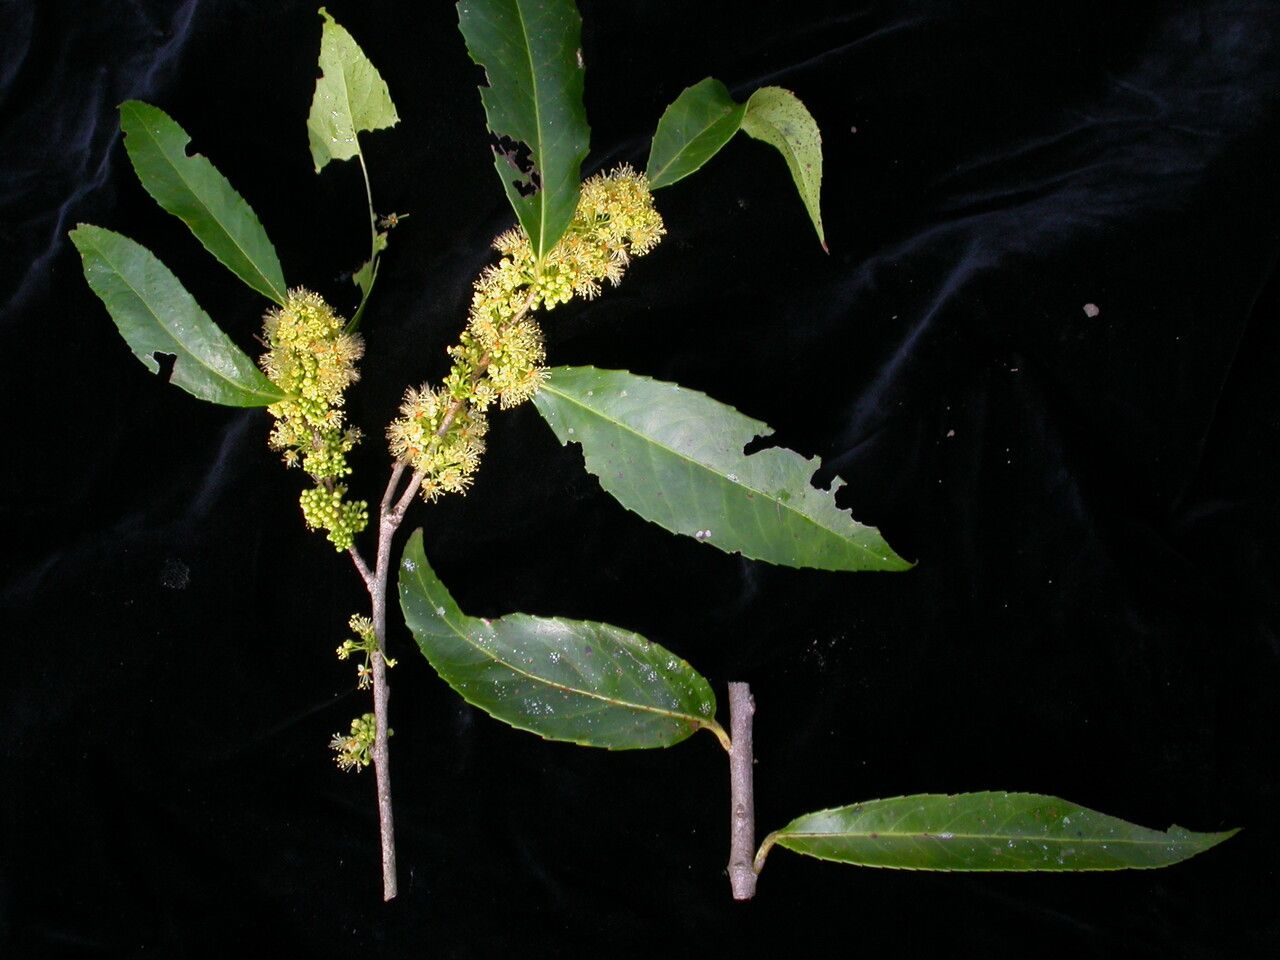
Oh, hello there! Come on in, grab a mug. Today, we’re going to talk about a truly lovely plant: Xylosma longifolia. Its glossy, leathery leaves and graceful arching habit make it a real standout in any garden. And the best part? It’s surprisingly rewarding to grow more of these beauties yourself! Don’t be put off if you’re newer to the gardening game; Xylosma longifolia is a pretty forgiving plant when it comes to propagation, which is wonderful news.
The Best Time to Start
When it comes to getting the most bang for your buck with Xylosma, I always lean towards late spring or early summer. This is when the plant is actively growing, putting out plenty of fresh, pliable new stems. You want to work with softwood or semi-hardwood cuttings – think of stems that are still a little bendy but have started to firm up a bit. Trying to take cuttings when the plant is dormant usually just leads to disappointment.
Supplies You’ll Need
Before we dive in, let’s gather our toolkit. Having everything ready makes the process so much smoother.
- Sharp Pruning Shears or a Craft Knife: Clean cuts are crucial for good rooting.
- Rooting Hormone: This isn’t strictly necessary for Xylosma, but it can give your cuttings a helpful boost. Look for one that’s suitable for softwood cuttings.
- Well-Draining Potting Mix: I like a mix of equal parts peat moss or coir and perlite or coarse sand. For Xylosma, a bit more grit helps prevent waterlogging.
- Small Pots or Seedling Trays: Clean pots are a must!
- Clear Plastic Bag or Propagator Lid: To create a humid environment.
- Watering Can with a Fine Rose: Gentle watering is key.
Propagation Methods: Stem Cuttings
This is my go-to for Xylosma longifolia. It’s straightforward and usually yields great results.
- Select Your Cuttings: Look for those healthy, vigorous stems I mentioned earlier – the ones that are bright green and have started to get a bit firm. You’re aiming for cuttings that are about 4-6 inches long.
- Make the Cut: Using your sharp shears or knife, make a clean cut just below a leaf node, which is that little bump on the stem where a leaf attaches. This is where the magic happens for root development.
- Prepare the Cuttings: Gently strip off the lower leaves, leaving just a couple of sets at the very top. This prevents them from rotting in the soil and helps the cutting focus its energy on rooting. If the top leaves are very large, you can even snip them in half to reduce water loss.
- Apply Rooting Hormone (Optional): Dip the cut end of the stem into your rooting hormone, tapping off any excess.
- Plant Your Cuttings: Fill your clean pots with your light potting mix. Make a small hole with your finger or a pencil and insert the cuttings about an inch deep. Gently firm the soil around them.
- Water Gently: Water thoroughly until you see water draining from the bottom of the pot.
- Create Humidity: Cover the pots with a clear plastic bag or a propagator lid. You want to create a mini-greenhouse effect. Make sure the leaves don’t touch the plastic – if they do, tent the bag up a bit.
The “Secret Sauce” (Pro Tips)
Okay, here are a few little tricks I’ve picked up over the years that can really make a difference:
- Bottom Heat is Your Friend: If you have a heat mat designed for propagation, place your pots on it. Xylosma loves a little warmth from below, which significantly speeds up root formation. It’s like giving your cuttings a cozy little spa day!
- Don’t Overwater! This is vital. While they need humidity, soggy soil is the fastest way to invite rot. If the potting mix looks consistently wet, take off the cover for a few hours to let it dry out a bit.
- Label Everything! Trust me, when you’re propagating a few things at once, it’s so easy to forget which is which. A simple label with the date and plant name is a lifesaver.
Aftercare & Troubleshooting
Once your cuttings have had some time to settle in (usually around 4-8 weeks), you’ll start to see new leaf growth or resistance when you gently tug on a cutting. That’s your sign!
- Acclimatize: Once roots are established, start by gradually introducing your new plants to less humid conditions. Remove the plastic cover for an hour or two each day, then increase that time until they’re fully exposed.
- Potting Up: When they have a good root system, you can carefully pot them into slightly larger individual pots with fresh potting mix.
- Troubleshooting: The most common issue is rot, which usually comes from overwatering and poor drainage. If a cutting has turned mushy and black, it’s best to discard it and learn from the experience. You might also see yellowing leaves, which can sometimes indicate too much direct sun before roots are established, or not enough water.
A Little Patience Goes a Long Way
Growing new plants is such a rewarding part of gardening. It connects you to the cycle of life and allows you to share your passion with others. Don’t get discouraged if every single cutting doesn’t make it – that’s part of the learning curve! Be patient, observe your little cuttings, and enjoy the journey. Happy propagating!
Resource:
https://identify.plantnet.org/k-world-flora/species/Xylosma%20longifolia%20Clos/data