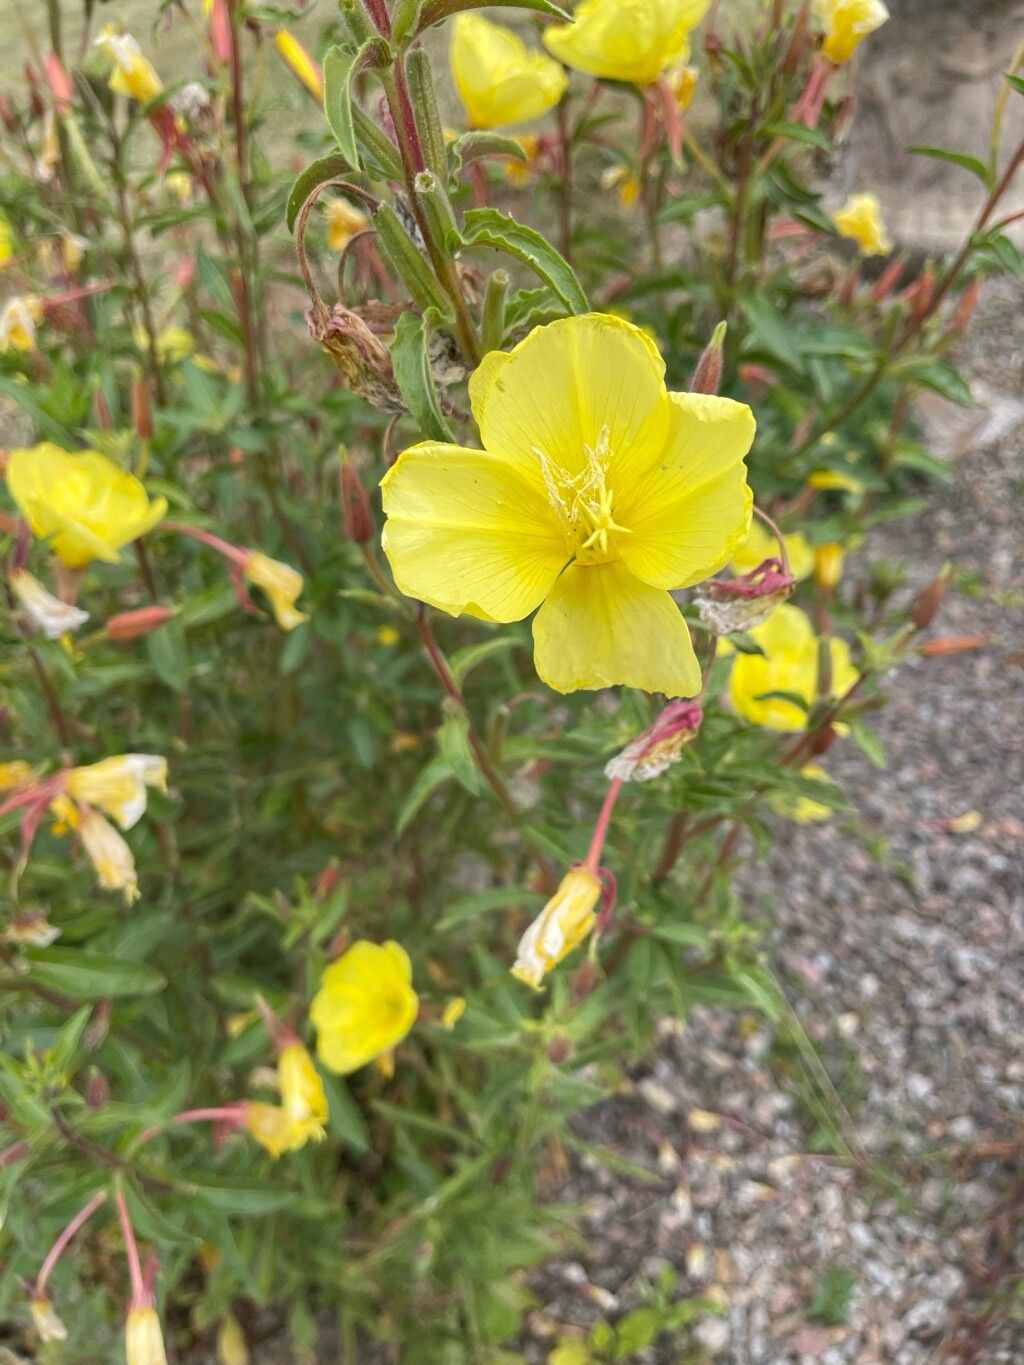
Oh, Oenothera elata! What a beauty. I’ve grown these evening primroses for years, and they always bring a smile to my face. Their vibrant blooms, often a sunny yellow or a soft pink, unfurl as the day cools, filling the garden with a gentle fragrance. Plus, they’re quite tough, which is always a bonus! Propagation is a fantastic way to share these beauties with friends or simply expand your own patch. Honestly, it’s not a difficult plant to get more of – even for those just starting out.
The Best Time to Start
For Oenothera elata, spring or early summer is your sweet spot. This is when the plant is actively growing and has plenty of energy to put into rooting. You want to work with healthy, vigorous stems that haven’t flowered yet, or are just starting to bud. Avoid trying to propagate from old, woody material.
Supplies You’ll Need
- Sharp pruning shears or a clean knife: For making clean cuts.
- Rooting hormone powder or gel: This isn’t strictly essential, but it does give cuttings a good head start.
- Small pots or seed trays: With drainage holes, of course!
- Potting mix: A light, well-draining mix is key. I like to use a blend of seed-starting mix and perlite (about a 50/50 ratio).
- Plastic bags or a clear plastic dome: To create a mini-greenhouse effect.
- Watering can or spray bottle: For gentle watering.
- Labels: So you remember what you’ve planted!
Propagation Methods
The easiest and most rewarding way to propagate Oenothera elata for me is through stem cuttings.
- Take Cuttings: In the spring or early summer, select healthy, non-flowering stems. Using your sharp pruning shears or knife, cut a section about 4-6 inches long. Make sure to take these cuttings from the tip of the stem, where the growth is soft and new.
- Prepare the Cuttings: Gently remove the lower leaves from the cutting, leaving just the top few. This prevents them from rotting when you place them in the soil. You can also cut any leaves in half if they’re very large, to reduce water loss.
- Apply Rooting Hormone (Optional but Recommended): Dip the cut end of the stem into your rooting hormone powder or gel. Tap off any excess.
- Plant the Cuttings: Fill your pots or trays with your prepared potting mix. Make a small hole in the center with your finger or a pencil. Insert the cut end of the stem into the hole, making sure it’s firm in the soil. You can usually fit 3-4 cuttings per small pot, spaced a couple of inches apart.
- Water Gently: Water the soil thoroughly but gently. You don’t want to dislodge the cuttings.
- Create a Humid Environment: This is crucial! Cover the pots loosely with a plastic bag or a clear plastic dome. This will trap moisture and create the humid environment cuttings need to form roots. Make sure the plastic doesn’t touch the leaves too much.
The “Secret Sauce” (Pro Tips)
- My absolute favorite tip for Oenothera elata cuttings is to use bottom heat. Setting your pots on a propagation mat or even a sunny windowsill with a warm radiator underneath can significantly speed up root formation. They just love a bit of warmth from below!
- Don’t be afraid to take more cuttings than you think you’ll need. Not every cutting will take, and that’s perfectly normal. It’s better to have a few extras to ensure you get the number of plants you want.
- When watering, I always try to water from the bottom if possible. Place your pots in a tray of water and let the soil wick up the moisture. This encourages roots to grow downwards and avoids disturbing the delicate cuttings.
Aftercare & Troubleshooting
Once your cuttings have been planted, keep them in a bright spot out of direct, harsh sunlight. The humidity is key here. You should start to see signs of new growth – tiny leaves emerging from the top – within a few weeks. This is the first indication that roots are forming!
When you see good new growth, it’s time to gradually acclimate them to drier air. You can do this by removing the plastic cover for increasingly longer periods over a week or so. Once they seem sturdy and have a decent root system (you can gently test this by giving the pot a light tug – there should be resistance), you can transplant them into their own individual pots.
The most common issue you’ll encounter is rot. If your cuttings look mushy or go black at the base, it’s usually a sign of too much moisture or not enough air circulation. Make sure your soil isn’t waterlogged and that you’re not keeping them covered for too long once they start rooting. If you see a cutting starting to rot, remove it immediately to prevent it from spreading to others.
A Encouraging Closing
Propagating your Oenothera elata is a journey, and like all good gardening adventures, it requires a little patience. Don’t get discouraged if some don’t make it – celebrate the ones that do! Watching those little roots form and new shoots emerge is incredibly satisfying. Happy propagating, and enjoy the beauty these amazing plants bring to your garden!
Resource:
https://identify.plantnet.org/k-world-flora/species/Oenothera%20elata%20Kunth/data