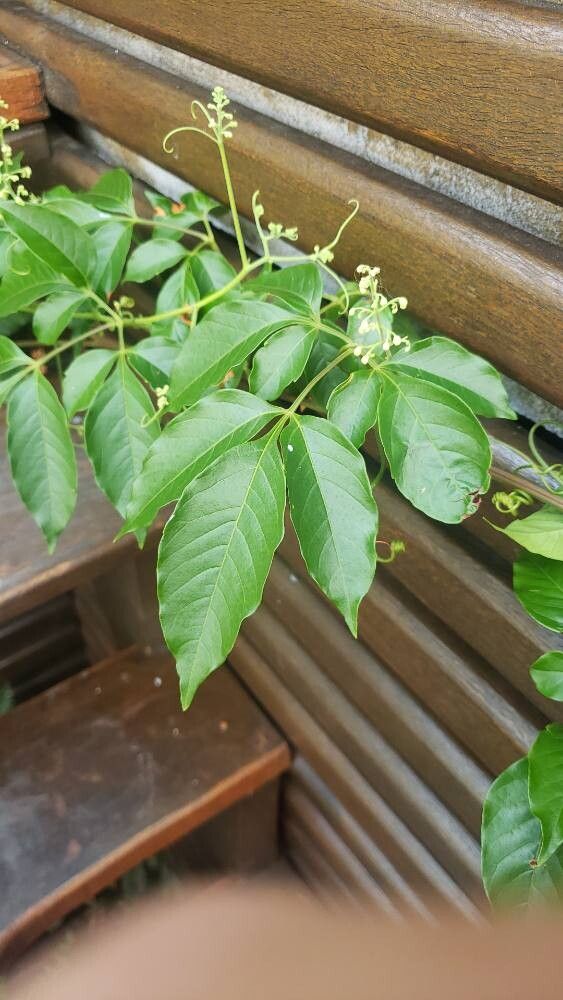
Hey there, green thumbs! It’s lovely to have you join me today. We’re going to talk about a real gem for the garden: Serjania circumvallata. This climbing vine, with its delicate, airy foliage and often subtle, sweet-smelling flowers, brings such a lovely, wispy charm to any space it graces. Learning to propagate it feels like unlocking a little bit of gardening magic, and trust me, it’s incredibly rewarding to watch those tiny cuttings transform into thriving new plants. Now, for the beginners out there, Serjania circumvallata isn’t super challenging, but it does appreciate a little specific care. With a few pointers, you’ll be well on your way!
The Best Time to Start
For Serjania circumvallata, I find the late spring or early summer to be the sweet spot. This is when the plant is actively growing, so it has plenty of energy to put into developing new roots. You want to look for stems that are producing fresh growth, but aren’t too soft and fragile. Think of stems that have a bit of flexibility but have started to firm up a little – sometimes we call this “semi-hardwood” stage.
Supplies You’ll Need
Gathering your tools beforehand makes the whole process smoother. Here’s what I usually have on hand:
- Sterilized pruning shears or a sharp knife: Cleanliness is key to preventing disease!
- Rooting hormone powder or gel: This isn’t strictly necessary, but I find it gives cuttings a real boost.
- A well-draining potting mix: A good blend is roughly 50% peat moss or coco coir and 50% perlite or coarse sand.
- Small pots or seed trays with drainage holes: About 4-6 inches deep is good.
- Clear plastic bags or a propagation dome: To create humidity.
- Watering can or spray bottle: For gentle watering.
- Labels and a permanent marker: To keep track of your precious cuttings!
Propagation Methods
Serjania circumvallata is wonderfully responsive to stem cuttings, which is my go-to method. It’s straightforward and usually yields great results.
Stem Cuttings:
- Take your cuttings: In late spring or early summer, select healthy, non-flowering stems. Using your sterilized pruning shears, cut lengths of about 4-6 inches. Make your cut just below a leaf node (where a leaf attaches to the stem).
- Prepare the cuttings: Gently remove the lower leaves from the cutting, leaving just the top two or three leaves. You can even cut larger leaves in half horizontally to reduce water loss.
- Apply rooting hormone: Dip the cut end of each stem into your rooting hormone. Tap off any excess.
- Plant the cuttings: Fill your pots with your prepared well-draining potting mix. Make small holes in the center of each pot with a pencil or your finger.
- Insert the cuttings: Carefully place each cutting into a hole, ensuring the leaf nodes are buried in the soil. Gently firm the soil around the stem.
- Water gently: Water the soil thoroughly until it’s evenly moist, but not waterlogged.
- Create a humid environment: Cover the pots with a clear plastic bag or a propagation dome, making sure the bag doesn’t touch the leaves too much. Secure it with a rubber band. Place the pots in a bright spot out of direct sunlight.
The “Secret Sauce” (Pro Tips)
Here are a couple of little tricks that have made a big difference for me:
- Bottom heat is your friend: If you have access to a seedling heat mat, placing your pots on it can significantly speed up root development. It mimics that lovely warm soil of spring.
- Don’t overcrowd the tray: Give each cutting a little space. If they’re too close, it can encourage fungal issues. Think of it as giving them their own little personal space to thrive.
Aftercare & Troubleshooting
Once your cuttings are planted, keep the soil consistently moist but not soggy. You’ll know they’re happy because you’ll start to see new leaf growth appearing from the top you’ve protected. This usually takes anywhere from 4-8 weeks, sometimes a bit longer.
The biggest challenges you might face are rot and drying out. Rot shows up as a mushy, dark stem base. If you see this, unfortunately, that cutting is likely lost. To prevent it, ensure good air circulation and avoid overwatering. If the leaves start to look wilted and sad, it might be too dry. Give them a gentle water.
When you see good root development (you can often gently tug on a cutting to feel resistance, or even see roots peeking from the drainage holes), it’s time to gradually acclimate them to normal conditions. Slowly open the plastic bag for increasing periods over a few days, and then remove it entirely. Once they’re established in their pots, you can transplant them into slightly larger pots or into their final garden location.
A Little Patience Goes a Long Way
Propagating plants is an act of faith, isn’t it? You’re nurturing something small, with the hope and belief that it will grow. Be patient with your Serjania circumvallata cuttings. Some will be quicker than others, and that’s perfectly okay. Enjoy the process, celebrate those first tiny roots, and soon you’ll be admiring your own beautiful Serjania vines. Happy propagating!
Resource:
https://identify.plantnet.org/k-world-flora/species/Serjania%20circumvallata%20Radlk./data