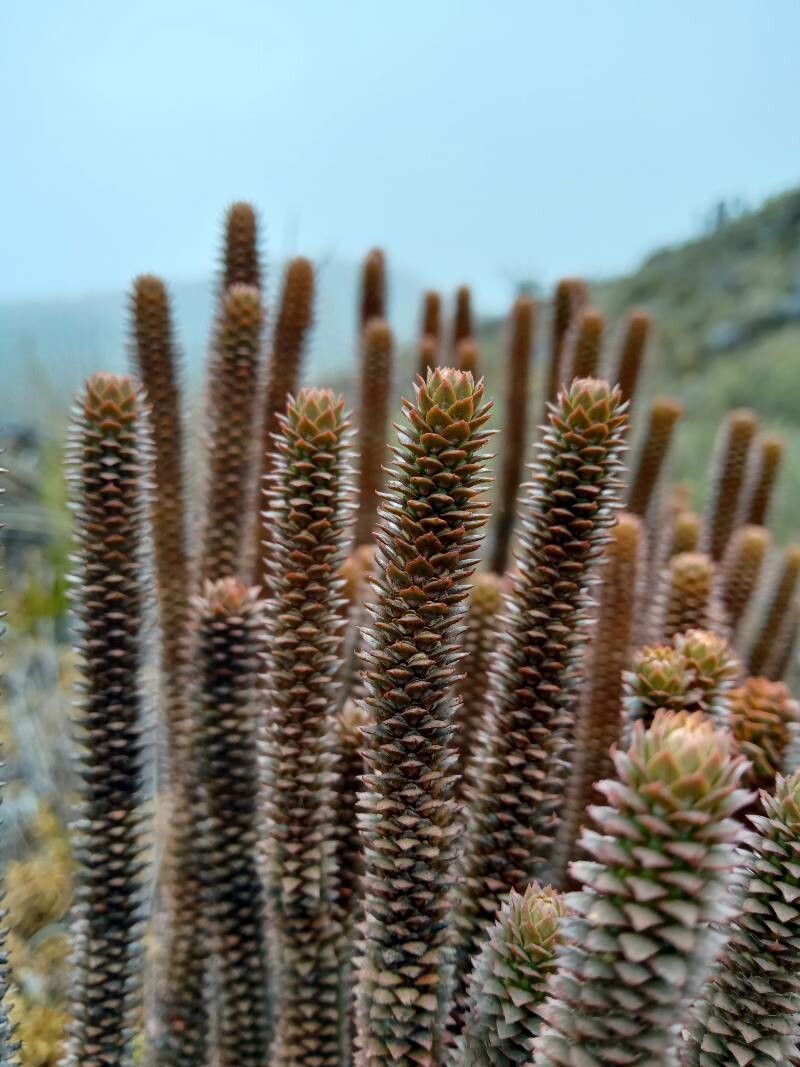
Welcome to my little corner of the internet, fellow plant lovers! Today, we’re diving into the world of Huperzia brevifolia, also known as clubmoss. If you’re drawn to those delicate, cascading trails and the lush, verdant texture it brings to a shady spot, you’re in for a treat. Propagating this beauty can feel like a little bit of magic, and trust me, it’s incredibly rewarding to watch a tiny cutting transform into a thriving plant. Now, I’ll be honest, Huperzia brevifolia isn’t the absolute easiest plant for a complete beginner to propagate, but with a little care and attention, it’s absolutely doable, and the satisfaction is immense!
The Best Time to Start
When I’m looking to propagate my clubmoss, I always aim for spring or early summer. This is when the plant is actively growing and has the most energy to put into developing new roots. Think of it as giving your cuttings the best possible start with plenty of warmth and light. Trying to propagate when the plant is dormant, like in the dead of winter, will usually lead to disappointment.
Supplies You’ll Need
Here’s what I always have on hand when I’m ready to get propagating:
- Sharp pruning shears or a clean knife: For making those precise cuts.
- A well-draining potting mix: I like to use a mix of equal parts peat moss or coco coir and perlite. This ensures good aeration and prevents waterlogging. For clubmoss, I sometimes add a little bit of orchid bark too.
- Small pots or trays: Little ones are perfect for cuttings.
- Watering can or spray bottle: For gentle misting.
- Rooting hormone (optional, but recommended): A powder or gel can give cuttings a helpful boost.
- Clear plastic bags or a propagation dome: To create a humid environment.
- A small trowel or dibber: To make holes for your cuttings.
Propagation Methods: Stem Cuttings, the Way to Go
For Huperzia brevifolia, I’ve found stem cuttings to be the most successful and straightforward method. It really mimics how the plant naturally spreads in its habitat.
- Identify Healthy Stems: Look for stems that are firm and vibrant, not mushy or yellowing.
- Make Your Cut: Using your clean shears, carefully cut a piece of stem that is about 3-4 inches long. Try to include a few leaf nodes along the stem. A node is where a leaf emerges from the stem.
- Prepare the Cutting: Gently strip off the leaves from the bottom inch or so of your stem. This prevents them from rotting once planted.
- Apply Rooting Hormone (Optional): Dip the cut end of the stem into your rooting hormone, tapping off any excess. This step can significantly speed up root development.
- Plant Your Cutting: Make a small hole in your prepared potting mix using a trowel or dibber. Gently insert the cut end of the stem into the hole, ensuring the nodes are covered by the soil.
- Water Gently: Lightly water the soil to settle it around the cutting.
- Create Humidity: Cover the pot with a clear plastic bag or a propagation dome. This traps moisture and creates the humid environment Huperzia brevifolia loves. If you don’t have a dome, you can use a zip-top bag with a few holes poked in it.
The “Secret Sauce” (Pro Tips)
Now for those little tricks I’ve learned over the years that can make all the difference:
- Don’t let the leaves touch the water. If you’re doing any sort of water propagation (which I find a bit trickier for this particular plant but still possible), make sure only the stem end is submerged. Any leaves in the water will quickly rot and can infect the rest of the cutting.
- Bottom heat is your friend. I have a seedling heat mat that I place my propagation tray on. This gentle warmth from below encourages root development much faster than relying on ambient room temperature alone. It’s a game-changer for many types of cuttings.
- Patience is paramount. Huperzia brevifolia isn’t a sprinter when it comes to rooting. Don’t be discouraged if you don’t see roots for several weeks. Keep the environment humid and the soil consistently moist (but not soggy), and trust the process.
Aftercare & Troubleshooting
Once you start to see signs of new growth, like tiny new leaves or a slight tug when you gently pull on the cutting, you know roots are forming!
- Gradually Acclimate: Begin to gradually remove the plastic bag or dome over a week or two. This helps the new plant adjust to normal humidity levels.
- Consistent Moisture: Continue to keep the soil consistently moist, but avoid overwatering. It’s better to water when the top layer of soil feels dry to the touch.
- Bright, Indirect Light: Place your new clubmoss in a spot with bright, indirect light. Direct sun will scorch those delicate new leaves.
What if things go wrong? The most common issue you might encounter is rot. If you see your cutting turning mushy or black, it’s usually a sign of too much moisture and not enough airflow. In this case, you might need to start again with a fresh cutting, ensuring your soil mix is airy and you’re not overwatering. Sometimes, despite our best efforts, a cutting just doesn’t take. Don’t beat yourself up! It happens to all of us.
A Little Encouraging Closing
Propagating Huperzia brevifolia is a journey, not a race. There’s a certain satisfaction in nurturing something from a small piece of stem into a plant that will bring you years of joy. Be patient with yourself and the process, and enjoy the magic of green growing things. Happy propagating!
Resource: