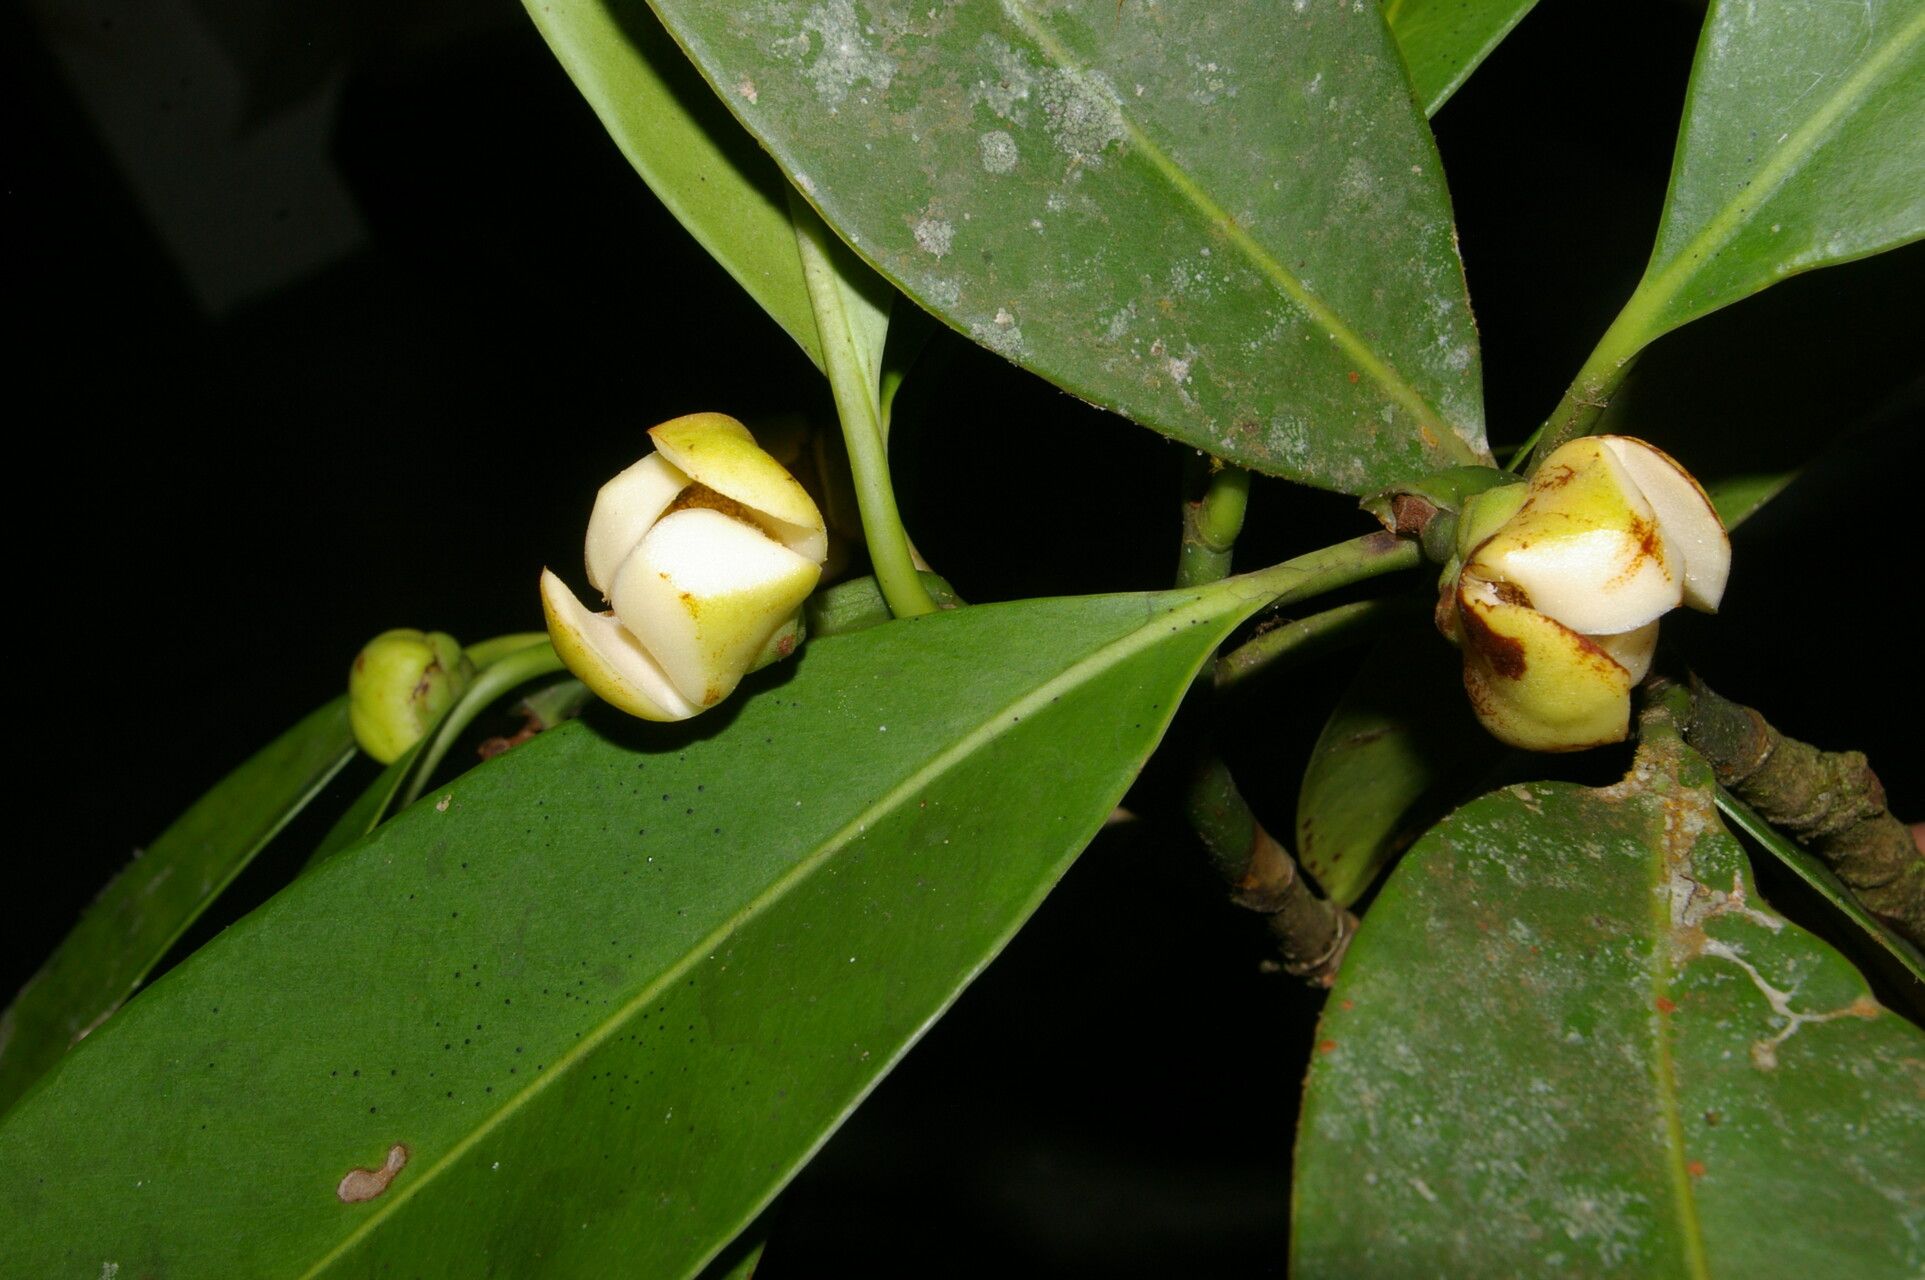
Oh, Clusia cooperi! What a beauty. I’ve always loved this plant. Its glossy, leathery leaves have a way of catching the light, and it adds such a wonderful tropical vibe to any space. And the best part? It’s surprisingly easy to start new plants from your existing ones. Seeing those tiny roots emerge and a new little plant unfurl its first leaves is pure gardening joy. Don’t worry, even if you’re just dipping your toes into the world of propagation, Clusia cooperi is a forgiving friend.
The Best Time to Start
For Clusia cooperi, spring and early summer are your golden ticket. When the plant is actively growing, it has the energy to put out new roots much more readily. Think of it as starting when the plant is feeling its most vibrant and ready to reproduce. Waiting until after its main growth spurt means you’re working with healthy, vigorous material.
Supplies You’ll Need
To get your Clusia cooperi propagation party started, you’ll want these handy helpers:
- Sharp Pruning Shears or a Knife: Clean cuts prevent disease.
- Rooting Hormone (Optional but Recommended): A little help never hurt! Look for one with IBA.
- Well-Draining Potting Mix: A mix of perlite, peat moss, and coco coir works wonders. Or, a good quality cactus/succulent mix will do in a pinch.
- Pots or Trays: Small ones for cuttings are perfect.
- Clear Plastic Bag or Propagator: To create a humid environment.
- Water: For watering and potentially for water propagation.
- Spray Bottle: For misting.
Propagation Methods
Clusia cooperi is a superstar at propagating from stem cuttings. It’s my go-to method, and I think you’ll find it incredibly straightforward.
Stem Cuttings
- Select Your Cuttings: Find a healthy stem that’s not too woody or too soft. You’re looking for something in between, with a bit of flexibility. Take cuttings that are 4-6 inches long.
- Make Your Cuts: Using your sharp shears or a knife, make a clean cut just below a leaf node. Leaf nodes are those little bumps where leaves emerge – that’s where the magic happens and new roots will form.
- Prepare the Cuttings: Gently remove the lower leaves from the cutting, leaving two to four leaves at the top. If the remaining leaves are very large, you can cut them in half horizontally to reduce water loss while the cutting builds its root system.
- Apply Rooting Hormone (If Using): Dip the cut end of the stem into your rooting hormone powder or gel. Tap off any excess.
- Plant Your Cuttings: Fill your small pots with your well-draining potting mix. Make a small hole with your finger or a pencil, and gently insert the cut end of the Clusia cutting into the mix. Press the soil lightly around the base to secure it.
- Water Gently: Water the soil thoroughly but gently, making sure not to disturb the cutting.
- Create Humidity: This is crucial! You can place your potted cuttings inside a clear plastic bag, sealing it loosely, or use a propagator lid. This creates a mini-greenhouse effect. Ensure the leaves don’t touch the sides of the bag, as this can encourage rot.
- Provide Light and Warmth: Place the cuttings in a bright spot that receives indirect sunlight. Avoid direct sun, which can scorch the young leaves. A little warmth from the bottom can also speed things up – a heat mat is wonderful if you have one.
Water Propagation (A Fun Alternative)
This method is a visual treat!
- Follow steps 1-3 for stem cuttings.
- Place Cuttings in Water: Fill a clean jar or glass with room temperature water. Submerge just the bottom 1-2 inches of the stem, ensuring no leaves are submerged. This is key to preventing rot.
- Find a Good Spot: Place the jar in a bright location with indirect light.
- Change Water Regularly: Change the water every 3-4 days to keep it fresh and oxygenated.
- Watch for Roots: In a few weeks, you’ll start to see tiny white roots emerge from the leaf nodes. Once the roots are about an inch long, you can pot them up into your well-draining potting mix as described above.
The “Secret Sauce” (Pro Tips)
Here are a couple of little nuggets I’ve learned over the years that often make all the difference:
- Don’t Drown Your Cuttings (in Soil): The biggest pitfall for beginners is overwatering. The soil mix should be moist, not soggy. Give it a gentle squeeze and if water drips out, it’s too wet. The humidity from the bag or propagator should do most of the work keeping the leaves happy.
- The Power of the Node: Those leaf nodes are your best friends. If you have a longer cutting, you can even make additional cuts at other nodes along the stem to create more potential root-starting points. Just ensure each piece has at least one leaf node.
- Consider Bottom Heat: Honestly, if you can provide a little gentle warmth from below, your cuttings will thank you. It really encourages those roots to get going. I’ve seen a significant difference when using a seedling heat mat.
Aftercare & Troubleshooting
Once you see strong roots forming (you might even see a new leaf unfurling!), it’s time to transition your new Clusia to its own pot.
- Transitioning to Soil: Gently remove the plastic bag or propagator lid for a few days before potting to help the new plant acclimate to less humid air. Then, pot your rooted cutting into its own small pot filled with your well-draining mix.
- Watering: Water thoroughly after potting. From then on, water only when the top inch of soil feels dry to the touch.
- Light: Continue to provide bright, indirect light.
- Fertilizing: Hold off on fertilizing for the first month or two. Let the new plant settle in.
Troubleshooting:
- Yellowing Leaves: This can be a sign of overwatering or insufficient light. Check your watering habits and ensure it’s getting enough bright, indirect light.
- Rotting Stem: This is usually due to too much moisture in the soil or no air circulation. Ensure your soil is well-draining and you’re not drowning the cuttings. If you’re water propagating, make sure no leaves are submerged. Remove any rotting material immediately.
- No Root Growth: Be patient! Sometimes it just takes a little longer. Ensure your cuttings have the right conditions: consistent moisture (but not soggy), humidity, and bright indirect light.
A Little Patience Goes a Long Way
Starting new plants is a journey, and the most rewarding part is the process itself. Don’t be discouraged if not every single cutting takes. Clusia cooperi is a generous plant, and with a little care and these tips, you’ll be sharing your beautiful new plants in no time. Happy propagating!
Resource:
https://identify.plantnet.org/k-world-flora/species/Clusia%20cooperi%20Standl./data