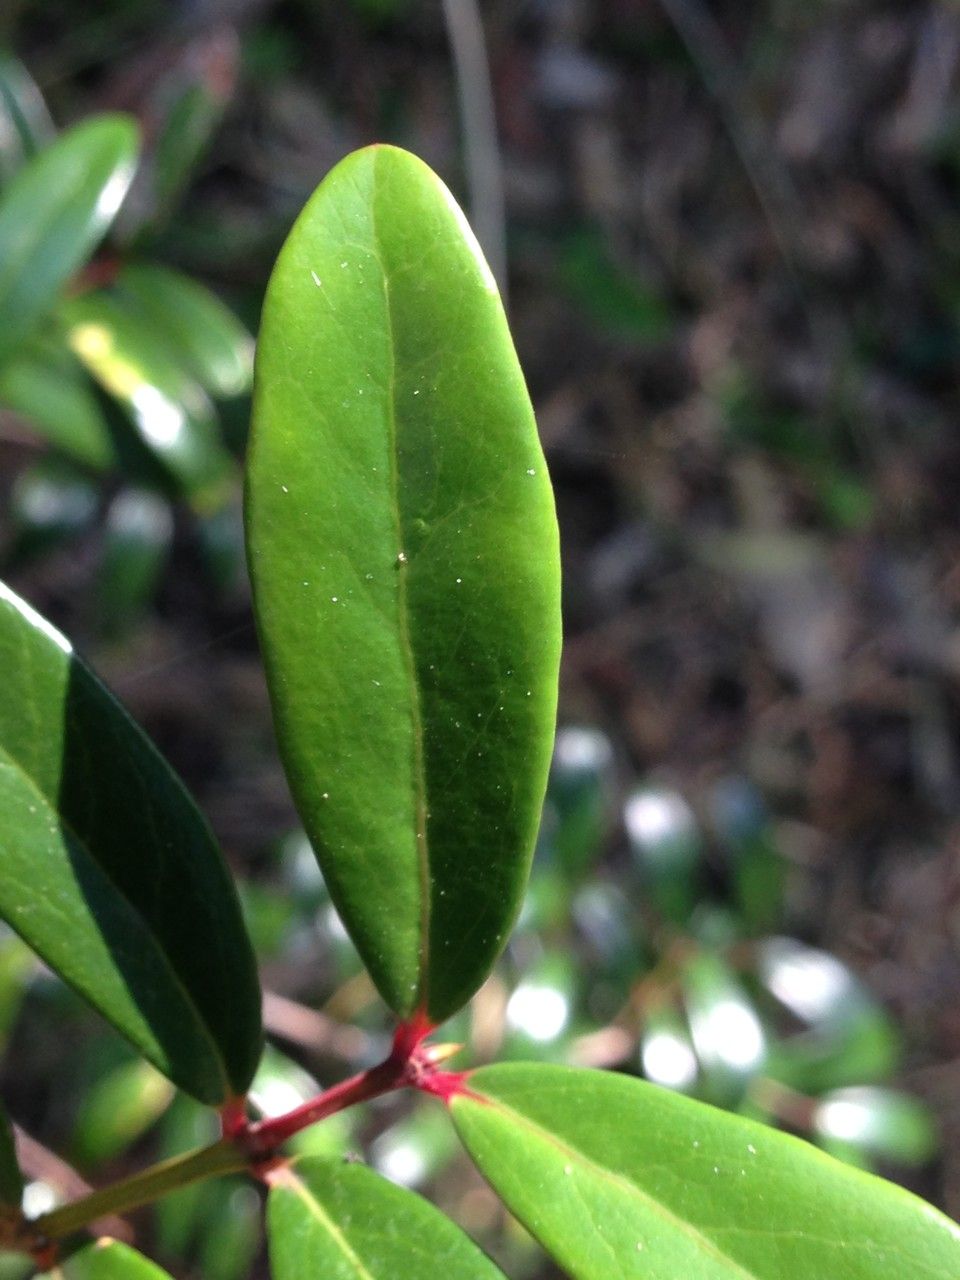
Hello fellow plant lovers! Today, I want to chat about a plant that has truly captured my heart over the years: Pleurostylia pachyphloea. You might know it by its common name, sometimes linked to the “Pepperwood” family, though it’s a distinct genus. For me, its appeal lies in its lush, glossy foliage and its wonderfully architectural form. It brings a touch of the exotic to just about any space, whether it’s gracing a bright windowsill indoors or adding a splash of verdant elegance to a protected garden corner.
Now, about propagating it. If you’re a beginner, I’ll be honest, Pleurostylia pachyphloea can be a little particular. It’s not the most forgiving plant to start with, but that’s exactly what makes it so rewarding when you get it right. Success here feels like a real achievement, and I’m here to guide you through it so you can experience that joy too.
The Best Time to Start
My experience tells me that the late spring to early summer is absolutely prime time for propagating Pleurostylia pachyphloea. This is when the plant is in its active growth phase. You’ll be working with young, vigorous stems that are much more eager to root than older, woodier growth. Think of it as catching the plant when it’s feeling its most energetic and ready to expand!
Supplies You’ll Need
Gathering your supplies beforehand makes the whole process much smoother. Here’s my go-to list:
- Sharp Pruning Shears or a Clean Knife: For making precise cuts without crushing the stem. Sterilize them with rubbing alcohol first!
- Rooting Hormone Powder (Optional but Recommended): This can significantly boost your success rate.
- Well-Draining Potting Mix: A good blend is key. I usually mix equal parts perlite, peat moss, and a good quality potting soil. You can also find specific succulent or cactus mixes that work wonderfully.
- Small Pots or Seedling Trays: Anything that holds your potting mix and provides drainage. Cleanliness is vital here to prevent fungal issues.
- Watering Can or Spray Bottle: For consistent moisture.
- Clear Plastic Bag or Dome: To create a humid environment for your cuttings.
- Labels and Pen: To keep track of what you’ve planted and when!
Propagation Methods
While you might find other methods discussed, I’ve found the most reliable way to propagate Pleurostylia pachyphloea is through stem cuttings. It’s straightforward once you get the hang of it.
Here’s how I do it:
- Select Your Cuttings: Look for healthy, semi-hardwood stems, about 4-6 inches long. These are stems that are no longer floppy and green but not yet completely woody and stiff.
- Make the Cut: Using your sterilized shears or knife, make a clean cut just below a leaf node. A leaf node is where leaves attach to the stem. This is where the magic happens, where roots are most likely to form.
- Prepare the Cutting: Gently remove the lower leaves from the stem, leaving just 2-3 leaves at the top. This prevents them from rotting in the soil and helps the cutting focus its energy on rooting.
- Dip in Rooting Hormone: If you’re using rooting hormone, dip the cut end of the stem into the powder. Tap off any excess.
- Plant Your Cuttings: Fill your clean pots with your prepared potting mix. Make a small hole in the center with your finger or a pencil. Insert the cutting, ensuring the leaf nodes are below the surface. Gently firm the soil around the stem.
- Water Lightly: Water the potting mix thoroughly but gently. You want it moist, not waterlogged.
- Create a Humid Environment: Place the pots into a clear plastic bag, gently blowing some air into it to create a tent effect, or use a clear propagation dome. This helps maintain high humidity, which is crucial for cuttings that don’t have roots yet.
- Find a Suitable Spot: Place your pots in a bright location that receives indirect sunlight. Avoid direct sun, as it can scorch the delicate cuttings.
The “Secret Sauce” for Success
Now for a couple of my little tricks that have made all the difference for me:
- Don’t Let Existing Leaves Touch the Potting Mix: This is a big one! Any leaves that are in contact with the soil are prone to rot and can introduce fungal issues to your cutting. Always trim them away, even if it means you have fewer leaves at the top.
- Bottom Heat is a Game Changer: If you have it, placing your pots on a gentle propagation heat mat can drastically speed up the rooting process. Pleurostylia pachyphloea absolutely loves a little warmth from below to encourage root development.
Aftercare & Troubleshooting
Once your cuttings have been in their humid environment for a few weeks, you can start to check for roots. Gently tug on a cutting; if there’s resistance, you’ve got roots! You can also carefully slide one out of its pot to peek.
When roots are about an inch long, it’s time to gradually acclimate your new plants to normal conditions. This means slowly opening the plastic bag or dome a little each day over a week or two. Once they seem happy, you can remove the cover entirely. Water them as you would a mature plant, allowing the top inch of soil to dry out between waterings.
What if things go wrong? Rot is the most common villain. If you notice your cutting turning mushy, black, or developing a foul smell, it’s likely rotted. This usually happens due to overwatering or poor air circulation. Unfortunately, once rot sets in, it’s very difficult to save the cutting. The best approach is to discard the affected cutting, sterilize your pots, and try again, paying close attention to watering and drainage.
So there you have it! Propagating Pleurostylia pachyphloea is a process that requires a bit of patience and a watchful eye, but the reward of nurturing a new plant from a simple cutting is incredibly satisfying. Don’t be discouraged if your first few attempts don’t pan out perfectly. Gardening is a journey of learning and discovery, and each plant teaches us something new. Happy propagating!
Resource:
https://identify.plantnet.org/k-world-flora/species/Pleurostylia%20pachyphloea%20Tul./data