Well hello there, fellow plant lovers! It’s so lovely to share my gardening journey with you today. We’re going to dive into propagating Podocarpus longifoliolius, often called the Himalayan Podocarpus or sometimes just the upright yew. Now, I know what you might be thinking – is it tricky? For absolute beginners, it can feel a little bit like a puzzle, but honestly, with a few key steps, you’ll be well on your way.
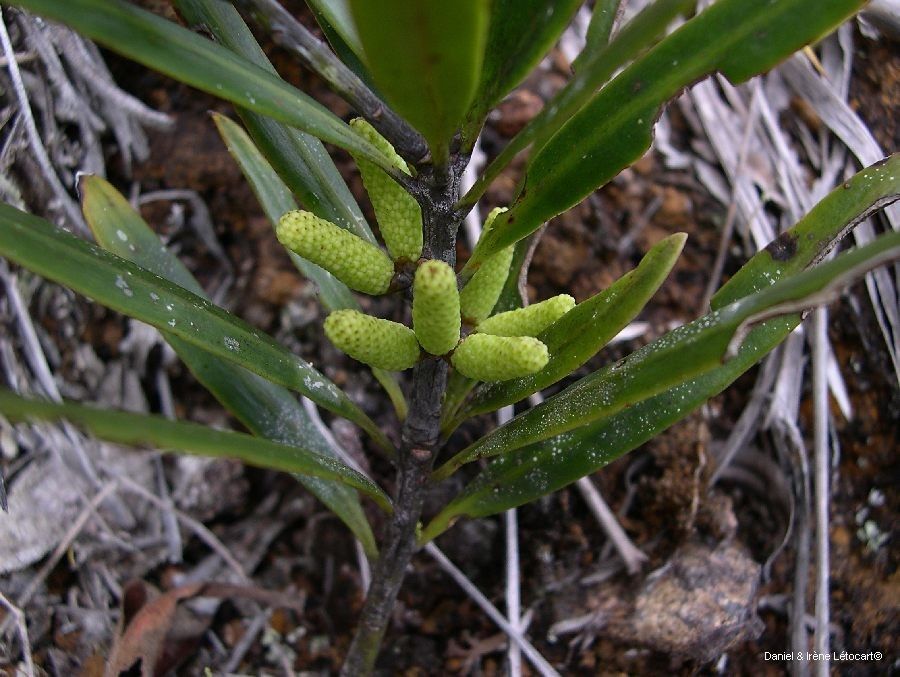
These fellows are just beautiful, aren’t they? With their long, slender, glossy green leaves, they evoke a sense of calm and elegance. They make for stunning specimen plants, or even a wonderfully structured hedge. And the sheer satisfaction of nurturing a brand-new plant from a part of an existing one? That’s pure gardening magic, if you ask me!
The Best Time to Start
For Podocarpus longifoliolius, spring is absolutely your golden ticket. Once the danger of frost has passed and new growth is starting to emerge, that’s when the plant is full of vigor and ready to send out new roots. You can also have success with cuttings taken in late summer, but spring tends to give the best results for most people.
Supplies You’ll Need
Gathering your supplies ahead of time makes the whole process much smoother. Think of it like getting your ingredients ready before you start baking! Here’s what I usually have on hand:
- Sharp Pruning Shears or a Knife: Clean cuts are vital.
- Potting Mix: A well-draining mix is crucial. I often use a blend of perlite, peat moss, and a bit of compost. You can also buy specific seed-starting or cutting mixes.
- Small Pots or Trays: Clean containers are a must to prevent disease.
- Rooting Hormone: This is a game-changer for encouraging root development. Gel or powder forms work well.
- Plastic Bags or a Propagation Dome: To maintain humidity around your cuttings.
- Water: For misting and watering.
- Labels: So you don’t forget what you’ve planted (guilty as charged!).
Propagation Methods
While you could technically try water propagation, I’ve found the stem cutting method to be the most reliable and successful for Podocarpus longifoliolius. Here’s how I do it:
- Select Your Cuttings: Look for healthy, vigorous stems on your mature plant. You want stems that are semi-hardwood. This means they’ve moved past the very soft, green new growth but aren’t yet woody and old. Think of a pencil’s thickness.
- Take the Cuttings: Using your clean, sharp shears, cut stems that are about 4-6 inches long. Make the cut just below a leaf node (where a leaf attaches to the stem).
- Prepare the Cuttings: Gently remove the leaves from the lower half to two-thirds of the stem. You want to expose the nodes where roots will form. If the remaining leaves are very large, you can even cut them in half horizontally to reduce water loss.
- Apply Rooting Hormone: Dip the cut end of the stem into your rooting hormone, ensuring it’s well-coated. Tap off any excess.
- Plant the Cuttings: Make small holes in your prepared potting mix using a pencil or your finger. Insert the treated end of the cutting into the hole, ensuring the leaf nodes are below the soil surface. Gently firm the soil around the base of the cutting.
- Water Gently: Water the potting mix thoroughly but gently, making sure it’s moist but not waterlogged.
- Create a Humid Environment: Place a clear plastic bag loosely over the pot, or use a propagation dome. This will trap humidity, which is essential for preventing the cuttings from drying out before they can root. Make sure the plastic bag doesn’t touch the leaves too much.
The “Secret Sauce” (Pro Tips)
Over the years, I’ve learned a few tricks that seem to make all the difference:
- Bottom Heat is Your Friend: If you have it, placing your pots on a gentle propagation heat mat can significantly speed up root formation. It mimics the warmth of spring soil and really encourages those roots to get going.
- Don’t Over-Handle: Once you’ve planted your cuttings, try to resist the urge to constantly poke around or pull them out to check for roots. It disturbs the delicate root development. Trust the process!
- Air Circulation is Key: While you want high humidity, stagnant air can lead to rot. Once a week, or every few days, lift the plastic bag or open the dome for a little while to allow for air exchange. This is especially important after watering.
Aftercare & Troubleshooting
Once your cuttings have developed a decent root system (you’ll often see roots peeking out the drainage holes, or feel a slight resistance when you gently tug on a cutting), it’s time to give them a little more space. You can then transplant them into individual small pots. Keep them in a bright, indirect light location and water them when the top inch of soil feels dry.
The most common issue you’ll encounter is rot. This happens when the cuttings sit in waterlogged soil, and the lack of air circulation doesn’t help. If you notice a cutting turning black and mushy, it’s unfortunately lost. Remove it immediately to prevent it from affecting any other cuttings. Sometimes, cuttings just don’t root; it’s not always a sign of failure on your part, it’s just the way of things with plants!
A Warm Encouraging Closing
So there you have it! Propagating Podocarpus longifoliolius is a rewarding endeavor. Be patient with your little green babies. They’ll take their time, but when you see those first signs of new growth, oh, it’s such a wonderful feeling! Enjoy the process, learn from each batch, and soon you’ll have a whole collection of these elegant beauties to admire and share. Happy gardening!
Resource:
https://identify.plantnet.org/k-world-flora/species/Podocarpus%20longifoliolatus%20Pilg./data