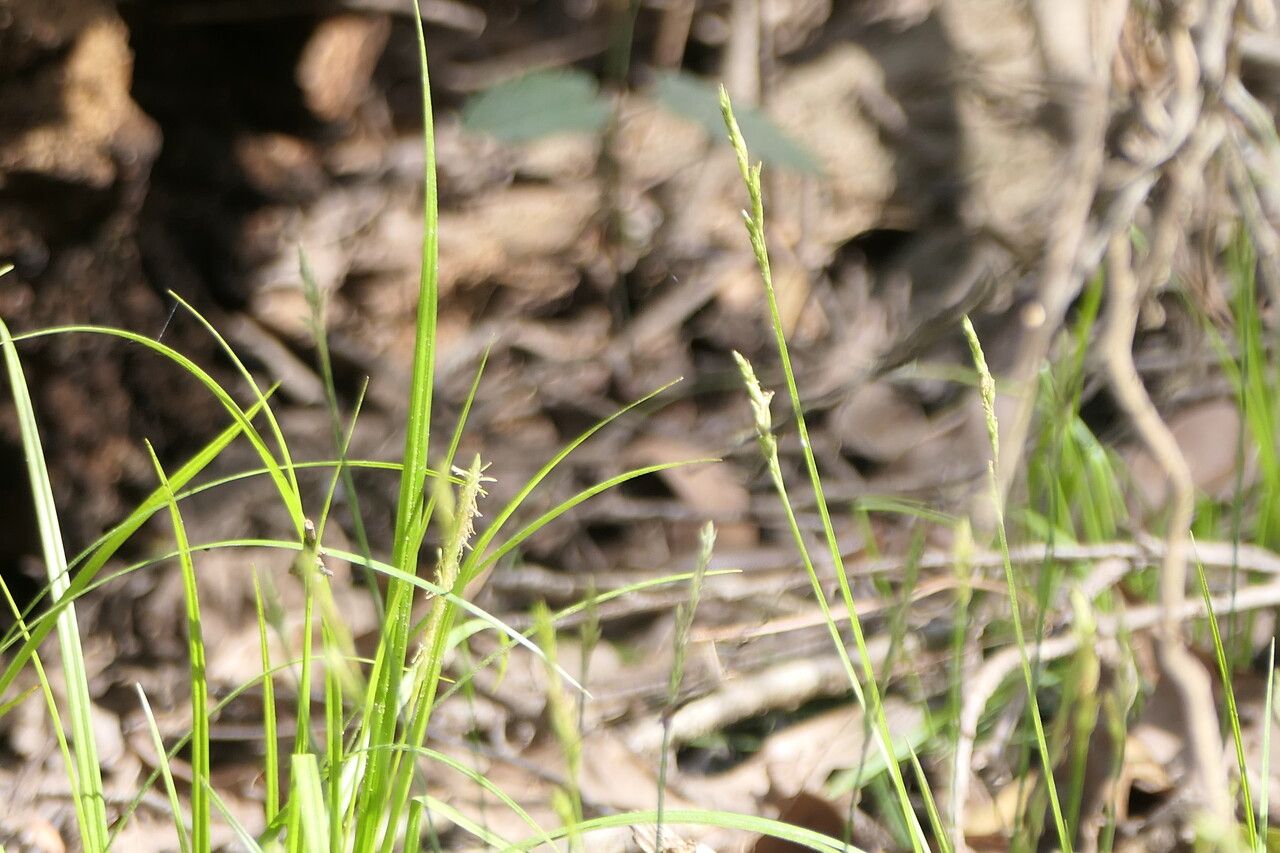
Oh, hello there! So glad you’ve decided to dive into the rewarding world of propagating Carex bromoides, also known as Littlewood Sedge. Isn’t it a beauty? I just adore its delicate, grass-like foliage that brings such lovely texture to shady corners of the garden. And the best part? You can easily fill your garden with it, or share these little beauties with fellow plant lovers! If you’re new to the propagation game, you’ll be happy to know that this little sedge is quite forgiving, making it a fantastic plant for beginners to practice their green thumb on.
The best time to start propagating is generally in early spring. This is when the plant is just starting its active growth spurt after winter. You’ll have plenty of energy from the parent plant to fuel those new roots. Waiting until after the plant has had a good chance to wake up ensures you’re working with healthy, vigorous material.
To get started, you’ll want to gather a few things. Don’t worry, it’s not a huge list!
- Sharp pruning shears or a clean knife: For making neat cuts.
- Potting mix: I usually go for a well-draining mix. A blend of potting soil, perlite, and a bit of compost works wonders.
- Small pots or trays: Whatever you have on hand that can hold your new plants. Make sure they have drainage holes!
- Watering can with a fine rose: To water gently without disturbing your delicate cuttings or divisions.
- Optional: Rooting hormone: While Carex bromoides often does well without it, a little dip can sometimes give it an extra boost.
- Optional: Clear plastic bag or propagation dome: To keep humidity levels up for cuttings.
Now, let’s talk about how to actually get more Carex bromoides. For this particular sedge, division is your best friend. It’s hands-down the easiest and most reliable method.
- Gently unearth your Carex bromoides: Dig around the base of the parent plant. Loosen the soil and lift the entire clump out of the ground or pot. Try not to be too rough; we want to disturb it as little as possible.
- Inspect the clump: Look for natural breaks in the rhizomes or crowns. You’ll often see where new shoots are starting to emerge and form their own root systems.
- Divide the clump: You can do this by hand, gently teasing the roots apart. If it’s a bit stubborn, a clean, sharp knife or even two forks inserted back-to-back can help you split the plant into smaller sections. Each division should have plenty of roots and at least one healthy shoot.
- Replant your divisions: Pot them up in your well-draining potting mix, planting them at the same depth they were growing before. Give them a good, gentle watering.
Here are a couple of my little secrets that have helped me along the way:
- When dividing, don’t be afraid to get your hands dirty and really examine the root system. Sometimes, a hidden bud or a new shoot is nestled right at the base of an existing stem. Finding those is like striking gold!
- For divisions that seem a little depleted or are going into a pot, I always give them a light misting every day for the first week or two. This helps them recover from the shock of being moved and encourages new growth without making the soil soggy.
Once your new divisions are replanted, keep them in a bright spot but out of direct, harsh sunlight. Water them regularly, ensuring the soil stays consistently moist but not waterlogged. You’ll know they’re settling in and rooting well when you start to see new green shoots emerging from the base.
If you’re propagating via division, the biggest sign of trouble is if the leaves start to turn yellow and crispy very quickly, or if there’s a musty, rotting smell coming from the pot. This usually means too much moisture and not enough air circulation around the roots. In this case, gently unpot it, check the roots, trim away any rotten bits, and repot in fresh, drier soil.
Don’t get discouraged if a division or two doesn’t take. Gardening is a journey, and sometimes you learn as much from the plants that don’t make it as from the ones that thrive. Be patient, enjoy the process of nurturing these little pieces of your garden, and before you know it, you’ll have a whole host of Carex bromoides to enjoy! Happy propagating!
Resource:
https://identify.plantnet.org/k-world-flora/species/Carex%20bromoides%20Willd./data