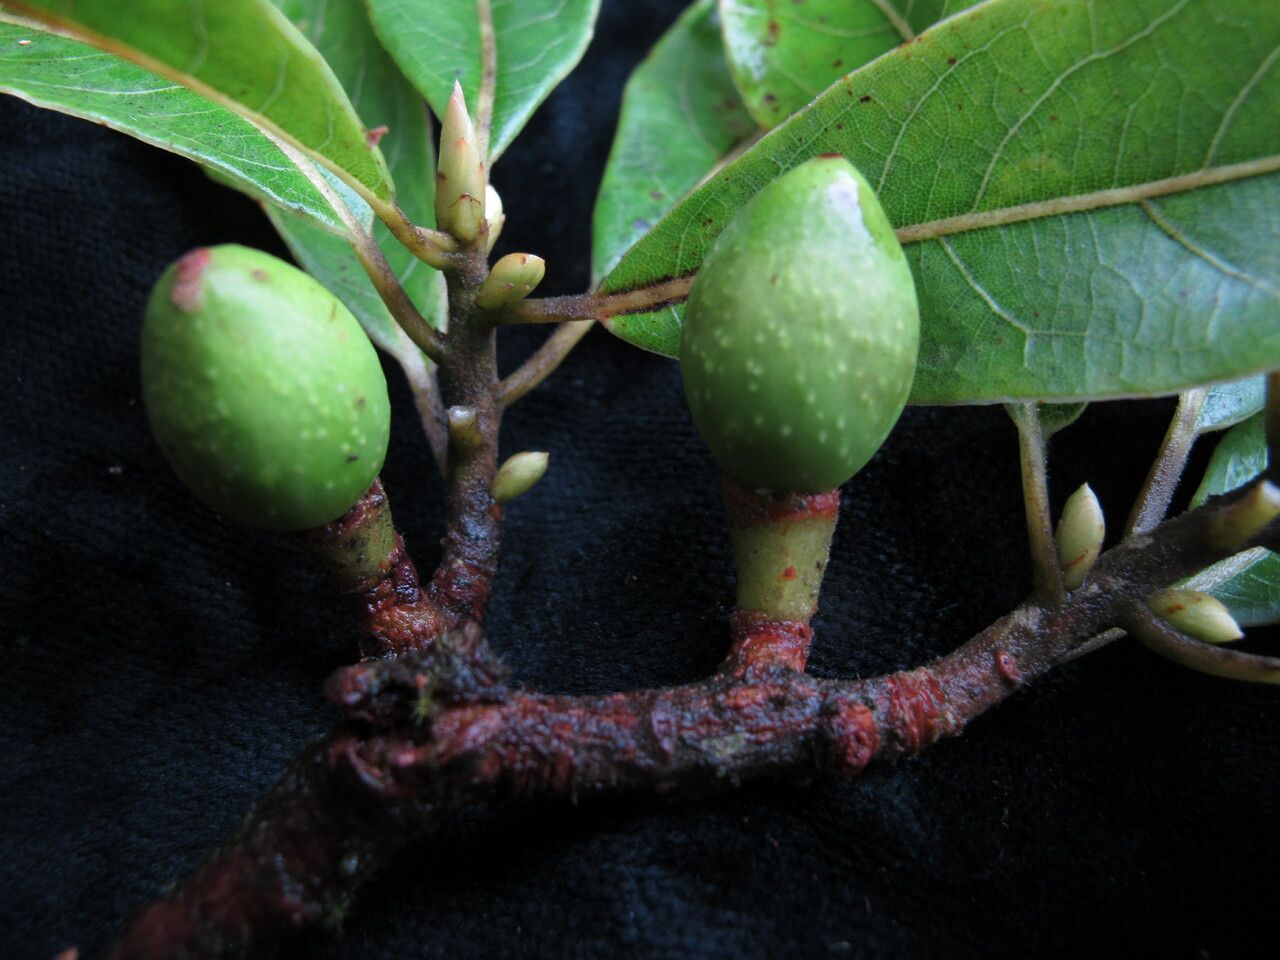
Hey there, fellow garden lovers! As someone who’s been elbow-deep in soil for two decades, I’m always excited to share my triumphs and even a few of my learning experiences with you. Today, we’re diving into the world of Dodecadenia grandiflora.
This charming little gem, with its elegant, bell-shaped flowers, brings such a delightful splash of color and a whisper of the wild to any garden. And honestly, there’s a special kind of joy that comes from coaxing new life from a parent plant. It’s like bottling sunshine and giving it away! Now, as for ease for beginners, I’d say Dodecadenia grandiflora falls into the “moderately rewarding” category. It’s not tricky, but it does appreciate a bit of attention to detail.
The Best Time to Start
My personal rule of thumb for most deciduous plants, and Dodecadenia grandiflora is no exception, is to take cuttings in late spring or early summer. This is when the plant is actively growing, and the stems are pliable but have started to mature slightly. You’re looking for stems that are semi-hardwood – not brand new and floppy, but not tough and woody either. This stage gives them the best chance to root successfully.
Supplies You’ll Need
Gathering your tools beforehand makes the whole process so much smoother. Here’s what you’ll want on hand:
- Sharp pruning shears or a clean knife: For making precise cuts.
- Rooting hormone powder or gel: This isn’t strictly essential for Dodecadenia grandiflora, but it can significantly increase your success rate.
- Small pots or propagation trays: With good drainage holes, of course!
- A well-draining potting mix: I like a blend of peat moss, perlite, and a little bit of coarse sand. About 1:1:1 ratio works wonders.
- A clear plastic bag or propagation dome: To maintain humidity.
- A spray bottle filled with water: For misting.
- A small trowel or dibber: For making planting holes.
Propagation Methods
For Dodecadenia grandiflora, stem cuttings are my go-to method. It’s straightforward and generally yields great results.
Here’s how I do it:
- Select Your Cuttings: Choose healthy, vigorous stems from your established plant. Look for those semi-hardwood ones I mentioned.
- Make the Cut: Using your sharp shears or knife, make a clean cut just below a leaf node (where a leaf attaches to the stem). Aim for cuttings that are about 4-6 inches long.
- Prepare the Cuttings: Gently remove the leaves from the bottom half of each cutting. You want to expose a few nodes; this is where the roots will emerge. If your cuttings have any flowers or flower buds, it’s best to pinch those off. The plant’s energy should go into rooting, not flowering at this early stage.
- Apply Rooting Hormone (Optional but Recommended): Dip the cut end of each stem into your rooting hormone, tapping off any excess. This creates a great environment for root development.
- Plant Your Cuttings: Fill your pots or trays with your prepared potting mix. Using your dibber or trowel, make a hole in the soil. Gently insert the cut end of the stem into the hole. Firm the soil gently around the base of the cutting to ensure good contact.
- Water Gently: Water the soil thoroughly but gently. You don’t want to disturb the cuttings.
- Create a Humid Environment: Cover your pots or trays with a clear plastic bag or a propagation dome. This traps moisture and humidity, which is crucial for cuttings to root. Make sure the bag isn’t directly touching the leaves if possible.
The “Secret Sauce” (Pro Tips)
After years of trial and error, I’ve picked up a few tricks that I swear by.
- Bottom Heat is Your Friend: If you have a greenhouse or even a warm spot in your home, placing your propagation trays on a heated propagation mat can significantly speed up root formation. Dodecadenia loves a bit of warmth from below.
- Don’t Be Afraid to Check: Once a week, I like to gently tug on a cutting. If there’s resistance, that’s a good sign! But even more importantly, slight wilting isn’t the end of the world. If you see your cuttings drooping, they might just need a bit more humidity or a gentle misting. The plastic bag helps a lot with this.
- Sterilize Everything: This is a big one. Always use clean tools, clean pots, and fresh potting mix. This helps prevent fungal diseases and rot, which are the common culprits when things go wrong.
Aftercare & Troubleshooting
Once you start seeing new leaf growth, that’s usually a strong indicator that roots have formed! You can also gently try the tug test. If you feel resistance, congratulations, you’ve got roots!
At this point, you can gradually acclimate your new plants to lower humidity. If they were under a plastic dome, start lifting it for a few hours each day. Once they seem robust enough, you can remove the cover entirely.
The most common issue you might encounter is rot. If a cutting turns mushy and black at the base, it’s likely succumbed to rot. This can happen if the soil stays too wet or there’s not enough air circulation. If you see signs of rot, it’s best to discard the affected cutting to prevent it from spreading. Sometimes, it’s just a matter of a few failed attempts before you achieve success. Don’t get discouraged!
A Warm Thank You
Propagating plants is a journey, not a race. It rewards patience and a willingness to learn. Seeing those tiny roots emerge and a new plant flourish is such a profound satisfaction. So, roll up your sleeves, get your hands dirty, and enjoy the magical process of growing your own Dodecadenia grandiflora! Happy gardening!
Resource:
https://identify.plantnet.org/k-world-flora/species/Dodecadenia%20grandiflora%20Nees/data