Oh, hello there! Pull up a chair and let’s chat about Diabelia spathulata. If you’re drawn to plants with their delicate, almost ethereal beauty, then this one is a real gem. I’ve been growing and admiring them for years, and trust me, the satisfaction of coaxing a new plant into existence from a tiny snippet of the old is truly something special. Propagating Diabelia spathulata is, I’d say, moderately easy. It’s not quite as foolproof as a Pothos, but with a little attention to detail, you’ll be celebrating new sprouts in no time.
The Best Time to Start
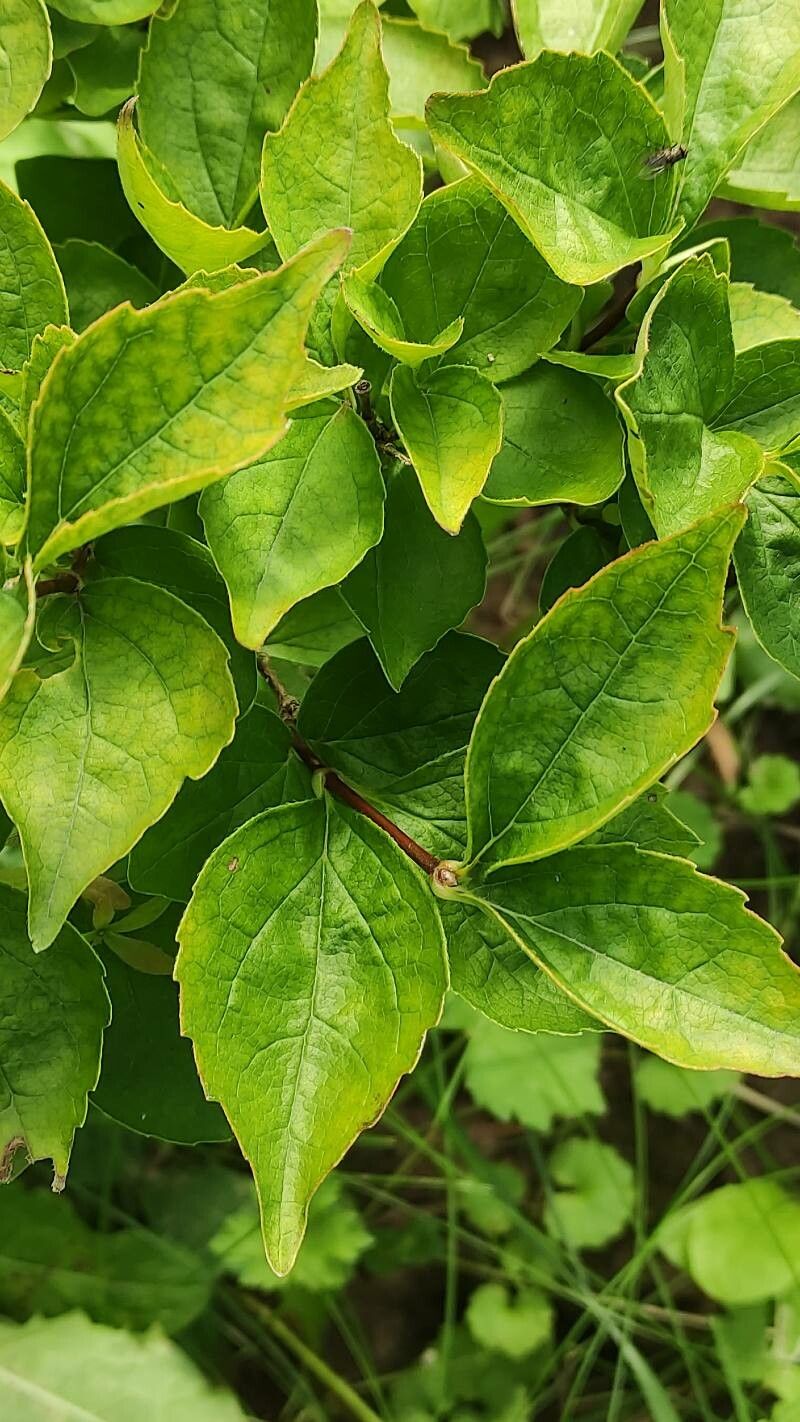
For the absolute best shot at success with your Diabelia spathulata, I always recommend working with new growth in late spring or early summer. You’re looking for stems that are flexible and still have that vibrant, fresh green color. Avoid old, woody stems; they’re much less likely to root. This is when the plant has its most energy to sprout roots.
Supplies You’ll Need
Before we dive in, let’s make sure you’re prepped. Here’s what I usually have on hand:
- Sharp, clean pruning shears or a craft knife. Cleanliness is key to prevent disease!
- A well-draining potting mix. I often use a blend of equal parts peat moss or coco coir and perlite or coarse sand.
- Small pots or seed trays. Clean them thoroughly!
- Rooting hormone (optional, but can speed things up, especially for trickier plants).
- A clear plastic bag or a propagator lid to create a humid environment.
- A spray bottle filled with plain water.
- A marker for labeling your cuttings – trust me, you’ll thank me later!
Propagation Methods: Stem Cuttings are King!
For Diabelia spathulata, I find stem cuttings to be the most effective and straightforward method. Here’s how I do it:
- Select Your Cutting: Look for a healthy stem that’s about 4-6 inches long. It should have at least two sets of leaves.
- Make the Cut: Using your clean shears, make a clean cut just below a leaf node (where a leaf attaches to the stem). This is where the magic happens—roots typically emerge from these points.
- Prepare the Cutting: Gently remove the lower leaves from the bottom half of the stem. This prevents them from rotting when buried in the soil and also reduces moisture loss. You want to expose the leaf nodes.
- Dip in Rooting Hormone (Optional): If you’re using rooting hormone, lightly dip the cut end into the powder or gel. Tap off any excess.
- Plant Your Cutting: Fill your small pot with your prepared potting mix and lightly moisten it with water. Gently insert the cut end of your Diabelia spathulata cutting into the soil, ensuring at least one leaf node is buried. You can insert 2-3 cuttings per small pot, spaced a couple of inches apart.
- Create Humidity: Water the soil lightly after planting. Then, cover the pot with a clear plastic bag, securing it around the rim with a rubber band, or use a propagator lid. This creates a humid microclimate, which is crucial for cuttings to root.
The “Secret Sauce” (Pro Tips)
Here are a few things I’ve learned over the years that make a big difference:
- Bottom Heat is Your Friend: If you can, place your pots on a gentle heat mat. This encourages root development from below, giving your cuttings a real head start. It’s like giving them a warm hug!
- Don’t Drown Them! While humidity is vital, soggy soil will lead to rot, which is the enemy of cuttings. Ensure your potting mix is airy and drains well. If you think it’s too wet, just wait.
- Patience, Young Grasshopper: Sometimes, it can take several weeks for roots to form. Resist the urge to constantly tug at your cuttings to check for roots. You’ll damage any developing ones. Trust the process!
Aftercare & Troubleshooting
Once you see new growth, it’s a good sign that roots are forming!
- Acclimatize: Gradually remove the plastic cover over the course of a week or two. Start by just opening the bag for a few hours a day. This will help your new plant adjust to normal humidity levels.
- Watering: Keep the soil consistently moist but not waterlogged. Water when the top inch of soil feels dry to the touch.
- Light: Place your new plants in a spot with bright, indirect light. Avoid harsh, direct sunlight, which can scorch tender new growth.
Now, what if things go wrong? The most common issue is rot. If your cutting turns mushy, black, or just starts to disintegrate, it’s likely succumbed to rot. This is usually due to too much moisture and not enough air circulation. Don’t be discouraged; just clean your pot thoroughly and try again with a new cutting. If you see no signs of life after several weeks, it might not have rooted, and it’s time to make another attempt.
A Little More Nurturing
So there you have it! Propagating Diabelia spathulata is a wonderfully rewarding aspect of gardening. It takes a bit of patience and a gentle touch, but seeing those tiny roots push out and become new plants is a joy you can’t beat. Don’t be afraid to experiment, and most importantly, enjoy the journey of growing! Happy propagating!
Resource: