Hello fellow plant enthusiasts! Today, we’re diving into the fascinating world of Agave horrida, a plant that truly earns its name with its striking architectural form and formidable spines. But don’t let those sharp edges fool you; propagating this beauty is a wonderfully rewarding endeavor, giving you the chance to multiply its unique charm throughout your garden or home. While it might seem a bit daunting at first glance, I’ve found Agave horrida to be surprisingly amenable to propagation. It’s a great project for those of you who are ready to try something a little more hands-on.
When to Get Your Hands Dirty
The undisputed best time to start propagating your Agave horrida is during its active growing season. For most of us, this means spring and early summer. The plant is full of energy then, and newfound roots have a better chance of establishing quickly before cooler weather sets in. You’ll often find the perfect opportunity when a mature plant has produced offsets, or pups, that are already a decent size.
Gathering Your Gardening Gear
Before we get started, let’s make sure you have everything you need. A little preparation goes a long way!
- Sharp Pruning Shears or a Clean Knife: Essential for making clean cuts.
- Well-Draining Potting Mix: A cactus and succulent mix is ideal. You can also create your own by mixing about two parts potting soil with one part perlite and one part coarse sand.
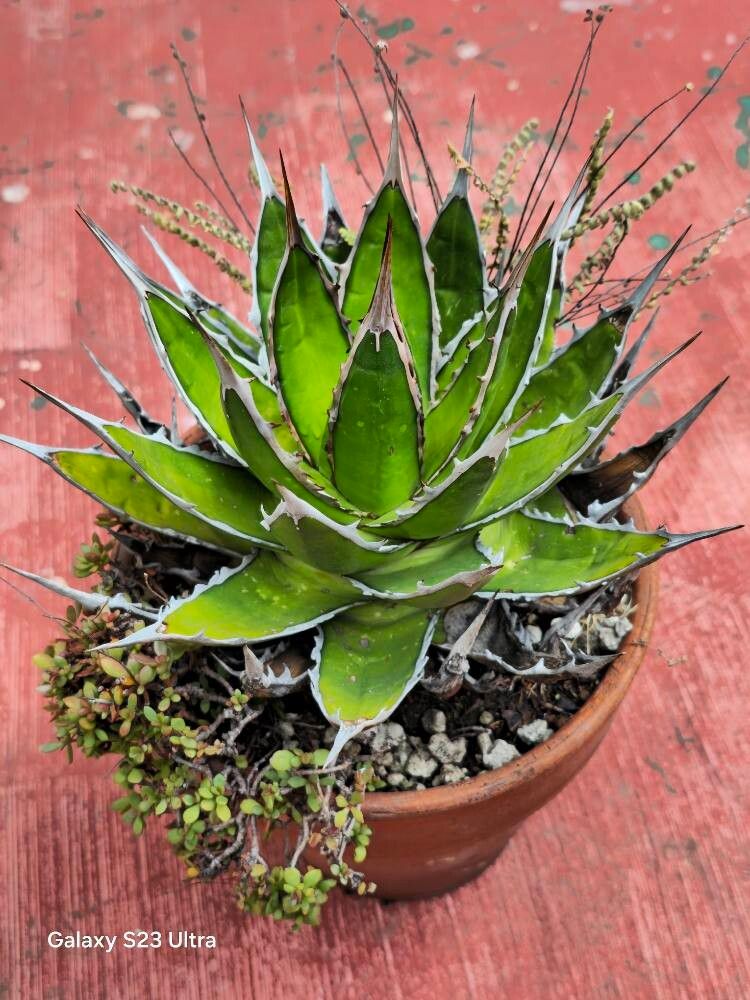
- Terra Cotta Pots: They breathe well and help prevent overwatering. Make sure they have drainage holes!
- Rooting Hormone (Optional but Recommended): This can really give your cuttings a boost. Look for one specifically for succulents.
- A Small Trowel or Dibber: For planting your cuttings.
- Watering Can with a Fine Rose: For gentle watering.
- Gloves: Definitely a good idea when handling Agave horrida!
- Newspaper or Cardboard: To place your cuttings on before planting to allow them to callous.
Bringing More Agaves to Life: Propagation Methods
Let’s get to the fun part!
1. Propagating via Offsets (Pups)
This is by far the easiest and most common method for Agave horrida. Mature plants often send up baby agaves, called offsets or pups, from their base.
- Step 1: Identify the Pups. Look for smaller agaves growing right beside the mother plant. They should have their own developed root structure.
- Step 2: Carefully Separate. Using your sharp pruning shears or a clean knife, gently cut the pup away from the mother plant. Try to get as much of the pup’s base, where the roots originate, as possible. If you can, try to tease away a bit of the soil to see where it’s attached.
- Step 3: Let Them Callous. This is crucial! Place the separated pup on a tray or newspaper in a well-ventilated spot out of direct sunlight for 2-3 days. This allows the cut end to dry and form a protective callus. This step helps prevent rot when you plant it.
- Step 4: Plant Your Pup. Fill a terra cotta pot with your well-draining succulent mix. Make a small hole in the center with your finger or a dibber. Dip the calloused end of the pup into rooting hormone (if using), then gently plant it into the soil. Firm the soil around the base.
- Step 5: Wait to Water. After planting, do not water your new pup for at least a week. This gives the cut end a chance to heal further and encourages root development.
2. Stem Cuttings (More Advanced)
While pups are more common, you can sometimes propagate from older, developing stems if your plant is large enough to have one. This is a bit more challenging.
- Step 1: Select a Healthy Stem. Look for a mature, established stem that has started to grow away from the main rosette.
- Step 2: Make a Clean Cut. Using your sterilized knife or shears, cut the stem cleanly away from the mother plant. Aim for a section that is at least a few inches long and has some leaf formation.
- Step 3: Prepare the Cutting. Remove any lower leaves that would be buried in the soil.
- Step 4: Callous Thoroughly. Just like with pups, this is vital. Allow the cutting to dry and form a thick callus in a well-ventilated area away from direct sun for at least a week, or even two, depending on humidity.
- Step 5: Plant Your Cutting. Plant the calloused end into your well-draining potting mix. You can insert it deep enough so that a few leaf nodes are below the soil surface.
- Step 6: Resist Watering. Again, hold off on watering for a good week or two.
The “Secret Sauce”: My Insider Tips
Over the years, I’ve picked up a few tricks that really seem to make a difference.
- Bottom Heat is Your Friend: Especially for stem cuttings, placing the pot on a gentle seedling heat mat can significantly speed up root formation. Agaves love warmth! Just keep it on a low setting.
- Don’t Be Afraid of a Little “Dryness”: It might sound counterintuitive, but allowing the soil to dry out completely between infrequent waterings is the best way to encourage roots to seek out moisture and grow stronger. Overwatering is the number one killer of baby agaves.
- Observe the Pups on the Mother Plant: Before you even think about cutting, watch the pups on the mother plant. When they start to look robust and have a bit of girth to them, that’s a good sign they’ve already developed some internal roots and are ready to be separated.
Aftercare and When Things Go Awry
Once your pup or cutting has been planted and you’ve started watering it sparingly, be patient. You should see signs of new growth within a few weeks to a couple of months, depending on the conditions.
- Light: Provide bright, indirect light. As the new plant establishes, you can gradually introduce it to more direct sunlight, but be cautious of scorching young leaves.
- Watering: Water only when the soil is completely dry. Stick your finger about two inches into the soil. If you feel any moisture, wait.
- Signs of Trouble: The biggest culprit is rot. If you notice the leaves becoming mushy, translucent, or developing black spots, it’s likely rot. This is usually due to overwatering or poor drainage. If you suspect rot, gently unpot the plant, cut away any affected areas with a clean knife, and let it callous for an extended period before replanting in fresh, dry soil. Sometimes, unfortunately, rot is fatal.
Keep Growing, Keep Enjoying!
Propagating Agave horrida is a journey, and like all good gardening adventures, it requires a dash of patience. Don’t get discouraged if your first attempt isn’t a perfect success. Each experience is a learning opportunity. You’re nurturing new life, and there’s immense satisfaction in watching those spiky babies take root and grow. Happy propagating!
Resource:
https://identify.plantnet.org/k-world-flora/species/Agave%20horrida%20Lem.%20ex%20Jacobi/data