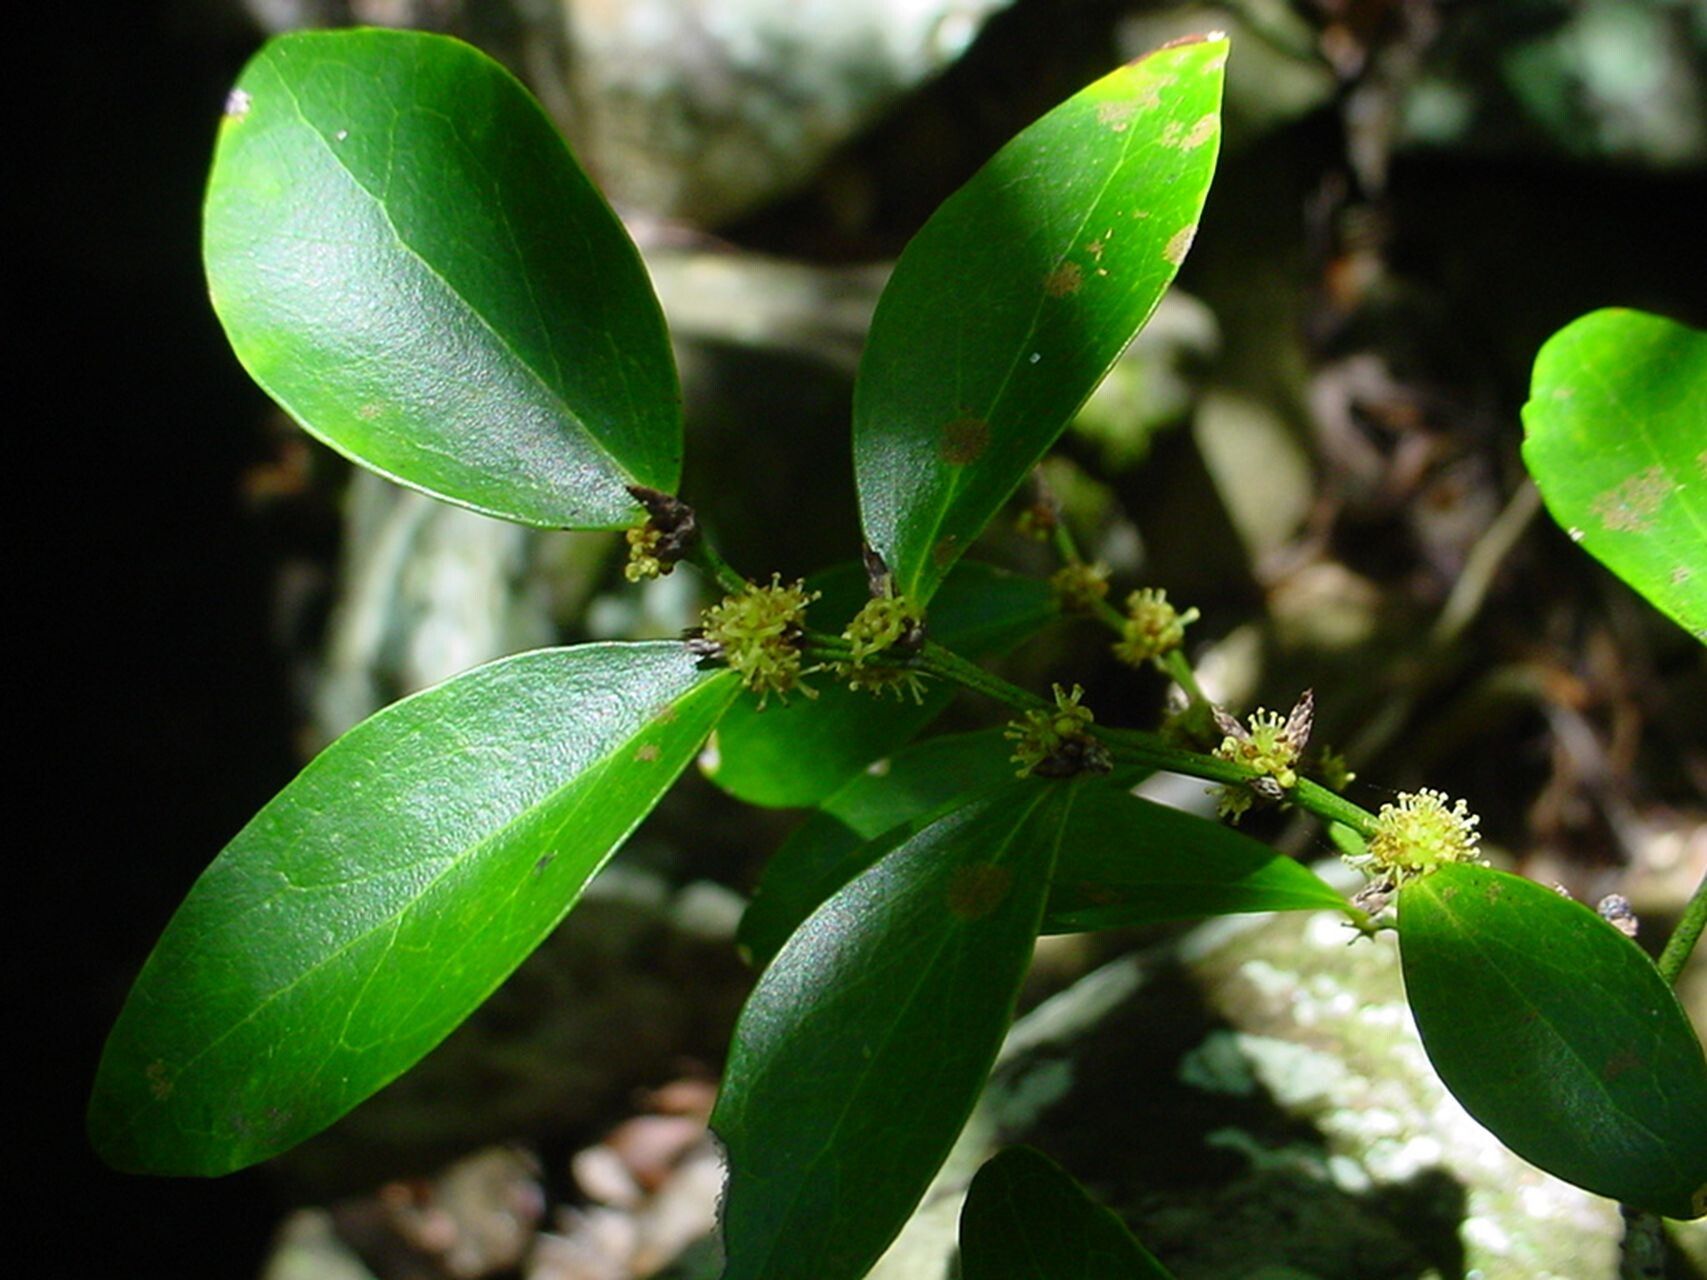
Hello fellow green thumbs! It’s so wonderful to have you join me today. We’re going to dive into the delightful world of propagating Phyllanthus loranthoides. I’ve always found this little gem to be just charming, with its delicate foliage that can add such a lovely texture to an arrangement or a sunny windowsill. And the best part? Being able to multiply that beauty yourself. It’s a deeply rewarding feeling, watching a tiny bit of plant grow into something substantial. Now, if you’re new to the plant propagation party, don’t fret. While Phyllanthus loranthoides isn’t the absolute easiest plant for a complete novice, it’s certainly achievable with a bit of care and attention. Think of it as a plant that rewards a thoughtful touch.
The Best Time to Start
For the highest success rate, I always recommend starting your propagation efforts when the plant is in its active growing phase. This is typically during the late spring and summer months. The longer days and warmer temperatures give those cuttings the energy they need to develop roots and start growing vigorously. Trying to propagate when the plant is dormant, like in the dead of winter, is like asking someone to run a marathon on an empty stomach – it’s just not going to go well.
Supplies You’ll Need
Before we get our hands dirty, let’s gather our tools. Having everything ready makes the process so much smoother.
- Sharp Pruning Shears or a Clean Knife: Essential for making clean cuts to avoid damaging the stem or plant.
- Well-Draining Potting Mix: A good starting blend is about 50% potting soil and 50% perlite or coarse sand. This ensures good aeration and prevents waterlogging, which these plants really dislike.
- Small Pots or Propagation Trays: Clean, small pots (2-4 inches) are perfect for starting the new cuttings.
- Rooting Hormone (Optional but Recommended): A powdered or gel rooting hormone can significantly boost your success rate. Look for one with a good balance of auxins.
- Plastic Bag or Clear Dome: To create a humid microclimate for your cuttings.
- Watering Can with a Fine Rose: For gentle watering.
- Labels and a Pen: To keep track of what you’ve propagated and when!
Propagation Methods
Phyllanthus loranthoides is quite happy to be propagated from stem cuttings. It’s my go-to method for this plant.
Stem Cuttings: A Step-by-Step Guide
- Select Your Cuttings: Look for healthy, non-flowering stems on your established plant. You want stems that are firm but not woody. Aim for cuttings that are about 4-6 inches long.
- Make the Cut: Using your sharp shears or knife, make a clean cut just below a leaf node (the point where a leaf grows from the stem). This is where the magic happens, as this is where roots are most likely to form.
- Prepare the Cutting: Gently remove the lower leaves from the cutting, leaving the top 1-2 sets of leaves intact. This reduces water loss and prevents leaves from rotting in the soil.
- Apply Rooting Hormone (Optional): Dip the cut end of the stem into your rooting hormone, tapping off any excess.
- Plant the Cutting: Fill your small pots with your well-draining potting mix. Make a small hole in the center with your finger or a pencil. Insert the cut end of the stem into the hole, making sure at least one leaf node is buried in the soil. Gently firm the soil around the cutting.
- Water Gently: Water thoroughly but gently, allowing excess water to drain away.
- Create a Humid Environment: Cover the pot with a clear plastic bag or place it in a propagation tray with a lid. This traps moisture and creates the high humidity that cuttings love. Ensure the leaves don’t touch the sides of the bag if possible.
- Provide Light and Warmth: Place the pots in a bright location that receives indirect sunlight. Avoid direct sun, which can scorch the delicate cuttings. A little bottom heat from a heat mat can be incredibly beneficial, speeding up root development.
The “Secret Sauce” (Pro Tips)
Here are a couple of things I’ve learned over the years that really make a difference.
- Don’t Overwater! This is probably the most common mistake new propagators make. While humidity is good, soggy soil is death to most cuttings. Let the top inch of soil dry out slightly between waterings. Feel the soil with your finger – that’s your best guide.
- Patience with the Bag: When you have your cuttings under that plastic bag, fight the urge to lift it every few minutes. They create their own little ecosystem. Check them every few days for any signs of mold or disease, which can happen in really stagnant air, but otherwise, let nature do its work. If you see condensation on the bag, that’s a good sign the humidity is right.
Aftercare & Troubleshooting
Once you start to see new leaf growth or feel a gentle tug when you very lightly pull on a cutting, it’s a sign that roots are developing! Congratulations, that’s a huge step.
- Acclimatization: Once roots are established, slowly acclimate your new plant to normal room humidity by gradually increasing the ventilation for the plastic bag over a week or so.
- Repotting: You can gently repot them into slightly larger pots once they have a decent root system, but don’t rush this.
- Troubleshooting Rot: The biggest enemy of cuttings is root rot, which leads to mushy, black stems. If you see this, the easiest thing to do is discard the affected cutting and learn from it. It usually means the soil was too wet or the drainage wasn’t sufficient.
A Encouraging Closing
Propagating plants is a journey, not a race. There will be times when things don’t go as planned, and that’s perfectly okay. Every attempt is a learning experience. So, try your hand at multiplying your beautiful Phyllanthus loranthoides. Be patient, observe your cuttings, and most importantly, enjoy the magic of creation. Happy propagating!
Resource:
https://identify.plantnet.org/k-world-flora/species/Phyllanthus%20loranthoides%20Baill./data