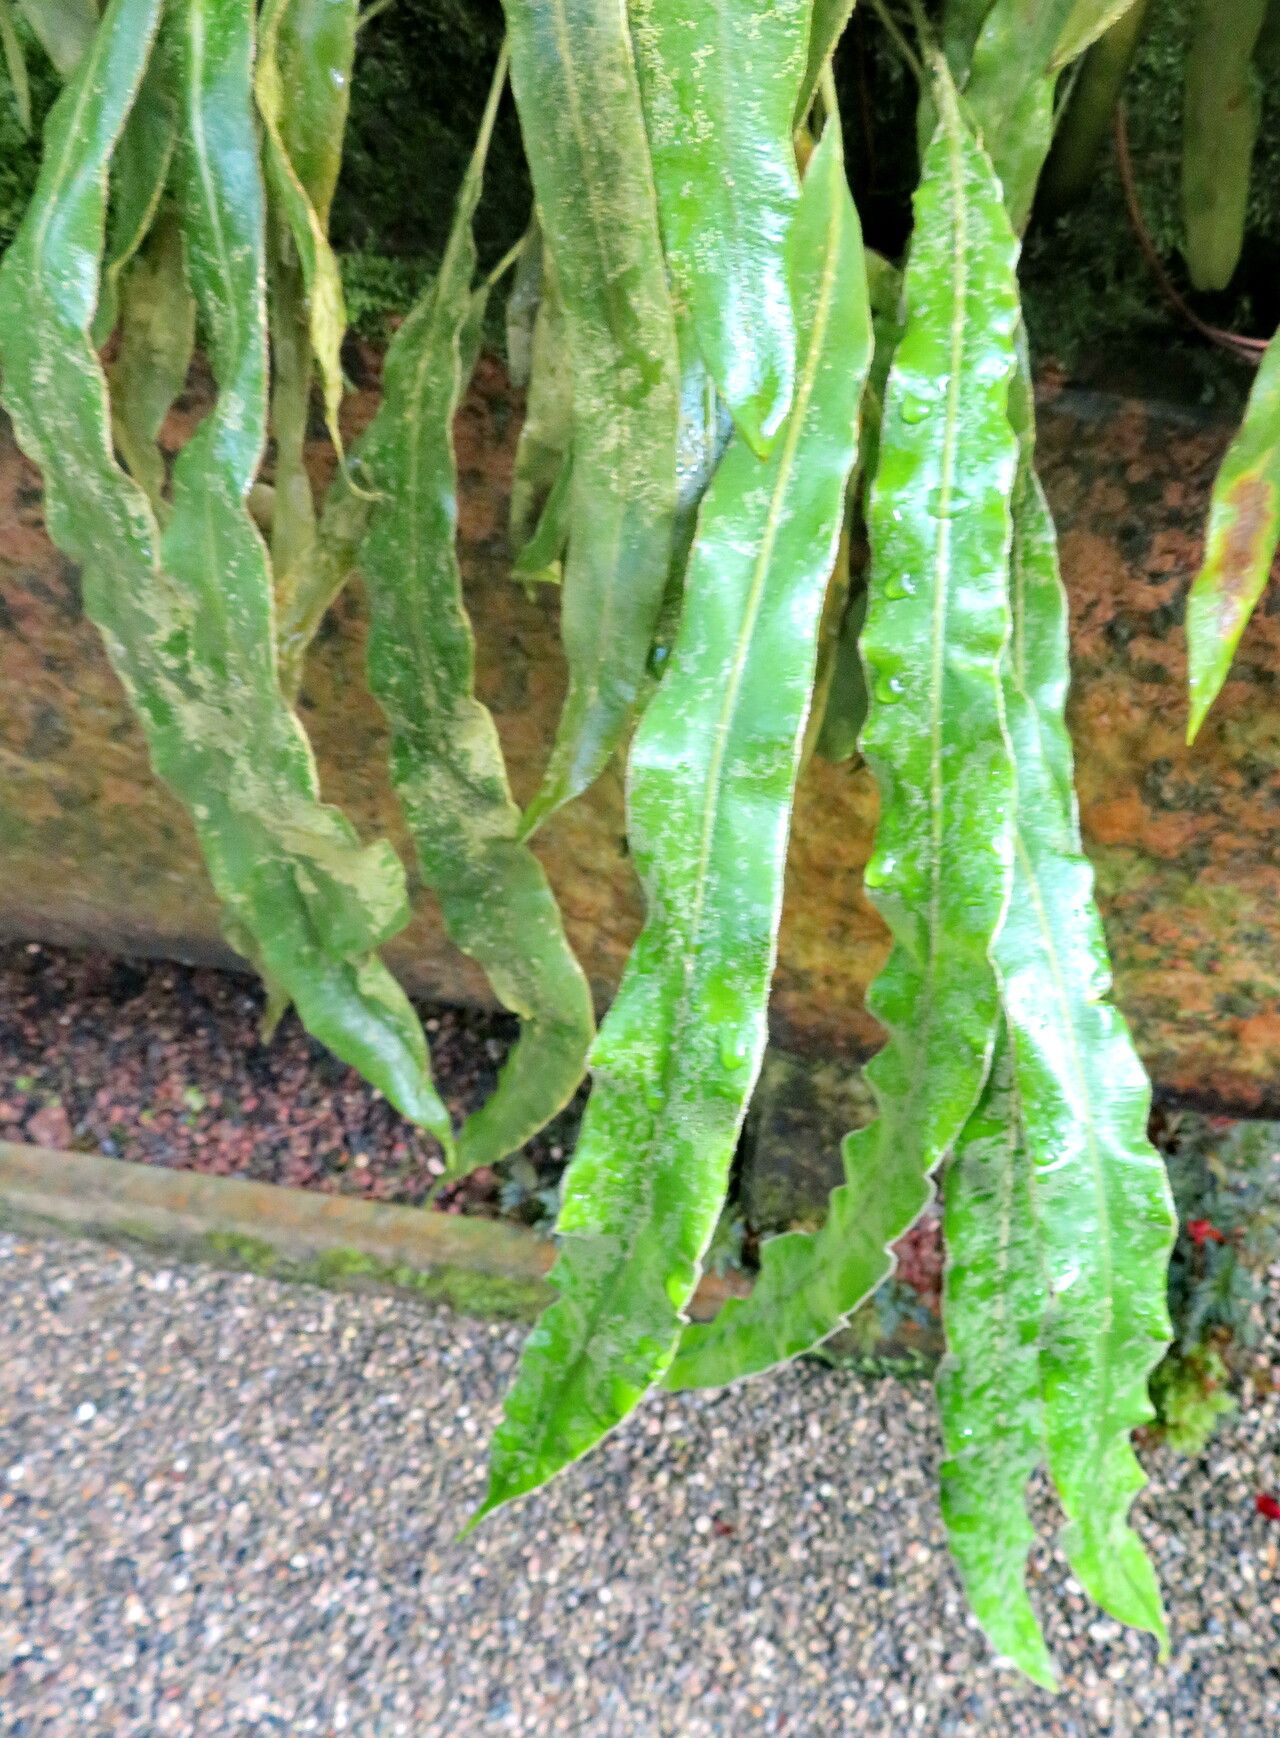
From One Frond to Many: Propagating the Glorious Elaphoglossum plumosum
Oh, the velvety beauty of Elaphoglossum plumosum! If you’ve ever laid eyes on this stunning fern, you know exactly what I mean. Its delicate, feather-like fronds are a dream for any plant lover, adding a touch of ethereal grace to shady corners. And guess what? Bringing more of this magic into your home through propagation is incredibly rewarding. Now, let’s be real, Elaphoglossum plumosum can be a bit of a diva when it comes to propagation. It’s not the absolute easiest plant to start from scratch, but with a little patience and the right touch, you can absolutely succeed. Think of it as a delightful challenge, a chance to really get to know your plant!
The Best Time to Start
Timing is everything, isn’t it? For most ferns, including our friend Elaphoglossum plumosum, the spring and early summer are your golden window. This is when the plant is in its most vigorous growth phase, meaning it has the energy reserves to bounce back from being divided or to send out new roots from cuttings. Look for new frond growth on your established plants; that’s a sure sign they’re ready to party!
Supplies You’ll Need
Gathering your supplies beforehand makes the whole process smoother. Here’s what I usually have on hand:
- Sharp, clean pruning shears or a razor blade: Sterilized, of course!
- Well-draining potting mix: I like a blend of peat moss, perlite, and a bit of orchid bark. A pre-made fern mix works well too.
- Small pots or propagation trays: Make sure they have drainage holes.
- Rooting hormone (optional but recommended): Especially helpful for encouraging faster root development.
- Clear plastic bag or humidity dome: To create that crucial humid environment.
- Watering can with a fine rose: For gentle watering.
- Spray bottle: For misting.
Propagation Methods: Let’s Get Our Hands Dirty!
For Elaphoglossum plumosum, division is often the most straightforward and successful method. While stem cuttings can be tricky for this particular fern, division allows you to work with established rhizomes.
Method: Division
- Gently remove your plant from its pot. If it’s stuck, a few taps on the bottom of the pot or running a knife around the edge can help.
- Inspect the root ball. You’re looking for distinct sections of the rhizome (the creeping stem that grows underground or on the surface) from which new fronds are emerging.
- Using your clean pruning shears or razor blade, carefully separate a section of the rhizome with at least one healthy frond and a good portion of the roots. Be brave, but gentle! You want to minimize damage to the original plant.
- Pot up your new division. Place it in a small pot filled with your prepared potting mix. Ensure the rhizome is at or just below the soil surface.
- Water thoroughly. You want the soil to be evenly moist, but not waterlogged.
The “Secret Sauce” (Pro Tips)
Here are a couple of little tricks that have made a big difference for me over the years:
- Don’t over-pot. When you divide, use a pot that’s just slightly larger than the root ball of your division. Too much soil around a small root system can lead to sogginess and rot.
- Embrace the humidity, but watch for water on the leaves. After potting your division, immediately cover it with a clear plastic bag or humidity dome. This creates a mini-greenhouse. However, make sure the fronds aren’t constantly sitting in condensation. If you see a lot of drips, gently wipe the inside of the bag. Constant moisture on leaves can encourage fungal issues.
- Give them a little warmth. A gentle warmth from the bottom can really stimulate root growth. If you have a seedling heat mat, placing your potted division on it for a few hours a day can work wonders.
Aftercare & Troubleshooting
Once your division is potted and cozy, keep it in bright, indirect light. Consistency is key! Maintain that moist-but-not-soggy soil and high humidity. You can lift the bag or dome for a few minutes each day to allow for some air circulation, preventing those pesky fungal problems.
The first sign of success? You’ll start to see new growth emerging from the rhizome or the base of the frond. This can take several weeks, so don’t lose heart!
Now, what if things go wrong? The most common culprit with ferns, especially after propagation, is rot. If you notice your division turning mushy, yellowing rapidly, or developing black spots, it’s likely too much moisture and not enough air circulation. In this case, you might need to pull it out, trim away any rotted parts with your sterilized shears, and repot in fresh, slightly drier mix, with more attention to airflow.
Happy Propagating!
Seeing a new plant unfurl from a piece of your beloved original is a truly special feeling. Be patient with your Elaphoglossum plumosum. It might take its sweet time, but the journey is part of the joy. Celebrate each tiny new frond, and before you know it, you’ll have a small fern army! Happy gardening, my friends!
Resource:
https://identify.plantnet.org/k-world-flora/species/Elaphoglossum%20plumosum%20(Fée)%20T.Moore/data