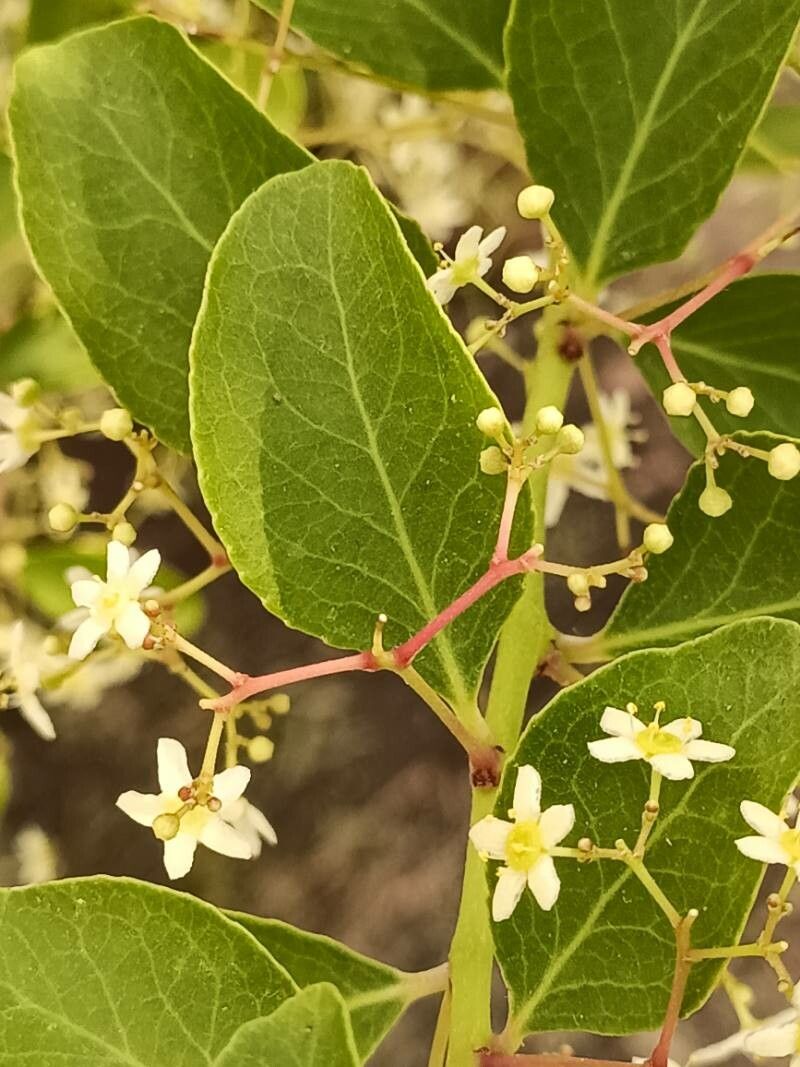
Oh, hello there! Come on in, grab a mug. I’m so excited to chat with you today about a truly special plant: Gymnosporia dhofarensis. You might know it by its common name, sometimes the “fragrant spike” or “Abyssinian boxwood.” It’s this wonderful, often understated evergreen with the most delightful, subtle fragrance that really blooms into its own on a warm afternoon. Plus, those tiny, star-shaped flowers are just darling!
But beyond its charms, propagating Gymnosporia is incredibly rewarding. It’s a chance to share a piece of that beauty, to fill your own garden with more of its presence, or even gift a little greenery to a friend. Now, to be completely honest, Gymnosporia dhofarensis isn’t the absolute easiest plant for a brand-new gardener to start with. It needs a little understanding, but once you get the hang of it, you’ll feel like a pro. Don’t let that deter you, though! We’ll walk through it together.
The Best Time to Start
My favorite time to get my hands dirty with propagating Gymnosporia is from late spring through early summer. This is when the plant is actively growing, but not in the full, scorching heat of midsummer. You want to take cuttings from what we call “semi-hardwood.” This means the growth from this year that’s starting to firm up a bit – it’s not brand new and floppy, but not old and woody. This stage offers the best balance for rooting.
Supplies You’ll Need
Don’t worry, it’s not a huge shopping list! You likely have some of these things already.
- Sharp Pruning Shears or a Knife: Cleanliness is key!
- Rooting Hormone: A powder or gel works wonderfully. It gives your cuttings a helpful boost.
- A Well-Draining Potting Mix: I like to use a mix of equal parts perlite and a good quality potting soil. Sometimes, adding a bit of coco coir helps too.
- Small Pots or Trays: Clean ones, of course.
- Plastic Bags or a propagator: To create a humid environment.
- Dibber or a Pencil: For making holes in the soil.
- Watering Can with a Fine Rose: To water gently.
Propagation Methods
Stem cuttings are definitely the go-to method for Gymnosporia, and it’s quite straightforward once you know the steps.
- Take Your Cuttings: Head out to your plant during the ideal season. Look for stems that are about 4-6 inches long. Make a clean cut just below a leaf node (that’s where a leaf grows from the stem).
- Prepare the Cuttings: Gently remove the lower leaves from the cutting, leaving just a few at the top. This prevents them from rotting in the soil.
- Apply Rooting Hormone: Dip the cut end of the stem into your rooting hormone, shaking off any excess.
- Plant the Cuttings: Fill your clean pots with the well-draining potting mix. Make a hole with your dibber or pencil in the center of the pot. Carefully insert the prepared cutting, ensuring the leaf nodes are below the soil surface where roots will form. Lightly firm the soil around the cutting.
- Water Gently: Water thoroughly but gently, using your watering can with the fine rose, so you don’t disturb the cuttings.
The “Secret Sauce” (Pro Tips)
Here are a couple of my tried-and-true tricks for getting Gymnosporia to root:
- Don’t Overcrowd: When you’re planting cuttings, give them a little breathing room. Cramming too many into one pot can increase the risk of disease spreading if one fails. A few inches between each cutting is perfect.
- Provide Bottom Heat (If You Can): This is a game-changer! If you have access to a propagation mat or even just a warm windowsill, placing your pots on it can significantly speed up root development. Gymnosporia loves a little warmth from below to get those roots going.
Aftercare & Troubleshooting
Once your cuttings are planted, it’s time to create a mini greenhouse. Cover the pots loosely with a plastic bag or place them in a propagator to maintain high humidity. Keep them in bright, indirect light. Avoid direct sun, which can scorch the tender cuttings.
Check the moisture levels regularly. The soil should remain consistently moist, but never waterlogged. You’re looking for signs of new growth – tiny leaves appearing or a gentle tug that meets resistance – which indicates roots have formed. This can take anywhere from 4-8 weeks, sometimes longer.
Now, the tricky part is keeping an eye out for problems. Rot is the most common enemy. If you see stems turning mushy and black, or leaves yellowing and dropping rapidly despite consistent moisture, that’s usually a sign of rot. This often happens from overwatering or poor drainage. If you spot rot, remove the affected cutting immediately to save the others. Sometimes, if only the very tip has rotted, you can try re-cutting the stem and starting again.
A Encouraging Closing
Growing plants from cuttings is an act of faith, isn’t it? There will be times when things don’t quite work out as planned, and that’s perfectly okay. The beauty of gardening is in the learning and the patience. So, don’t get discouraged if your first batch of Gymnosporia cuttings doesn’t immediately sprout. Keep trying, observe your plants, and celebrate every little success. You’ll soon be enjoying your own beautiful Gymnosporia dhofarensis! Happy propagating!
Resource: