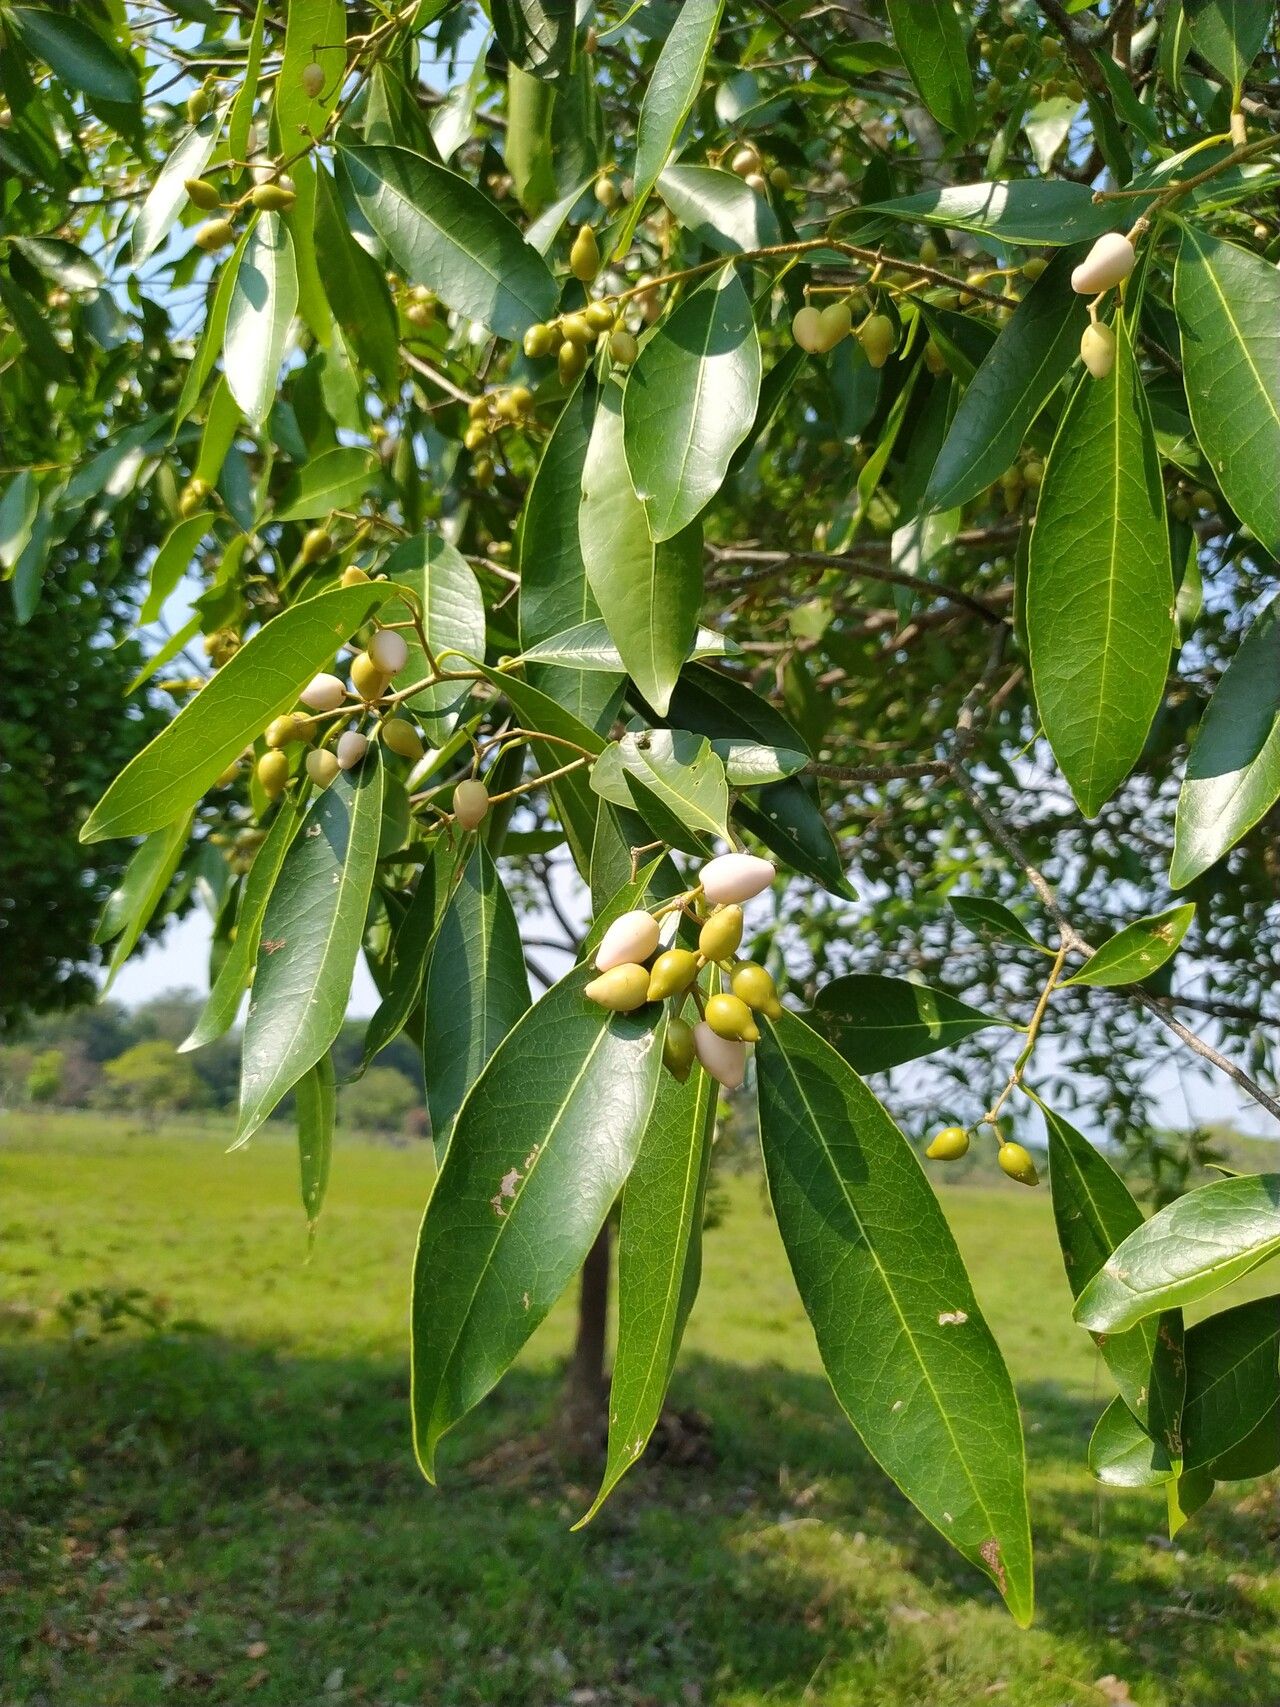
Well hello there, fellow plant lover! If you’ve ever admired the elegant, leathery leaves and the subtle charm of Ozoroa insignis, then I’m thrilled you’re considering bringing more of these beauties into your life. Propagating Ozoroa insignis might sound a little fancy, but honestly, it’s a deeply satisfying way to multiply your enjoyment of this wonderful plant. It’s not the absolute easiest plant to get started with for a complete novice, but with a little patience and a few key steps, you’ll be well on your way.
The Best Time to Start
For Ozoroa insignis, the sweet spot for propagation is generally during its active growing season. Think late spring to early autumn. This is when the plant is putting on new growth, and those healthy stems have the energy and vigor to develop roots more reliably. Waiting until the weather is reliably warm and humid – not too dry, not too cold – will really boost your success.
Supplies You’ll Need
Gathering your tools before you begin makes everything run so much smoother. Here’s what I always have on hand:
- Sharp Pruning Shears or a Clean Knife: For making precise cuts.
- Rooting Hormone (Optional but Recommended): A little help can go a long way, especially for woody stems. Look for one suitable for semi-hardwood cuttings.
- Well-Draining Potting Mix: A blend of perlite, horticultural sand, and your standard potting soil works wonderfully. You want air to reach those developing roots.
- Small Pots or Seed Trays: Whatever size is appropriate for your cuttings. Make sure they have drainage holes!
- Clear Plastic Bags or a Propagator: To create a humid environment.
- Water: For softening the rooting hormone and for watering.
Propagation Methods
Ozoroa insignis can be propagated quite effectively from stem cuttings. It’s a straightforward method that usually yields great results if done right.
- Select Healthy Stems: Look for current season’s growth that is firm but not yet woody. You want stems that are about 4-6 inches long. Avoid any that look wilted, diseased, or too soft.
- Make the Cut: Using your sharp pruning shears or knife, make a clean cut just below a leaf node (the point where a leaf attaches to the stem). This is where rooting hormones are often concentrated.
- Prepare the Cutting: Remove the lower leaves, leaving just a few at the very top. This prevents them from rotting in the soil. If the remaining leaves are very large, I sometimes like to cut them in half lengthwise to reduce water loss through transpiration.
- Apply Rooting Hormone: If you’re using rooting hormone, dip the cut end of the stem into the powder or gel. Tap off any excess.
- Plant the Cuttings: Moisten your well-draining potting mix just so it’s crumbly, not soggy. Make a small hole in the mix with a pencil or your finger. Gently insert the prepared cutting, ensuring the nodes where you removed leaves are buried. Firm the soil gently around the stem.
- Create Humidity: Water lightly around the base of the cutting. Then, place the pot inside a clear plastic bag, securing it loosely around the rim, or put it into a propagator. This traps moisture and encourages rooting.
The “Secret Sauce” (Pro Tips)
Over the years, I’ve learned a few tricks that can really make a difference. Here are a couple of my favorite “secret sauce” tips:
- Bottom Heat is Your Friend: If you have a bit of space, placing your propagator or pots on a gentle heat mat can significantly speed up root formation. It mimics the warmth of the soil in summer and really encourages those roots to get going.
- Don’t Overwater: This is a big one! It’s tempting to keep the soil constantly moist, but overwatering is the quickest way to invite rot. Let the top inch of the soil almost dry out between waterings. The humidity from the bag or propagator will keep the leaves happy while the roots develop.
Aftercare & Troubleshooting
Once you’ve got your cuttings planted, the real waiting game begins. Keep them in a bright spot out of direct sunlight. Check them every few days for moisture. After about 4-8 weeks, you should start to see signs of new growth, or you can try a gentle tug on the cutting. If you feel resistance, it means roots have formed!
The most common issue you might encounter is rot. If you see your cutting turning black and mushy, or if the leaves are drooping despite the humidity, it’s likely rot. This is usually due to too much moisture or poor drainage. Unfortunately, once rot sets in, it’s hard to save a cutting, but don’t be discouraged! It’s all part of the learning process. Just try again with a fresh cutting and make sure your soil is well-draining.
A Encouraging Closing
Propagating plants, especially those you love, is such a rewarding journey. Be patient with your Ozoroa insignis cuttings. Nature takes its time, and sometimes you’ll have more success than others. Embrace the process, and enjoy watching those tiny new plants emerge. Happy gardening!
Resource:
https://identify.plantnet.org/k-world-flora/species/Ozoroa%20insignis%20Delile/data