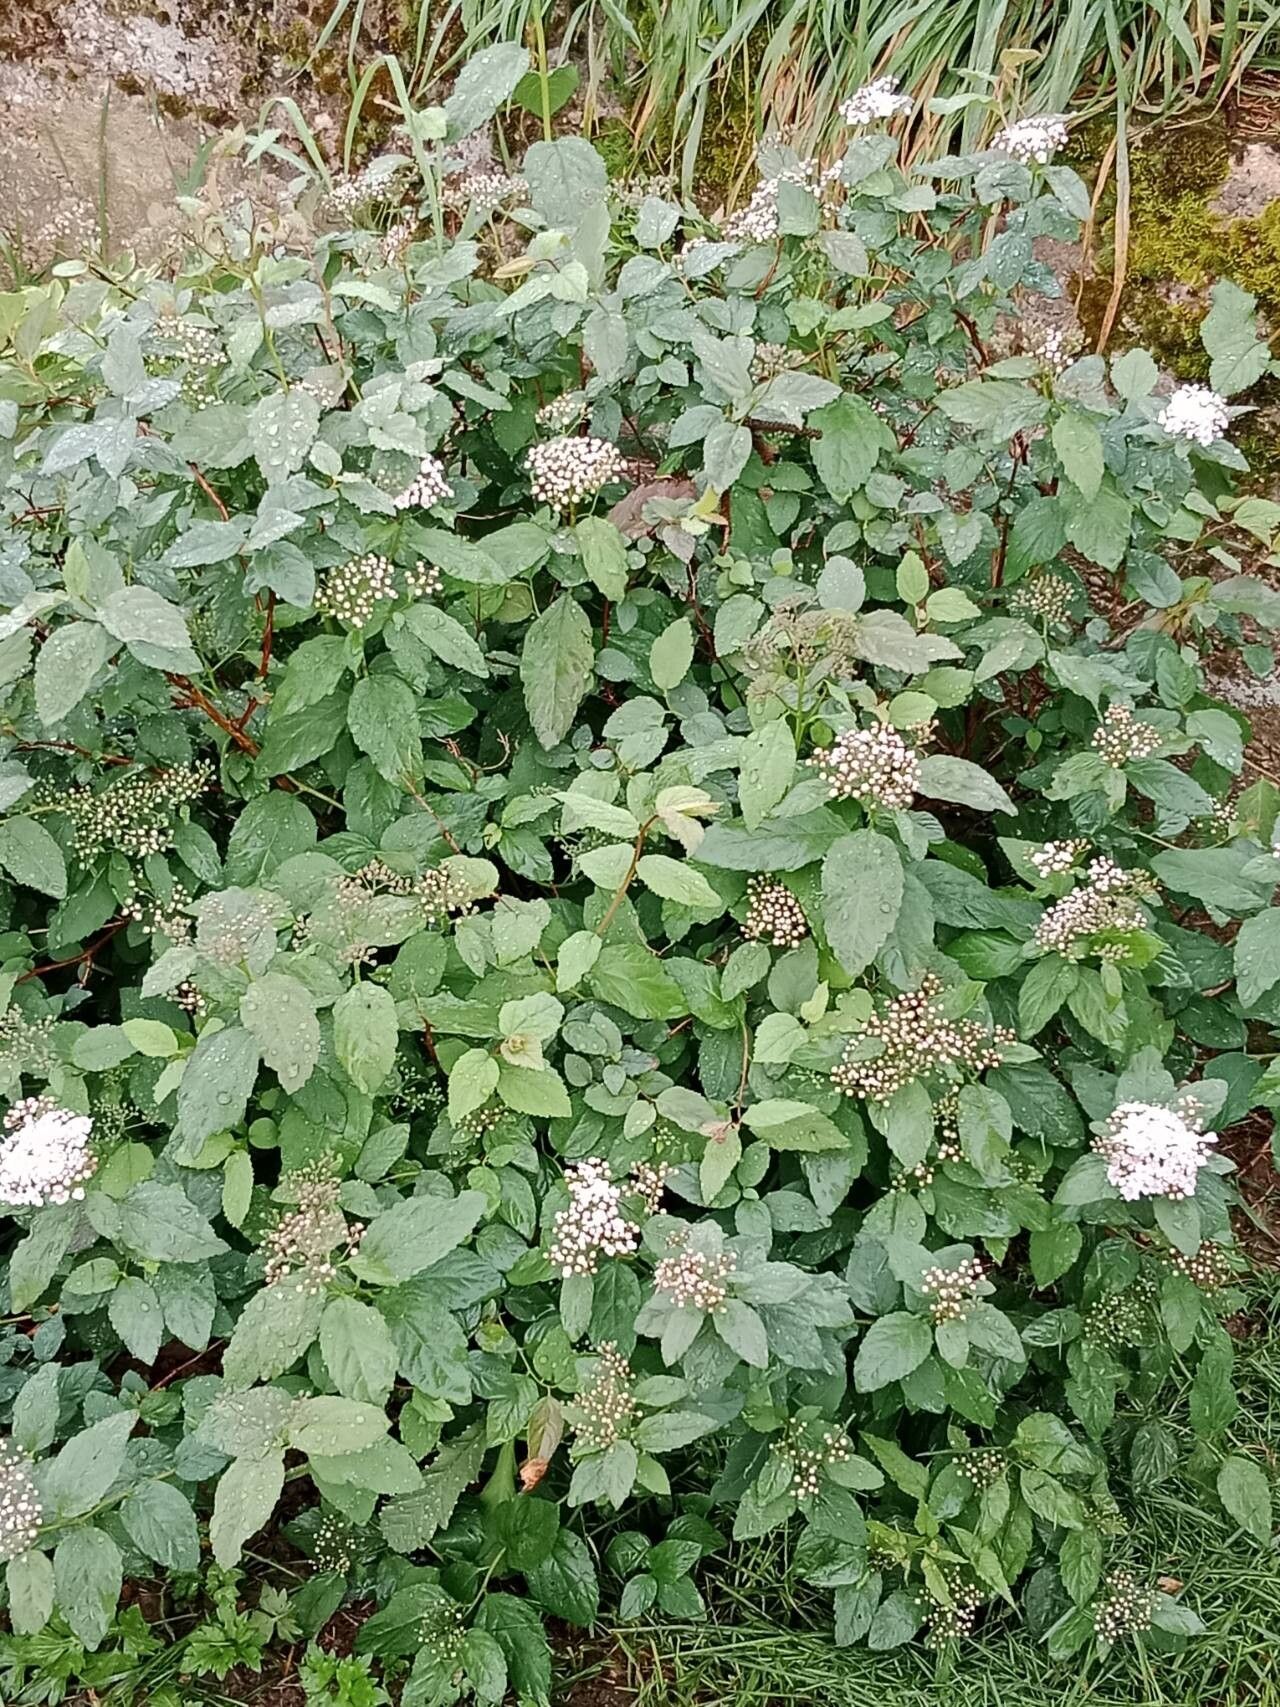
Hello, garden friends! It’s so lovely to have you here. Today, we’re going to dive into propagating a plant that brings me so much joy: Spiraea media. If you’ve ever admired those lovely, frothy blooms and delicate foliage on Spiraea bushes, you’re in for a treat. Propagating them is not only a fantastic way to fill your garden with more of these beauties but also incredibly rewarding. And the best part? For the most common methods, Spiraea media is quite beginner-friendly. You’ve got this!
The Best Time to Start
For the highest success rate with Spiraea media, I always recommend taking softwood cuttings in late spring or early summer. This is when the new growth is still flexible but has developed enough to form a strong cutting. Think of it as just before the stems start to get woody. You could also try semi-hardwood cuttings in mid-to-late summer if your spring growth is very vigorous. Division is typically best done in early spring as the plant is just waking up or in fall after the leaves have turned.
Supplies You’ll Need
Gathering your tools beforehand makes the whole process so much smoother. Here’s what I usually have on hand:
- Sharp pruning shears or secateurs: Cleanliness is key!
- Rooting hormone (powder or gel): This is just a little boost to encourage root development.
- A well-draining potting mix: A good blend of peat moss, perlite, and a little compost works wonders. You can also buy specific seed starting or cutting mixes.
- Small pots or propagation trays: Clean them thoroughly beforehand.
- A plastic bag or clear cover: To create a mini-greenhouse effect.
- Gardening gloves: Always a good idea!
- A small trowel or dibber: For making holes in the soil.
- A spray bottle: For gentle watering.
Propagation Methods
There are a few ways to get more Spiraea media plants, but I find stem cuttings and division to be the most reliable:
Stem Cuttings (Softwood)
- Take your cuttings: Select healthy, non-flowering shoots from your mature Spiraea. Cut a piece about 4-6 inches long, making sure to cut just below a leaf node (where a leaf attaches to the stem).
- Prepare the cuttings: Gently remove the lower leaves, leaving just a couple at the very tip. This prevents them from rotting in the soil and reduces moisture loss. If the leaves are very large, I sometimes snip them in half.
- Apply rooting hormone: Dip the cut end of each cutting into your rooting hormone, tapping off any excess.
- Plant the cuttings: Make a hole in your prepared potting mix with a dibber or trowel. Insert the cutting into the hole, ensuring the leaf nodes are buried. Gently firm the soil around the base.
- Water and cover: Water the soil gently with your spray bottle until it’s moist but not soggy. Cover the pot or tray with a clear plastic bag or lid to maintain humidity. You can secure it with rubber bands.
- Place them: Put your cuttings in a bright spot but out of direct sunlight. They prefer warmth.
Division
This method is best for when your Spiraea is already well-established and you want to thin it out or simply make more plants.
- Dig it up: In early spring or fall, carefully dig around the root ball of your Spiraea. The goal is to lift the entire plant.
- Clean the roots: Gently shake off excess soil so you can see the root structure clearly.
- Divide it: Using your clean hands or a sharp spade or knife, carefully divide the root ball into smaller sections. Each section should have plenty of roots and at least one or two healthy shoots.
- Replant: Immediately replant the divisions into their new spots in the garden or into pots filled with good soil. Ensure the crown (where the roots meet the stems) is at the same level it was before.
- Water well: Give all newly planted divisions a thorough watering.
The “Secret Sauce” (Pro Tips)
Here are a couple of things I’ve learned over the years that really make a difference:
- Don’t let the leaves touch the water (if using water propagation): While Spiraea can sometimes be propagated in water, I find it risky. If you do try it, make absolutely sure that the leaves are above the waterline. Any submerged leaves are a sure ticket to rot. Stick to soil propagation for better results with Spiraea.
- Bottom heat is your friend: If you have the means, placing your pots of cuttings on a heating mat designed for plants can significantly speed up root formation. It mimics that lovely warmth of spring and encourages quicker growth.
Aftercare & Troubleshooting
Once your cuttings have rooted (this can take anywhere from 2 to 6 weeks), you’ll start to see new growth.
- Acclimatize them: Once roots have formed, gradually remove the plastic cover over a week or so. This allows the new plants to adjust to the drier air.
- Water gently: Continue to water them regularly, keeping the soil consistently moist but never waterlogged.
- Light feeding: Once you see good new growth, you can start with a very diluted liquid fertilizer, about once a month.
- Watch for rot: The most common problem with cuttings is rot, which looks like black, mushy stems. This is usually due to too much moisture and not enough air circulation. If you see rot, unfortunately, that cutting is likely lost. It’s better to lose a few and have success with others than to overwater everything. Make sure your soil drains exceptionally well.
A Encouraging Closing
Propagating plants is such a satisfying part of gardening. It teaches you patience and allows you to multiply the beauty in your yard for free! Don’t be discouraged if not every single cutting takes – it’s all part of the learning process. Enjoy the journey of nurturing these tiny beginnings into full, blooming plants. Happy gardening, everyone!
Resource:
https://identify.plantnet.org/k-world-flora/species/Spiraea%20media%20Schmidt/data