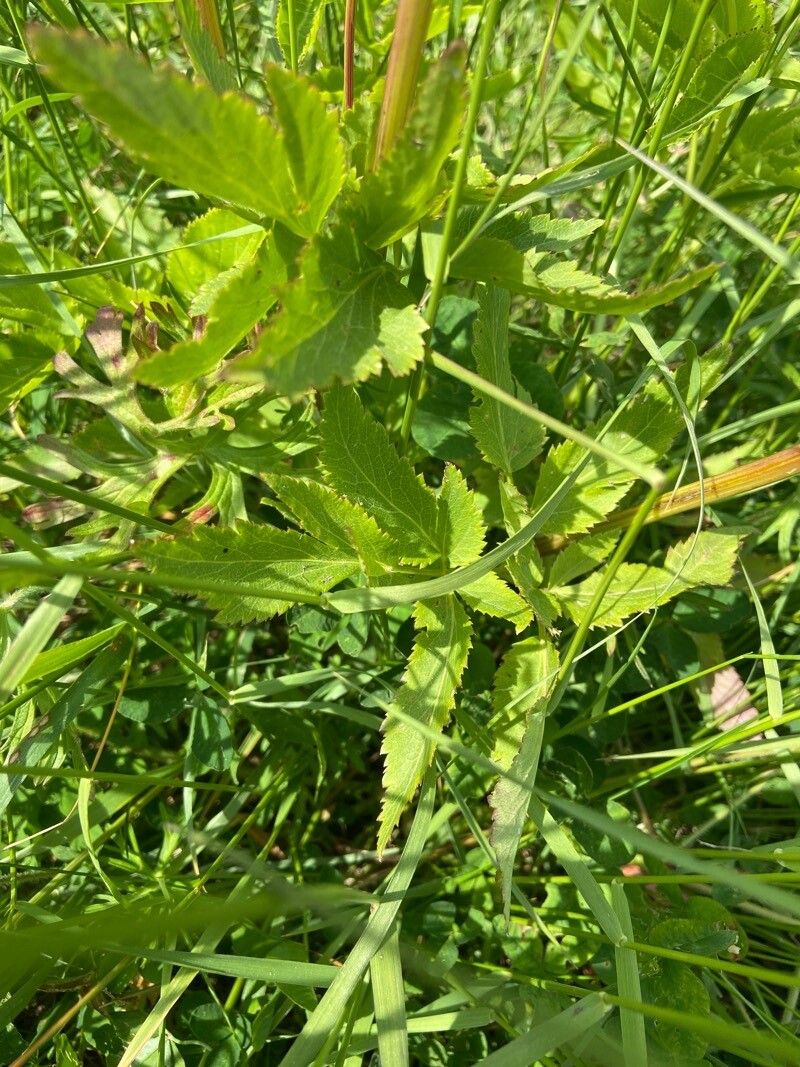
Hello there, fellow plant enthusiasts! I’m so excited to share my passion for Zizia aptera with you today. If you haven’t met this beauty yet, imagine delicate, white flowers held aloft on airy stems, attracting all sorts of beneficial pollinators to your garden. It’s a truly enchanting plant, and I find propagating it to be incredibly rewarding. For those of you just starting out on your propagation journey, Zizia aptera can be a delightful introduction, offering a good chance of success with a little care.
The Best Time to Start
When it comes to Zizia aptera, I’ve found the happiest time to propagate is in late spring or early summer. This is when the plant is actively growing and has plenty of energy to put into developing new roots. You can also try division in the early spring as soon as the frost has passed and the soil is workable, giving the divisions ample time to establish before the heat of summer.
Supplies You’ll Need
To get your Zizia aptera off to a flying start, gather these essentials:
- Sharp, clean pruning shears or a knife: For making clean cuts.
- Rooting hormone powder (optional but recommended): Especially helpful for cuttings.
- Well-draining potting mix: A good blend of peat moss, perlite, and coarse sand works wonders. You can also use a specialized seed-starting mix.
- Small pots or trays: With drainage holes, of course!
- Watering can or mister: For gentle hydration.
- Plastic bags or domes: To create a humid environment for cuttings.
- Labels and a pen: To keep track of your patient work!
Propagation Methods
There are a couple of tried-and-true ways to bring new Zizia aptera plants to life.
1. Taking Stem Cuttings
This is my personal favorite for Zizia. It’s a fantastic way to get multiple new plants from a single mature specimen.
- Select your stem: Look for healthy, vigorous stems that are not flowering. Aim for stems that are a few inches long.
- Make the cut: Using your clean shears, take a cutting just below a leaf node. This is where roots are most likely to form.
- Prepare the cutting: Gently remove the lower leaves from the cutting, leaving just a few at the top. If the leaves are large, I like to cut them in half to reduce water loss.
- Dip in rooting hormone: If you’re using it, dip the cut end of the stem into the rooting hormone powder. Tap off any excess.
- Plant your cutting: Insert the cut end into your prepared potting mix. Gently firm the soil around the stem to ensure good contact.
- Create humidity: Water the soil gently and then cover the pot with a clear plastic bag or a humidity dome. This traps moisture and encourages root development. Place it in a bright spot, but out of direct sunlight.
2. Division
This method is best done with established plants.
- Water the plant: Give your Zizia a good watering a day or two before you plan to divide. This helps the plant recover from the disturbance.
- Gently excavate: Carefully dig around the base of the plant with your trowel. Lift the entire clump out of the ground or pot.
- Separate the roots: Look for natural divisions in the root ball. You can often gently pull the clumps apart with your hands. If the roots are tangled, use your clean knife or trowel to carefully cut through them. Make sure each division has healthy roots and at least one shoot.
- Replant immediately: Prepare new planting holes or pots with good soil. Place your divisions in their new homes and water them in well.
The “Secret Sauce” (Pro Tips)
Here are a few little tricks I’ve learned over the years that can make all the difference:
- Don’t let the leaves touch the water (for water propagation, if you choose it): While I prefer soil for Zizia, if you do try rooting cuttings in water, make sure the leaves are sitting above the water line. Rot is your enemy here!
- Bottom heat is your friend: For cuttings, placing your pots on a gentle seedling heat mat can significantly speed up root formation. Just a little warmth from below makes a big difference.
- Be patient with humidity: Keep those plastic bags or domes on until you see clear signs of new growth emerging from the cutting. This might take a few weeks, so resist the urge to peek too often!
Aftercare & Troubleshooting
Once your Zizia aptera cuttings have developed a good root system – you can test this by gently tugging on the stem, and if there’s resistance, you’ve got roots! – it’s time for them to graduate from their humid nursery.
- Wean gradually: Slowly introduce your new plants to open air over a few days by lifting the plastic bag or dome for increasing periods.
- Water consistently: Keep the soil moist but not soggy. Overwatering is a common pitfall, leading to root rot, which will manifest as wilting, yellowing leaves, and a mushy stem base. If you see this, act fast! Try to dry out the soil and remove any rotted parts.
- Move to a slightly larger pot: Once established, you can transplant them into slightly larger pots with their regular potting mix.
- Watch for pests: While Zizia are pretty tough, keep an eye out for common garden pests like aphids. A gentle blast of water or some insecticidal soap usually does the trick.
A Little Encouragement
Remember, gardening is a journey, and propagation is a wonderful way to learn and expand your plant collection. Be patient with your Zizia aptera, celebrate every little sign of progress, and enjoy the process of bringing new life into your garden. Happy growing!
Resource:
https://identify.plantnet.org/k-world-flora/species/Zizia%20aptera%20(A.Gray)%20Fernald/data