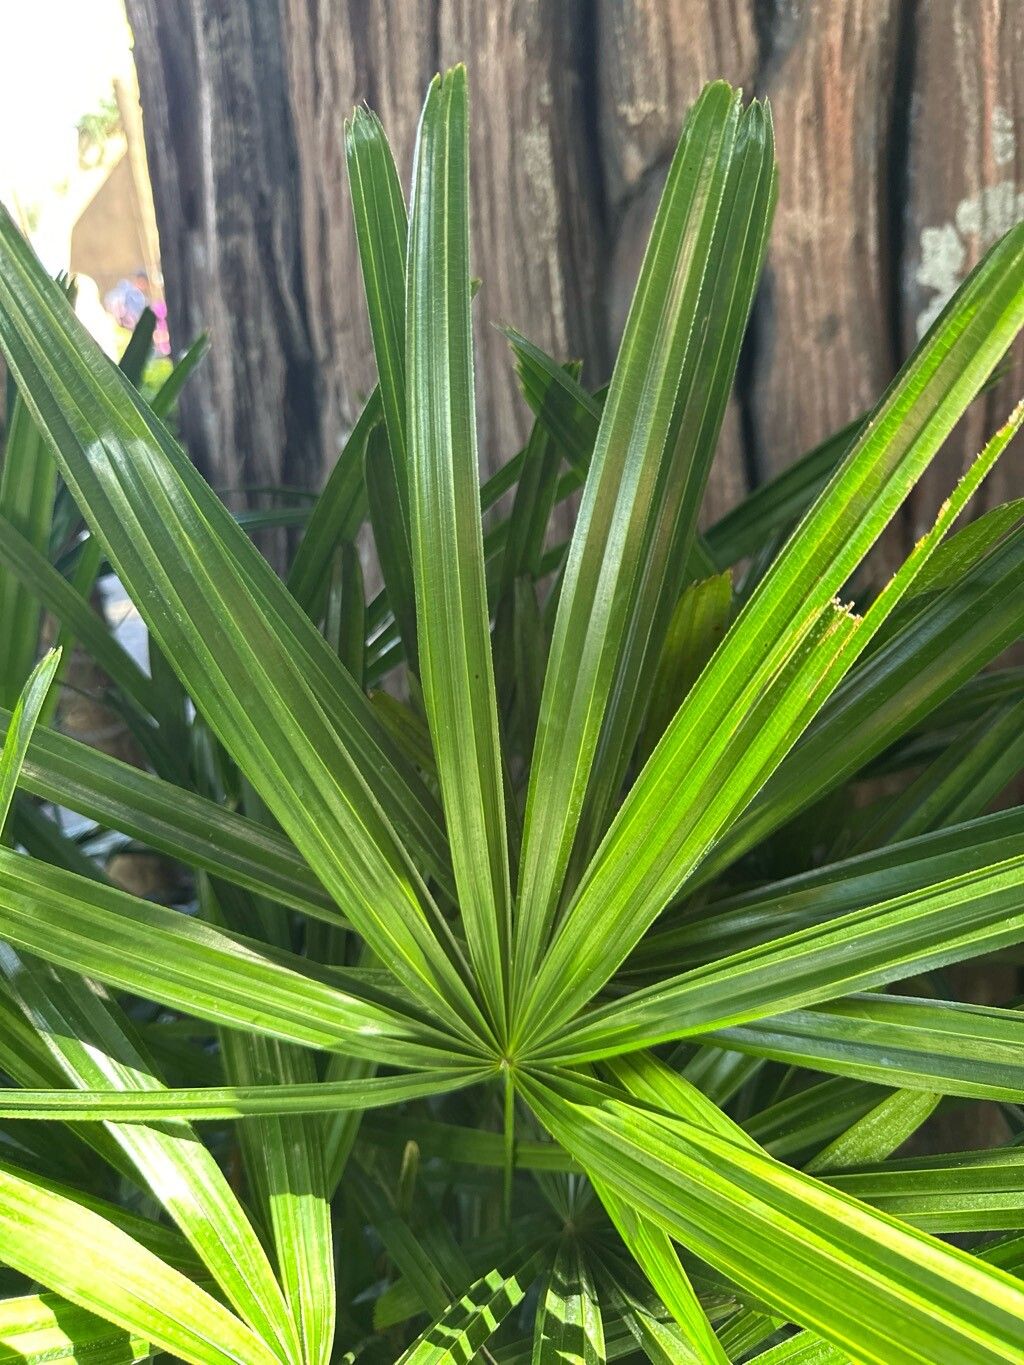
Hello fellow plant enthusiasts! Today, we’re diving into the wonderful world of propagating Rhapis excelsa, often lovingly called the Lady Palm. I’ve been growing these elegant beauties for two decades now, and I can tell you, coaxing a new plant from an existing one is one of the most satisfying gardening experiences. The Rhapis excelsa, with its fan-shaped leaves and upright growth, brings a touch of the tropics to any indoor space. It’s a relatively forgiving plant, and propagating it yourself is absolutely achievable, even for those just starting out on their green journey. Think of it as cloning a little piece of happiness!
The Best Time to Start
For the Lady Palm, the spring months, from about April through June, are your golden window. This is when the plant is actively growing after its winter rest. You’ll see new shoots emerging, and the plant is generally more vigorous and ready to put its energy into root development. Trying to propagate later in the year, especially as temperatures dip, will mean slower growth and a less successful outcome.
Supplies You’ll Need
Before we get our hands dirty, let’s gather our tools. Having everything ready makes the process so much smoother.
- Sharp Pruning Shears or a Clean Knife: Essential for taking clean cuts.
- Well-Draining Potting Mix: A standard houseplant mix is fine, but I like to add a good amount of perlite or orchid bark to ensure it doesn’t stay soggy.
- Small Pots or Seed Trays: Terracotta pots are great as they allow the soil to breathe.
- Optional: Rooting Hormone: While Rhapis excelsa can root without it, a little dip can give your cuttings a helping hand.
- Watering Can with a Fine Rose: For gentle watering.
- Clear Plastic Bags or a Propagator Lid: To create a humid environment.
- Label Maker or Waterproof Pen and Tags: To keep track of what you’ve propagated.
Propagation Methods
Rhapis excelsa is best propagated through division or stem cuttings. Since we’re aiming for ease and accessibility, let’s focus on these two.
Division (The Easiest Way!)
This is hands-down the most straightforward method for Lady Palms. Rhapis excelsa naturally produces pups or offsets from the base of the mother plant.
- Gently Remove the Plant: Take your Rhapis excelsa out of its pot. You might need to tap the sides of the pot to loosen it.
- Inspect the Roots: Carefully examine the root ball. You’re looking for a section of the plant that has its own set of roots and at least a few leaves.
- Separate the Pups: Using your fingers, or a clean knife if the roots are tightly bound, carefully separate a pup from the main plant. Try to get as much of the root system attached to the pup as possible. Don’t be afraid to be a little firm, but be gentle with the delicate roots.
- Pot Up: Pot the newly separated pup into its own small pot filled with your well-draining potting mix. Water it gently.
- Initial Care: Place the pot in bright, indirect light and keep the soil lightly moist. It will take a few weeks to see signs of new growth, indicating it has established.
Stem Cuttings (A Little More Patience Required)
This method takes a bit longer and is best done when you have a healthy, mature plant with some extra stem growth.
- Take Cuttings: Using your sharp pruning shears, take a cutting from a healthy stem. Aim for a piece that has at least two leaf nodes (where a leaf attaches to the stem) and one or two healthy leaves. Make your cut just below a leaf node.
- Prepare the Cutting: Remove the lower leaves from the cutting, leaving just the top one or two. This prevents them from rotting in the soil or water.
- Rooting Hormone (Optional): If you’re using rooting hormone, dip the cut end of the stem into the powder, tapping off any excess.
- Planting:
- In Soil: Fill a small pot with your well-draining potting mix. Make a hole with your finger or a pencil and insert the cutting, ensuring the nodes are below the soil surface. Gently firm the soil around the stem.
- In Water: You can also place the cuttings in a jar or vase filled with clean water. Make sure the leaf nodes are submerged, but do not let the leaves touch the water. Change the water every few days to keep it fresh.
- Create Humidity: Cover the pot with a clear plastic bag, securing it with a rubber band or placing it inside a propagator. For water cuttings, you can place the jar in a mini-greenhouse or cover it loosely with a plastic bag.
- Placement: Place the pot or jar in a bright location, but out of direct sunlight.
The “Secret Sauce” (Pro Tips)
Here are a couple of little pearls of wisdom I’ve gathered over the years:
- Bottom Heat is Your Friend: For stem cuttings, placing the pot on a gentle heat mat significantly speeds up root development. The warmth encourages the plant to expend energy on growing roots rather than just staying alive. Many small heat mats are available specifically for propagation.
- Patience is Key with Water Cuttings: When rooting in water, I’ve found that Rhapis excelsa can sometimes take a while to appear. Don’t get discouraged if you don’t see tiny white roots popping out immediately. Change the water consistently, and sometimes, just when you’re about to give up, you’ll spot them! Also, as I mentioned, ensure no leaves are submerged. This is a surefire way to invite rot.
Aftercare & Troubleshooting
Once your cuttings have developed a decent root system – you’ll see new leaves emerging and/or roots peeking out of the drainage holes – it’s time for transplanting!
- Transplanting: For water cuttings, once the roots are an inch or two long, carefully transplant them into your prepared well-draining potting mix. Water them in well.
- Watering: Keep the soil consistently lightly moist for the first few weeks. Avoid letting it dry out completely, but also don’t drown it.
- Light: Continue to provide bright, indirect light. As the plant becomes more established, you can gradually introduce it to slightly brighter conditions if it’s happy.
Troubleshooting:
- Wilting or Yellowing Leaves: This is often a sign of shock or overwatering. Ensure the soil isn’t waterlogged. If they were in water, check for root rot.
- No Root Growth: This could be due to a lack of humidity, insufficient light, or the temperature being too cold. Go back to creating that humid environment and ensure it’s in a warm spot.
- Rot: If you see a dark, mushy stem or leaves, it’s likely rot, usually caused by excess moisture and poor air circulation. Unfortunately, if a cutting has rotted, it’s usually a goner. You can try to take a fresh cutting from a healthy part of the stem.
A Encouraging Closing
Propagating your Rhapis excelsa is a beautiful way to multiply your greenery and share your passion with others. It takes a little patience, a touch of observation, and a lot of love, but the reward of watching a new life unfurl from your efforts is truly special. So, grab your shears, get your hands a little dirty, and enjoy the journey of growing more of these graceful palms. Happy propagating!
Resource:
https://identify.plantnet.org/k-world-flora/species/Rhapis%20excelsa%20(Thunb.)%20A.Henry/data