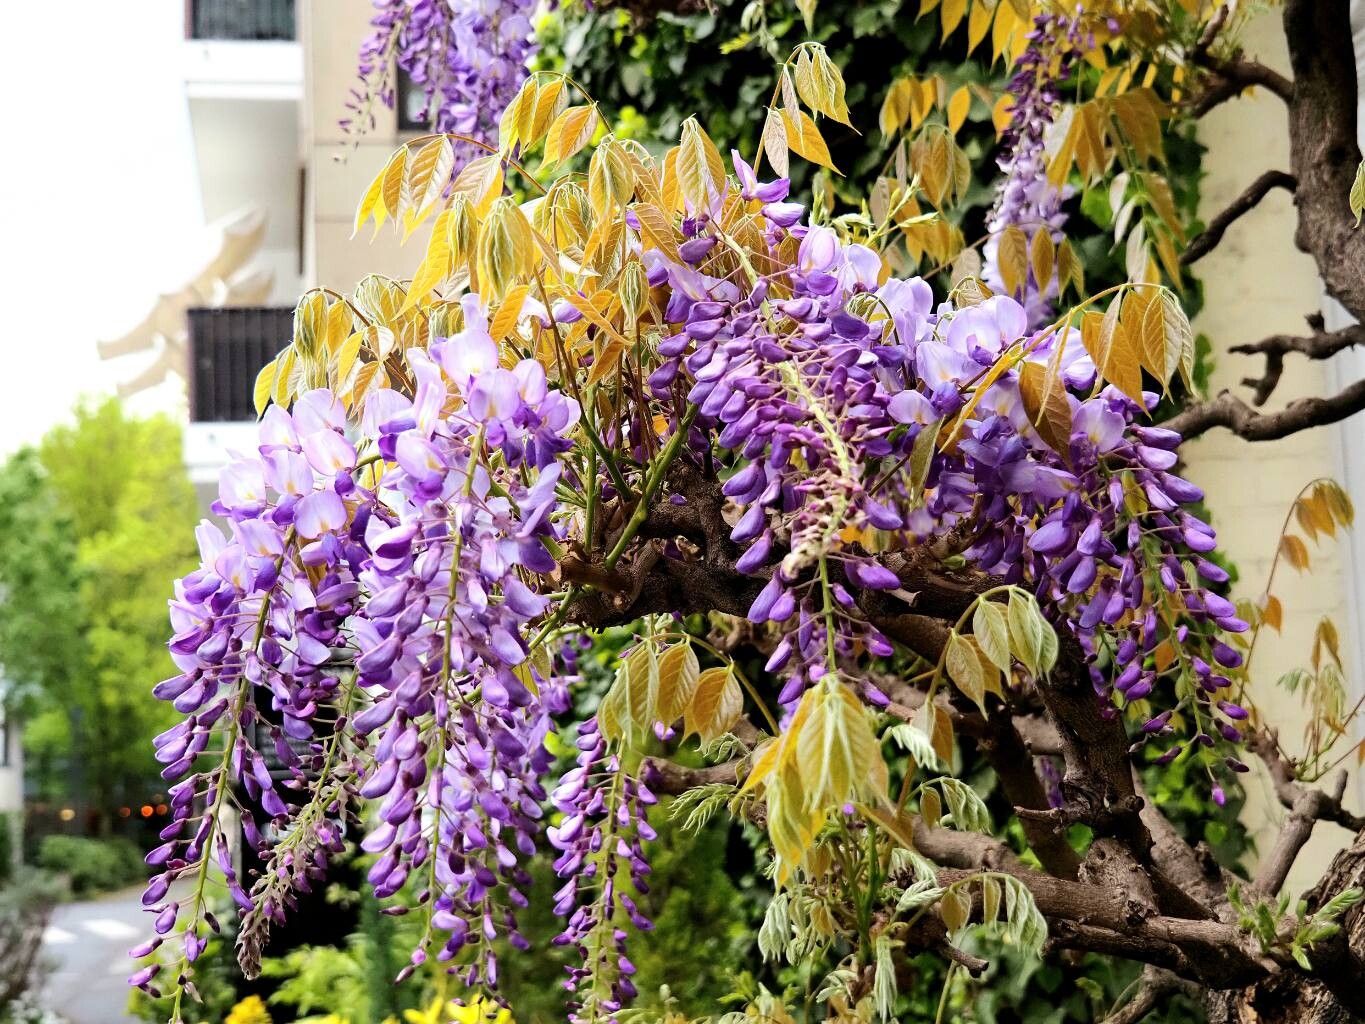
Oh, wisteria! Just the name conjures up images of cascading purple, blue, or white blooms, doesn’t it? It’s a plant that truly steals the show, its fragrance heavy and sweet on a spring breeze. And the satisfaction of growing your own wisteria from scratch? It’s a feeling unlike any other. While it might seem a bit daunting, propagating Wisteria floribunda, or Japanese wisteria, is a journey I’ve loved taking many times. It’s not the easiest plant to start from scratch, but with a little patience and the right approach, it’s absolutely achievable, even for those new to the world of propagation.
The Best Time to Start
Timing is everything, my friends. For the highest success rate with Wisteria floribunda, I’ve found the sweet spot is late spring to early summer, when the plant is actively growing, but you can also have good luck in late summer/early fall with semi-hardwood cuttings. We’re looking for new growth that’s starting to firm up a bit. Think of it as getting a head start while the plant is full of life and energy.
Supplies You’ll Need
Gathering your tools before you begin makes the whole process so much smoother. Here’s what I always keep on hand:
- Sharp Pruning Shears or a Craft Knife: Clean cuts are essential for healthy healing.
- Rooting Hormone: This is your best friend when encouraging those stubborn roots. I prefer a powder or a gel.
- Well-Draining Potting Mix: A good blend of peat moss or coco coir, perlite, and a bit of compost works wonders. You can even buy specific propagation mixes.
- Small Pots or Propagation Trays: Clean ones are a must to prevent disease.
- Plastic Bags or Clear Domes: These create a humid environment, which is vital for cuttings.
- Water: For making your rooting hormone solution or misting.
- Labels and a Marker: Trust me, you’ll thank yourself later!
- Gloves (Optional but Recommended): Some people find wisteria sap a bit irritating.
Propagation Methods
Now, let’s get our hands dirty! While division can work, I find stem cuttings to be the most reliable and accessible method for creating new Wisteria floribunda plants from cuttings.
Method: Stem Cuttings (Semi-Hardwood)
- Select Your Wands: On your established wisteria plant, look for healthy, flexible stems that are about pencil-thick. These are often called “whips” or “wands.” You want stems that have started to harden off but still have a bit of give.
- Take Your Cuttings: Using your clean pruning shears, take cuttings that are about 6-8 inches long. Make a clean cut just below a leaf node (where a leaf attaches to the stem). The leaf node is where the magic happens – it’s packed with hormones that encourage root growth. Take several cuttings; not all of them will make it, and that’s perfectly normal.
- Prepare the Cuttings: Gently remove the leaves from the bottom half of each cutting, leaving just one or two leaves at the very top. This reduces water loss and prevents the leaves from rotting in the soil. If the remaining leaves are very large, you can cut them in half horizontally to further reduce transpiration.
- Dip and Plant: Lightly moisten the cut end of each stem. Dip the cut end into your rooting hormone, tapping off any excess. Then, insert the treated end about 1-2 inches deep into your prepared potting mix in your pots or trays. Firm the soil gently around the cutting to ensure good contact.
- Create the Humid Environment: Water the soil thoroughly until it’s evenly moist but not soggy. Cover each pot with a clear plastic bag, making sure the leaves don’t touch the sides of the bag. Alternatively, use a clear propagation lid or dome.
The “Secret Sauce” (Pro Tips)
Here are a couple of things I’ve learned over the years that really boost my success rates:
- The Bottom Heat Trick: Even if you don’t have a fancy propagation mat, placing your pots in a warm spot – maybe on top of a refrigerator or in a sunny windowsill where it gets warm – can make a huge difference. Bottom heat encourages roots to form faster.
- Don’t Overwater Your Cuttings: This is a common mistake! While humidity is key, waterlogged soil is a one-way ticket to rot. The plastic bag will keep moisture in, so you only need to water when the top inch of soil feels dry to the touch. A gentle misting can also help keep humidity levels up.
- Patience is a Virtue (and a Necessity): Wisteria can be slow to root. Don’t be tempted to pull them up too soon to check for roots. I usually give them at least 4-8 weeks, and often longer, before I even think about gently tugging to see if there’s resistance.
Aftercare & Troubleshooting
Once you start to see new leaf growth and feel some gentle resistance when you lightly tug a cutting, you’re in business!
- Acclimatization: Gradually remove the plastic bag or dome over a week or two. Start by taking it off for an hour or two each day, gradually increasing the time. This allows the new plant to adjust to normal humidity levels.
- Light and Water: Place your new seedlings in bright, indirect light. Continue to water them when the top inch of soil feels dry.
- Transplanting: Once they have a good root system and are starting to put on decent top growth, you can transplant them into slightly larger individual pots.
- Troubleshooting Rot: The most common problem you’ll face is rot. If you see stems turning black and mushy, it’s usually a sign of overwatering or poor air circulation. Unfortunately, there’s not much you can do once rot sets in, so focus on prevention: well-draining soil, careful watering, and ensuring good airflow. If a cutting looks like it’s dying, sometimes it’s best to discard it to prevent any potential spread of disease to other cuttings.
A Little Encouraging Closing
Growing wisteria from cuttings is a slow but incredibly rewarding process. It requires a bit of patience and a willingness to learn from nature. Don’t be discouraged if your first attempt isn’t a resounding success. Each cutting is an experiment, and every gardener has lost a few along the way. So, embrace the learning curve, enjoy the satisfaction of nurturing new life, and before you know it, you’ll have your very own wisteria vine to admire. Happy gardening!
Resource:
https://identify.plantnet.org/k-world-flora/species/Wisteria%20floribunda%20(Willd.)%20DC./data