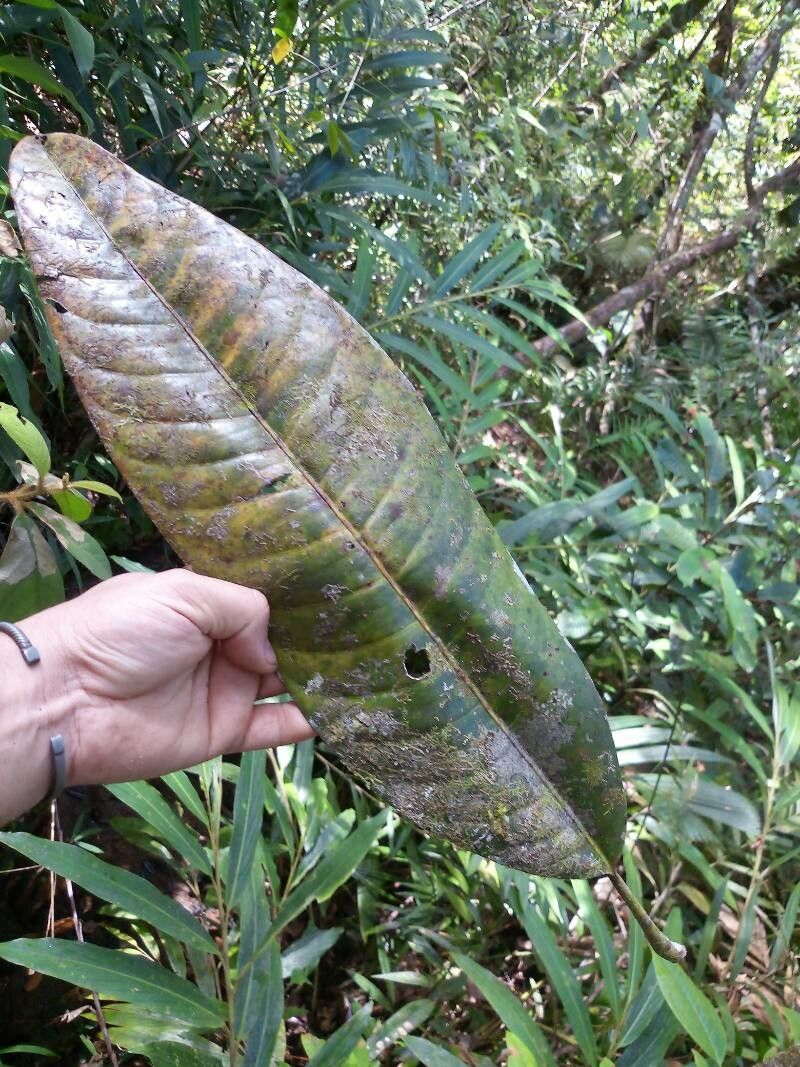
Hey there, fellow garden enthusiasts! It’s lovely to have you join me today. If you’re anything like me, you’ve been captivated by the glossy foliage and, for some varieties, the stunning blooms of Gluta aptera. It’s a plant that truly brings a touch of the tropics home, and there’s something incredibly satisfying about nurturing a baby plant from a tiny cutting. Now, for those of you just starting out, I’ll be honest: propagating Gluta aptera isn’t quite as straightforward as sticking a pothos cutting in water, but with a little care and attention, it’s absolutely achievable. Let’s dive in!
The Best Time to Start
The sweet spot for propagating Gluta aptera is when the plant is actively growing, usually in late spring or early summer. You want to ensure your cuttings have plenty of energy to draw from. Avoid taking cuttings from a plant that’s stressed from heat, drought, or a recent pest outbreak. We’re aiming for healthy, vigorous material.
Supplies You’ll Need
Get yourself organized with these essentials before you begin:
- Sharp, clean pruning shears or a hobby knife: Essential for making clean cuts. Sterilize them with rubbing alcohol between uses!
- Rooting hormone (optional but recommended): A powder or gel can significantly boost your success rate.
- A well-draining potting mix: I usually opt for a blend of equal parts peat moss or coco coir and perlite. You can also use a commercial cactus or succulent mix.
- Small pots or propagation trays: Ensure they have drainage holes.
- Clear plastic bags or a propagation dome: To maintain humidity.
- A spray bottle: For misting.
- Watering can: For gentle watering.
Propagation Methods
Let’s get our hands dirty! Here are the ways I’ve found most successful:
Stem Cuttings
This is my go-to method for Gluta aptera.
- Select a healthy stem: Look for a piece that is actively growing but not too soft.
- Make the cut: Using your sterilized shears or knife, take a cutting about 4-6 inches long. Make the cut just below a leaf node (where a leaf attaches to the stem).
- Prepare the cutting: Gently remove the lower leaves, leaving just a few at the top. This prevents them from rotting in the soil.
- Apply rooting hormone: If using, dip the cut end into the rooting hormone, tapping off any excess.
- Plant the cutting: Make a small hole in your potting mix and insert the cut end of the stem. Gently firm the soil around it.
- Water and cover: Water the soil lightly until it’s evenly moist, but not waterlogged. Cover the pot with a plastic bag or place it in a propagation dome to create a humid environment. You can prop the bag up with a skewer or two so it doesn’t touch the leaves.
Water Propagation (Use with Caution)
While possible for Gluta aptera, I find it’s a bit more prone to rot than soil propagation.
- Follow steps 1-3 for stem cuttings above.
- Place in water: Put the cutting in a jar or glass of clean water, ensuring no leaves are submerged. Change the water every few days to keep it fresh.
- Wait for roots: You should see tiny roots emerge from the nodes within a few weeks.
- Transplant carefully: Once the roots are about an inch long, carefully transplant the cutting into your well-draining potting mix.
The “Secret Sauce” (Pro Tips)
Here are a few little tricks that make all the difference:
- Bottom Heat is Your Friend: If you have access to a seedling heat mat, place your pots on it gently. This consistent warmth from below encourages root development. It’s like giving your cuttings a little spa treatment for their roots!
- Don’t Over-Water: This is probably the most crucial tip. Gluta aptera cuttings are easily susceptible to rot if the soil stays too wet. Aim for consistently moist soil, not soggy. I often check by poking my finger about an inch into the soil. If I feel moisture, I leave it be.
- Start with Multiple Cuttings: Because propagation can be a bit hit-or-miss, I always take at least 3-5 cuttings. This significantly increases your chances of getting at least one successful new plant. It’s like buying a lottery ticket – the more you buy, the better your odds!
Aftercare & Troubleshooting
Once you spot those first signs of new growth (tiny leaves unfurling or a gentle tug resistance in the soil), you’re on the right track!
- Gradual Acclimation: Slowly introduce your new plant to drier air. If it was under a plastic bag, gradually open it up more each day over a week.
- Sunlight: Place your new plant in a bright spot with indirect sunlight. Direct sun can scorch tender new leaves.
- Watering: Continue to water when the top inch of soil feels dry.
- Troubleshooting: The most common issue is rot. If your cutting turns mushy or black, it’s likely rotted. This is usually due to too much moisture. Unfortunately, a rotted cutting is a goner, but don’t despair! Just try again with a fresh cutting and adjust your watering. Yellowing leaves can sometimes indicate too much or too little water, or not enough light. Observe your plant closely.
A Little Patience Goes a Long Way
Watching a new plant take hold is such a fulfilling experience. Be patient with your Gluta aptera cuttings. Some might take off quickly, while others might take their sweet time. Enjoy the journey, learn from each attempt, and celebrate every success, no matter how small. Happy propagating!
Resource:
https://identify.plantnet.org/k-world-flora/species/Gluta%20aptera%20(King)%20Ding%20Hou/data