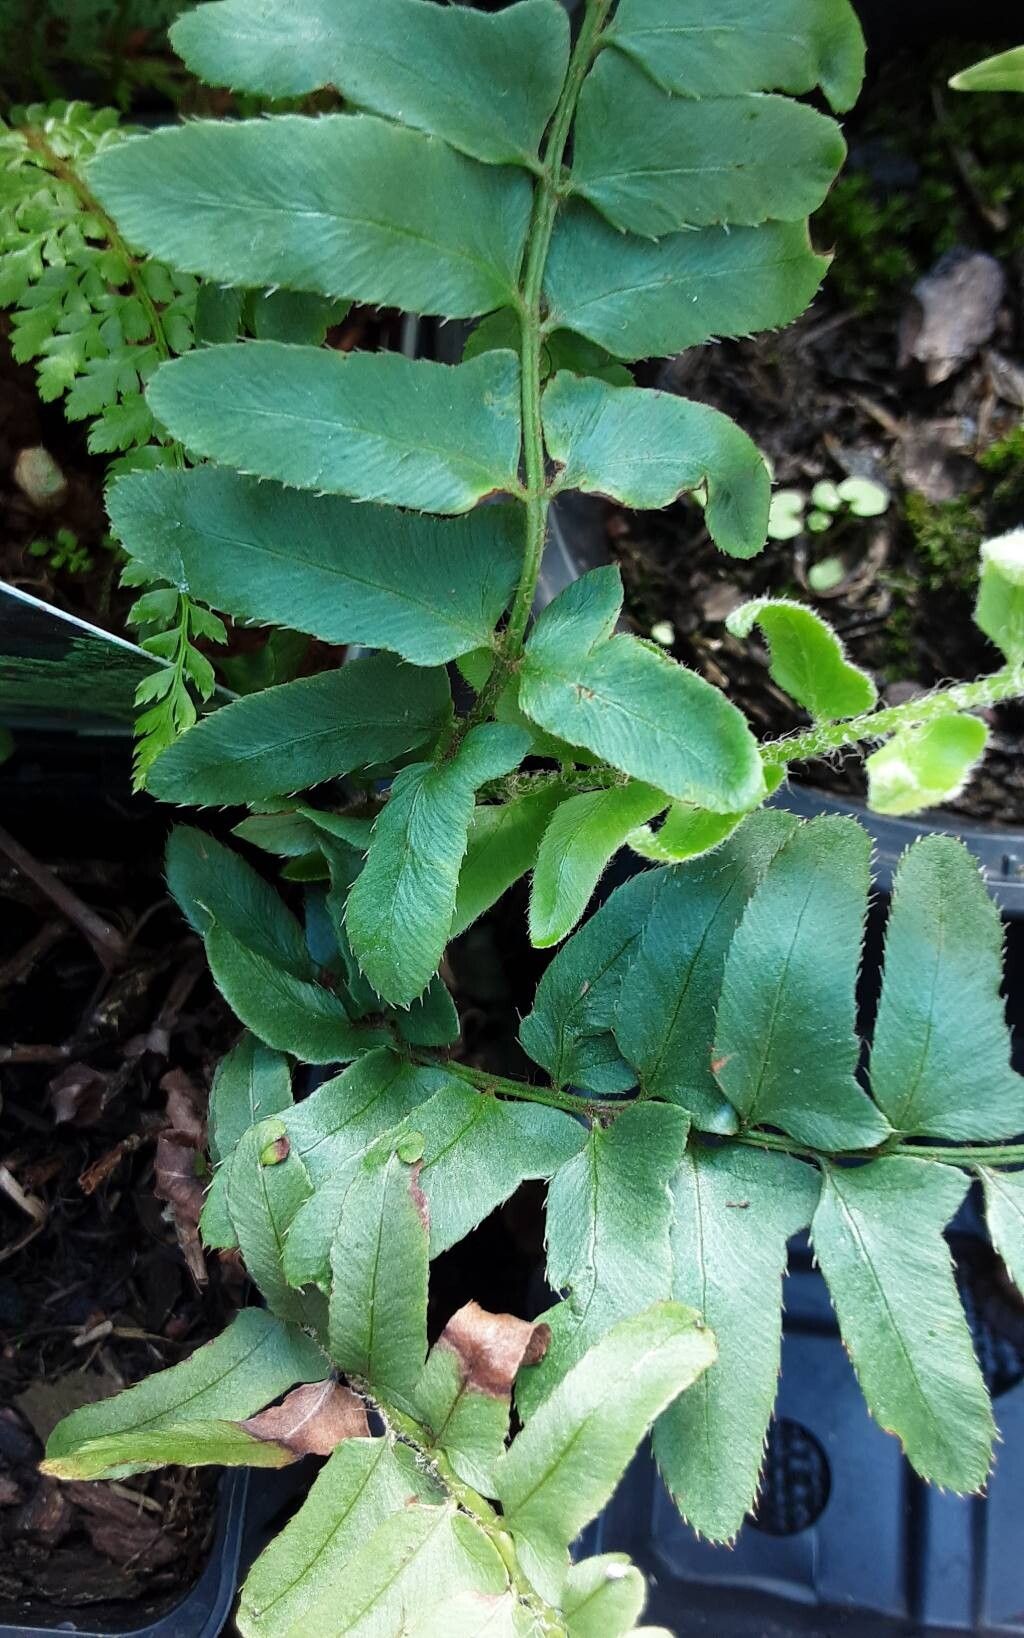
Oh, hello there! Pull up a chair, let’s chat about one of my absolute favorite ferns: the Christmas fern, or Polystichum acrostichoides. If you’re looking to add a bit of lush, evergreen charm to your shady spots, this one’s a winner. Its glossy, dark green fronds are a welcome sight even in the cold months, hence the name “Christmas fern.” And the best part? Propagating it is a wonderfully rewarding way to fill your garden or share these beauties with friends. Don’t you worry, it’s quite approachable, even for those just dipping their toes into the world of plant propagation.
The Best Time to Start
When it comes to our Christmas ferns, the prime time to get propagating is early spring. This is when the plant is waking up from its winter slumber and has all that energy for new growth. You’ll have the best luck if you start after the last frost has definitely passed, but before the really intense summer heat kicks in. This gives your new little fernlets plenty of time to establish themselves before the weather gets too tough.
Supplies You’ll Need
Here’s what I like to have on hand when I’m working with Christmas ferns:
- Sharp pruning shears or a clean knife: For making precise cuts.
- A good quality potting mix: Something that drains well is key. A blend of peat moss, perlite, and a bit of compost usually does the trick.
- Small pots or trays: With drainage holes, of course!
- A mister bottle: For keeping things humid.
- Optional: Rooting hormone: While not strictly necessary for this fern, it can sometimes speed things up.
- Optional: Clear plastic bags or domes: To create a mini-greenhouse effect.
Propagation Methods
Christmas ferns are typically propagated by division, which is my go-to method because it’s so straightforward.
Division:
- Dig Gently: In early spring, carefully dig up your mature Christmas fern. Try to get as much of the root ball as possible. You can do this while the plant is still in the ground or if it’s in a pot.
- Examine the Crown: Once it’s out, gently shake off some of the excess soil. Look for where the rhizomes (these are the underground stems) naturally split or where you can see distinct new crowns forming.
- Separate: Using your clean hands or a gentle prying motion with your trowel or knife, carefully separate a section of the fern. You want to make sure each division has at least a few healthy fronds and a good clump of roots. Don’t try to force it – if it feels like it’s going to tear roots unnecessarily, you might need to make a clean cut with your shears.
- Pot Up: Plant each division into its own pot with your well-draining potting mix. Make sure the crown (where the fronds emerge from the roots) is at soil level.
- Water In: Give them a good watering, settling the soil around the roots.
The “Secret Sauce” (Pro Tips)
You know, sometimes the little things make all the difference! Here are a couple of tricks I’ve picked up over the years:
- Don’t Crowd Them: When dividing, resist the urge to cram too many fronds onto one small division. Each part needs enough energy to grow, and too much foliage with too few roots can be a struggle. Focus on healthy root systems.
- Embrace the Humidity: Ferns absolutely love moisture. After potting your divisions, mist them regularly and consider placing a plastic bag loosely over the pot (make sure there’s still some air circulation, or lift it daily) or using a clear dome. This creates a humid environment that really encourages new root growth and prevents the fronds from drying out too quickly.
Aftercare & Troubleshooting
Once your divisions are potted, keep them in a shady spot and water consistently. They don’t like to dry out, but they also don’t like sitting in soggy soil. You’ll know they’re happy when you start to see new fiddleheads unfurling – those are the precious new fronds!
The main thing to watch out for is rot. If you see fronds turning yellow and mushy, or if the soil feels constantly saturated and there’s a bit of a funky smell, you might be overwatering or the potting mix isn’t draining well enough. Pull back on the watering and make sure the pot has good drainage. If a division looks completely limp and lifeless after a few weeks, it might not have had enough healthy roots to start with. Don’t be discouraged by the occasional casualty; it happens to all of us!
A Encouraging Closing
So there you have it! Propagating Christmas ferns is a wonderful way to watch your garden grow and share the evergreen beauty that I love so much. Be patient with your new plants – they take their time to settle in. But with a little bit of care and attention, you’ll be enjoying these resilient ferns for years to come. Happy gardening, my friend!
Resource: