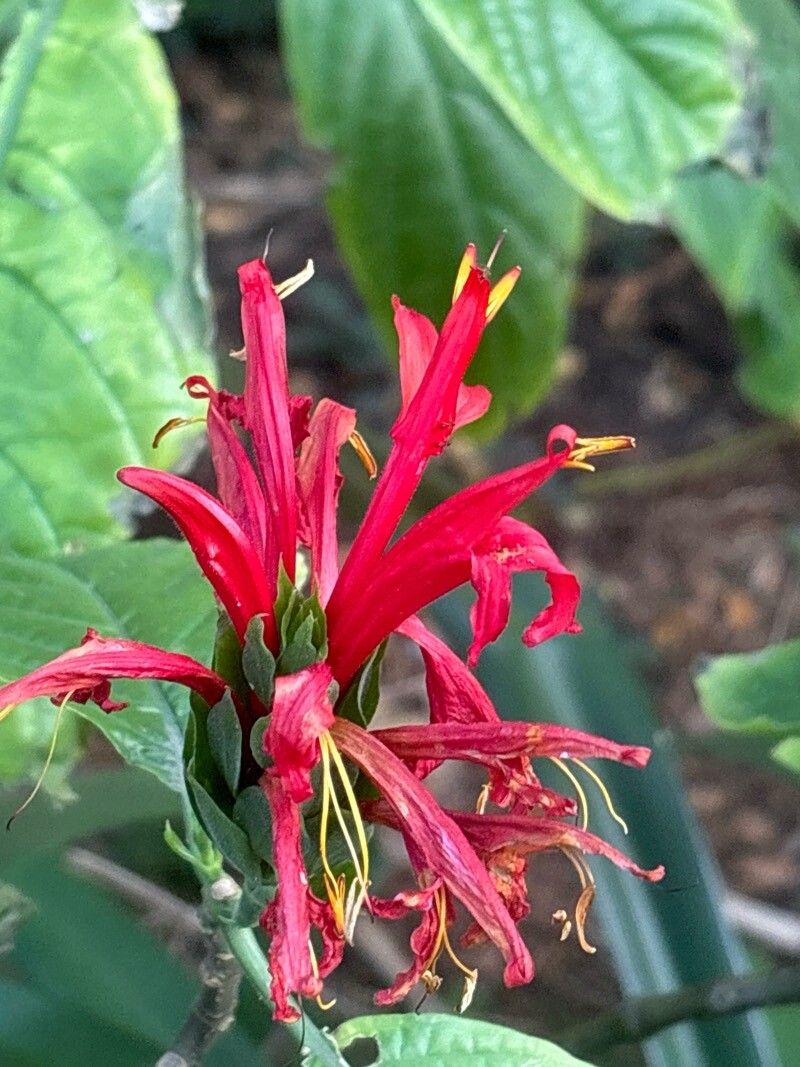
Hello my fellow plant enthusiasts! Today, we’re diving into the delightful world of Pachystachys spicata, commonly known as the Golden Shrimp Plant. If you’re looking for a plant that brings bright, cheerful color to your garden or home, this is it! With its showy, shrimp-like bracts of vibrant yellow, it’s truly a stunner. And the best part? Propagating it is a wonderfully rewarding experience, and dare I say, quite easy for beginners. You’ll be sharing little pieces of sunshine with friends in no time!
The Best Time to Start
I’ve found that the sweet spot for propagating Pachystachys spicata is during its most active growing period. Think late spring through summer. This is when the plant has plenty of energy to put into developing new roots. You can also have success with softwood cuttings in early autumn if you have a warm greenhouse, but for most of us, those warmer months are your best bet.
Supplies You’ll Need
Gathering your tools beforehand makes the whole process so much smoother. Here’s what I recommend:
- Sharp pruning shears or a clean knife: For making those crucial cuts. Sterilize them if you’ve been working with other plants!
- Well-draining potting mix: A good blend of peat moss, perlite, and a bit of compost works wonders.
- Small pots or seedling trays: With drainage holes, of course.
- Rooting hormone (optional but helpful): A powder or gel can give your cuttings a helpful boost.
- Clear plastic bag or a propagator: To create a humid environment for your cuttings.
- Watering can with a fine rose: For gentle watering.
- Labels and a marker: So you don’t forget what you’ve planted where!
Propagation Methods
There are a couple of excellent ways to get more Golden Shrimp Plants, and stem cuttings are my go-to.
Stem Cuttings: This is the most reliable and rewarding method for Pachystachys spicata.
- Select healthy shoots: Look for stems that are not too woody but have some firmness, often an inch or two below a leaf node. Avoid flowering stems; you want nice, leafy growth.
- Make the cut: Use your sharp shears or knife to take cuttings that are about 4-6 inches long. Make a clean cut just below a leaf node. The leaf node is where roots will likely form.
- Prepare the cuttings: Gently remove the lower leaves from the cutting, leaving just a couple at the top. This prevents them from rotting once planted.
- Apply rooting hormone (optional): Dip the cut end into rooting hormone, tapping off any excess.
- Plant your cuttings: Fill your small pots with your prepared potting mix. Make a small hole with your finger or a pencil and insert the cutting. Gently firm the soil around it.
- Water gently: Water thoroughly but avoid making the soil soggy.
Water Propagation: This is a fun, visual way to start!
- Take cuttings: Follow steps 1 and 2 above. Again, remove the lower leaves.
- Place in water: Put the cuttings in a clean jar or vase filled with fresh water. Make sure none of the leaves are submerged; they should be well above the waterline.
- Change water regularly: Refresh the water every few days to keep it clean and oxygenated. You’ll be able to watch as those little roots begin to emerge!
- Pot up once rooted: Once the roots are an inch or two long, you can carefully pot them up into soil.
The “Secret Sauce” (Pro Tips)
Here are a few little tricks I’ve learned over the years that can really help your propagation success:
- Humidity is key: After planting your cuttings, I love to create a mini-greenhouse effect. Place the potted cuttings in a clear plastic bag, loosely tented over them, or pop them into a propagator. This traps moisture and keeps the leaves from drying out – essential for root development. Just make sure the leaves don’t constantly touch the inside of the bag, as this can encourage rot.
- Bottom heat the way to go: If you have it, using a seedling heat mat can make a world of difference. Warm soil temperatures encourage roots to form much faster. It’s like giving your cuttings a cozy, warm bed to grow in!
- Don’t be afraid to experiment: While I usually go for stems just below a leaf node, sometimes a cutting from a slightly softer tip can also root. Don’t be discouraged if one cutting doesn’t take; keep trying!
Aftercare & Troubleshooting
Once you see those beautiful new roots emerging, you’re on your way!
- Gradual acclimatization: If you used a plastic bag or propagator, start by opening it up a little each day for a few days to let the new plant get used to drier air.
- Watering: Keep the soil consistently moist but not waterlogged. Feel the soil with your finger; if the top inch feels dry, it’s time to water.
- Light: Place your new plants in bright, indirect light. Direct sun can scorch delicate new growth.
- Troubleshooting – The dreaded rot: The most common issue you might face is rot. This usually happens from too much moisture and poor air circulation. If you notice a cutting looking limp, blackening, or mushy, it’s best to remove it immediately to prevent it from spreading. Ensure your potting mix is free-draining and don’t overwater.
A Little Patience Goes a Long Way
Propagating plants is a wonderful journey. It teaches you patience and the incredible resilience of nature. Don’t get discouraged if not every cutting takes – gardening is all about learning and experimenting. Celebrate the successes, learn from the challenges, and most importantly, enjoy the process of growing more of those cheerful Golden Shrimp Plants! Happy propagating!
Resource: