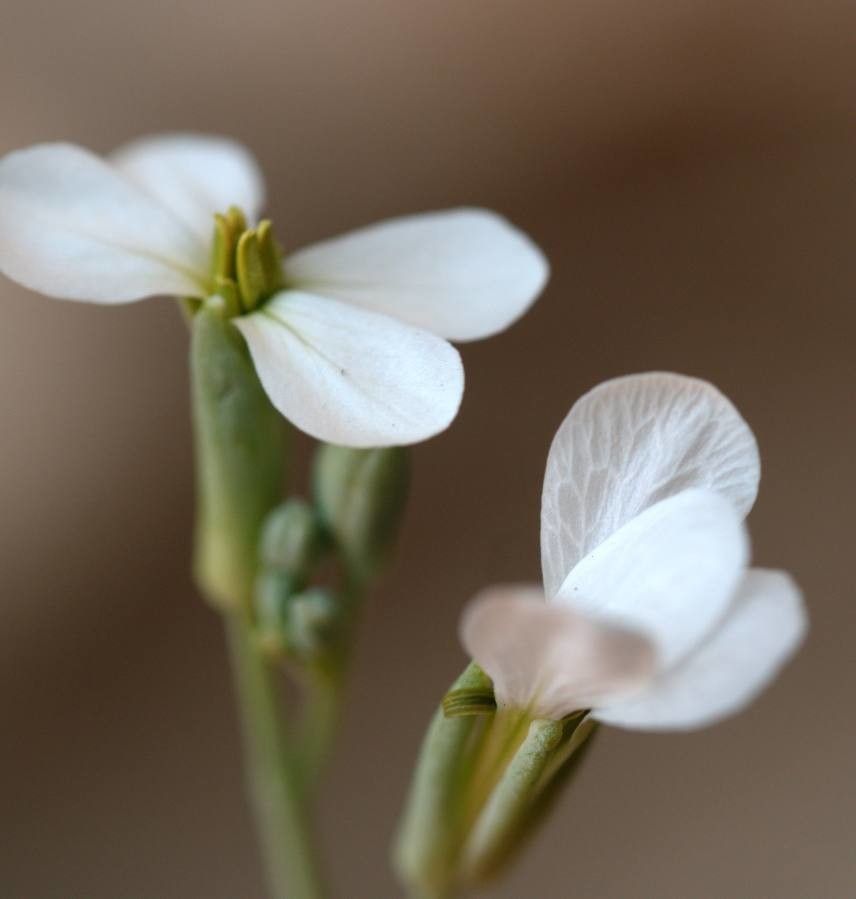
Oh, hello there! I’m so glad you’re interested in Henophyton zygarrhenum. It’s truly a delightful plant, isn’t it? The way its leaves unfurl, with that subtle, almost velvety texture… it just brings a bit of understated elegance to any corner. And the best part? Bringing new life into the world by propagating it yourself. It’s such a rewarding feeling, like unlocking a little green secret. Now, as for Henophyton, I’d say it’s a moderately easy plant to propagate once you get the hang of it. Not quite “set it and forget it,” but the success rate is certainly high with a little know-how.
The Best Time to Start
For the most vigorous growth and the highest chance of success, I always recommend propagating Henophyton zygarrhenum during its active growing season. That’s typically in late spring through the summer months. You want stems that are healthy, plump, and showing good new growth. Avoid taking cuttings from plants that are stressed from extreme heat or drought.
Supplies You’ll Need
Gathering your tools beforehand makes the whole process much smoother. Here’s what I always have on hand:
- Clean, sharp pruning shears or a sharp knife: For making clean cuts.
- Rooting hormone (optional, but recommended): This really gives your cuttings a boost.
- A well-draining potting mix: I like a blend of perlite, peat moss, and a good quality potting soil. Some people prefer a mix with more sand, which also works.
- Small pots or propagation trays: With drainage holes, of course!
- A spray bottle: For misting.
- Plastic bags or a clear plastic dome: To create a humid environment.
- Labels or a marker: To keep track of your precious babies!
Propagation Methods
There are a couple of tried-and-true ways to get new Henophyton zygarrhenum plants going. My personal favorite is stem cuttings, but water propagation is also quite popular.
Stem Cuttings
- Select Your Cuttings: Look for healthy, mature stems that are at least 4-6 inches long. You want sections that have a few sets of leaves.
- Make the Cut: Using your clean shears, make a clean cut just below a leaf node. This is the spot where a leaf attaches to the stem, and it’s where roots are most likely to form. Remove the lower leaves from the cutting, leaving just a couple at the top.
- Apply Rooting Hormone: Dip the cut end into your rooting hormone, tapping off any excess.
- Plant Your Cuttings: Fill your small pots with your well-draining potting mix. Make a small hole in the center and gently insert the cutting, ensuring the leaf nodes are in contact with the soil. Firm the soil around the stem.
- Create Humidity: Lightly water the soil. Then, cover the pot with a plastic bag or a clear dome to trap moisture. Ensure the plastic doesn’t touch the leaves too much.
Water Propagation
- Prepare the Cuttings: Follow steps 1 and 2 for stem cuttings, but you don’t need to remove as many lower leaves. Just remove enough so that the leaves won’t be submerged in the water.
- Place in Water: Place your cuttings in a clean jar or glass filled with room-temperature water. Make sure that at least one leaf node is submerged.
- Find a Sunny Spot: Place the vessel in a bright location, but out of direct sunlight.
The “Secret Sauce” (Pro Tips)
Now, for a couple of little tricks that have served me well over the years:
- Bottom Heat is Your Friend: If you’re using stem cuttings, popping them on a gentle heat mat can significantly speed up root development. It mimics the warmth of the soil in summer and gives those dormant root-forming cells a nudge. You don’t want it too hot, just slightly warm to the touch.
- Don’t Over-Water the Soil: This is a big one, especially with stem cuttings. Too much water in the soil can lead to rot before roots even have a chance to form. Let the soil surface dry slightly between waterings. A good rule of thumb is the “finger test” – stick your finger about an inch into the soil; if it feels dry, it’s time for a light watering.
- Change the Water Regularly (for water propagation): If you’re going the water route, change the water every few days. Stagnant water can breed bacteria and algae, which can harm your cuttings.
Aftercare & Troubleshooting
Once you start seeing signs of new growth and roots (you might even see them peeking out the drainage holes or developing new leaves), it’s time to transition your new plant.
- For Stem Cuttings: Gradually acclimatize your cuttings to lower humidity by opening the plastic bag or lifting the dome for a few hours each day over a week. Once they’re robust, you can remove the covering entirely. Continue to water them as needed, allowing the top inch of soil to dry out.
- For Water Propagation: Once your cuttings have developed a good root system (at least an inch or two long), you can transplant them into your well-draining potting mix. Treat them as you would a freshly potted cutting.
The most common issue you’ll encounter is rot. If a cutting turns mushy, black, or starts to fall apart, it’s usually a sign of too much moisture. Unfortunately, a rotted cutting is usually beyond saving, so it’s best to discard it and learn from the experience. Sometimes, cuttings simply fail to root. Don’t be discouraged! It happens to all of us. Just try again with a fresh cutting.
A Bit of Encouragement
Propagating plants is a journey, and it’s all about the process. Be patient with your Henophyton zygarrhenum, give it the right conditions, and enjoy watching those tiny roots unfurl. Each new plant is a little victory, isn’t it? Happy propagating!
Resource: