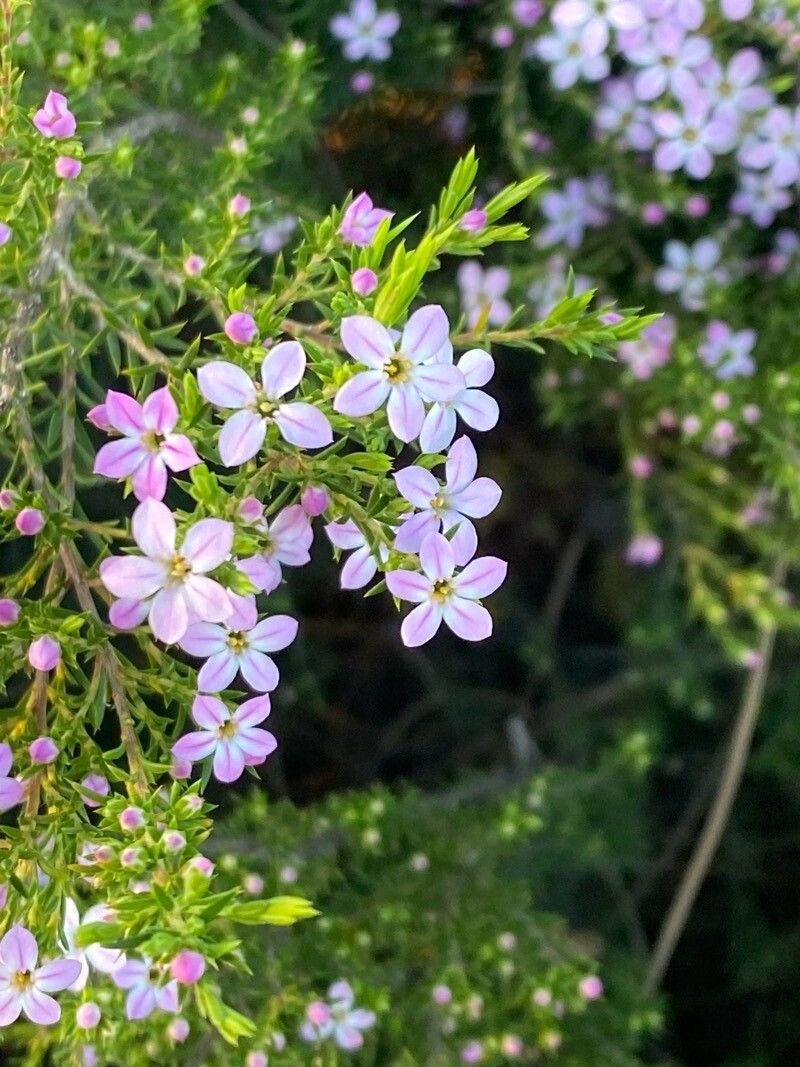
Oh, hello there! Pull up a chair, let’s chat about a little gem in the garden that brings so much delicate beauty and lovely fragrance: the Coleonema pulchellum, often called Pink Breath of Heaven. You know, the one with those dainty pink or white flowers that seem to shimmer in the breeze and leaves that release a delightful citrusy scent when brushed.
There’s something truly special about creating new life from an existing plant. It’s like a little magic trick you can do right in your own home! And with Coleonema, it’s a wonderfully rewarding process. For those of you just dipping your toes into propagation, I’m happy to report that this plant is quite forgiving. You’ll likely find success with a little patience and these tips.
The Best Time to Start
When it comes to getting the best results, think about when your Coleonema is really thriving. The most opportune time to take cuttings is typically in late spring or early summer, after the main flush of flowering is over. The plant is actively growing then, which means it has the energy to put into forming new roots. You want to look for new, but slightly hardened growth. Avoid flimsy, brand-new shoots or old, woody stems.
Supplies You’ll Need
Gathering your tools beforehand makes the whole process much smoother. Here’s what I usually have on hand:
- Sharp, clean pruning shears or a sharp knife: Essential for making clean cuts.
- Rooting hormone (optional but recommended): A little boost can go a long way. I prefer the powder form.
- A well-draining potting mix: A 50/50 blend of perlite and peat moss or coco coir is my go-to. You can also use a seed-starting mix.
- Small pots or seed trays: Clean, with drainage holes!
- A spray bottle: For misting.
- A clear plastic bag or propagation dome: To create a humid environment.
- Gravel or perlite (optional): For the bottom of pots if you’re concerned about drainage.
Propagation Methods
For Coleonema, stem cuttings are your best bet. It’s simple and effective.
- Take Your Cuttings: Using your clean shears, select a healthy stem that’s about 3-6 inches long. Make a clean cut just below a leaf node (that little bump where leaves emerge). Remove the leaves from the bottom half of the cutting.
- Prepare the Cutting: If you’re using rooting hormone, dip the cut end into it, tapping off any excess. Some people like to let the cuttings sit for a few hours to callus over slightly, but I find it works just fine with the hormone applied directly.
- Pot Them Up: Moisten your potting mix beforehand. Gently insert the base of the cutting into the soil, ensuring the leaf nodes are buried. You want it firm enough to stand up on its own.
- Create Humidity: Water them lightly, then cover the pots with a plastic bag or propagation dome. This traps moisture and prevents the cuttings from drying out. Place them in a bright spot, but out of direct sunlight.
The “Secret Sauce”
Here are a couple of things I’ve learned over the years that really seem to help:
- Don’t Drown Your Cuttings (Even in Water): If you choose to try water propagation (though soil is usually more successful for Coleonema), make sure no leaves are submerged in the water. Rot sets in quickly when leaves sit in stagnant water.
- Bottom Heat is Your Friend: If you have a seedling heat mat, using it can significantly speed up root development. A gentle warmth from below encourages those roots to sprout. It’s not strictly necessary, but it’s a fantastic accelerator!
Aftercare & Troubleshooting
Once your cuttings are potted, mist them regularly – you want the soil to stay consistently moist but not soggy. Check the humidity inside the bag/dome; if you see a lot of condensation, you can vent it for a bit.
You’ll know your cutting has taken root when you see new growth appearing. This can take anywhere from 4 to 8 weeks, sometimes longer. Gently tug on a cutting; if there’s resistance, roots have formed!
The most common issue you’ll face is rot. If a cutting turns black and mushy, it’s usually a sign of too much moisture and not enough air circulation. It’s heartbreaking, but it happens. Clean out dead material immediately and try to improve air flow. If you see any signs of pests, deal with them promptly.
A Little Patience, A Big Reward
Propagating your Coleonema pulchellum is such a fulfilling project. Don’t get discouraged if every single one doesn’t make it. Every gardener has their share of casualties; it’s part of the learning curve. Just keep trying, enjoy the process, and before you know it, you’ll have a whole new collection of these delightful plants to share, or to simply enjoy in your own garden. Happy growing!
Resource:
https://identify.plantnet.org/k-world-flora/species/Coleonema%20pulchellum%20I.Williams/data