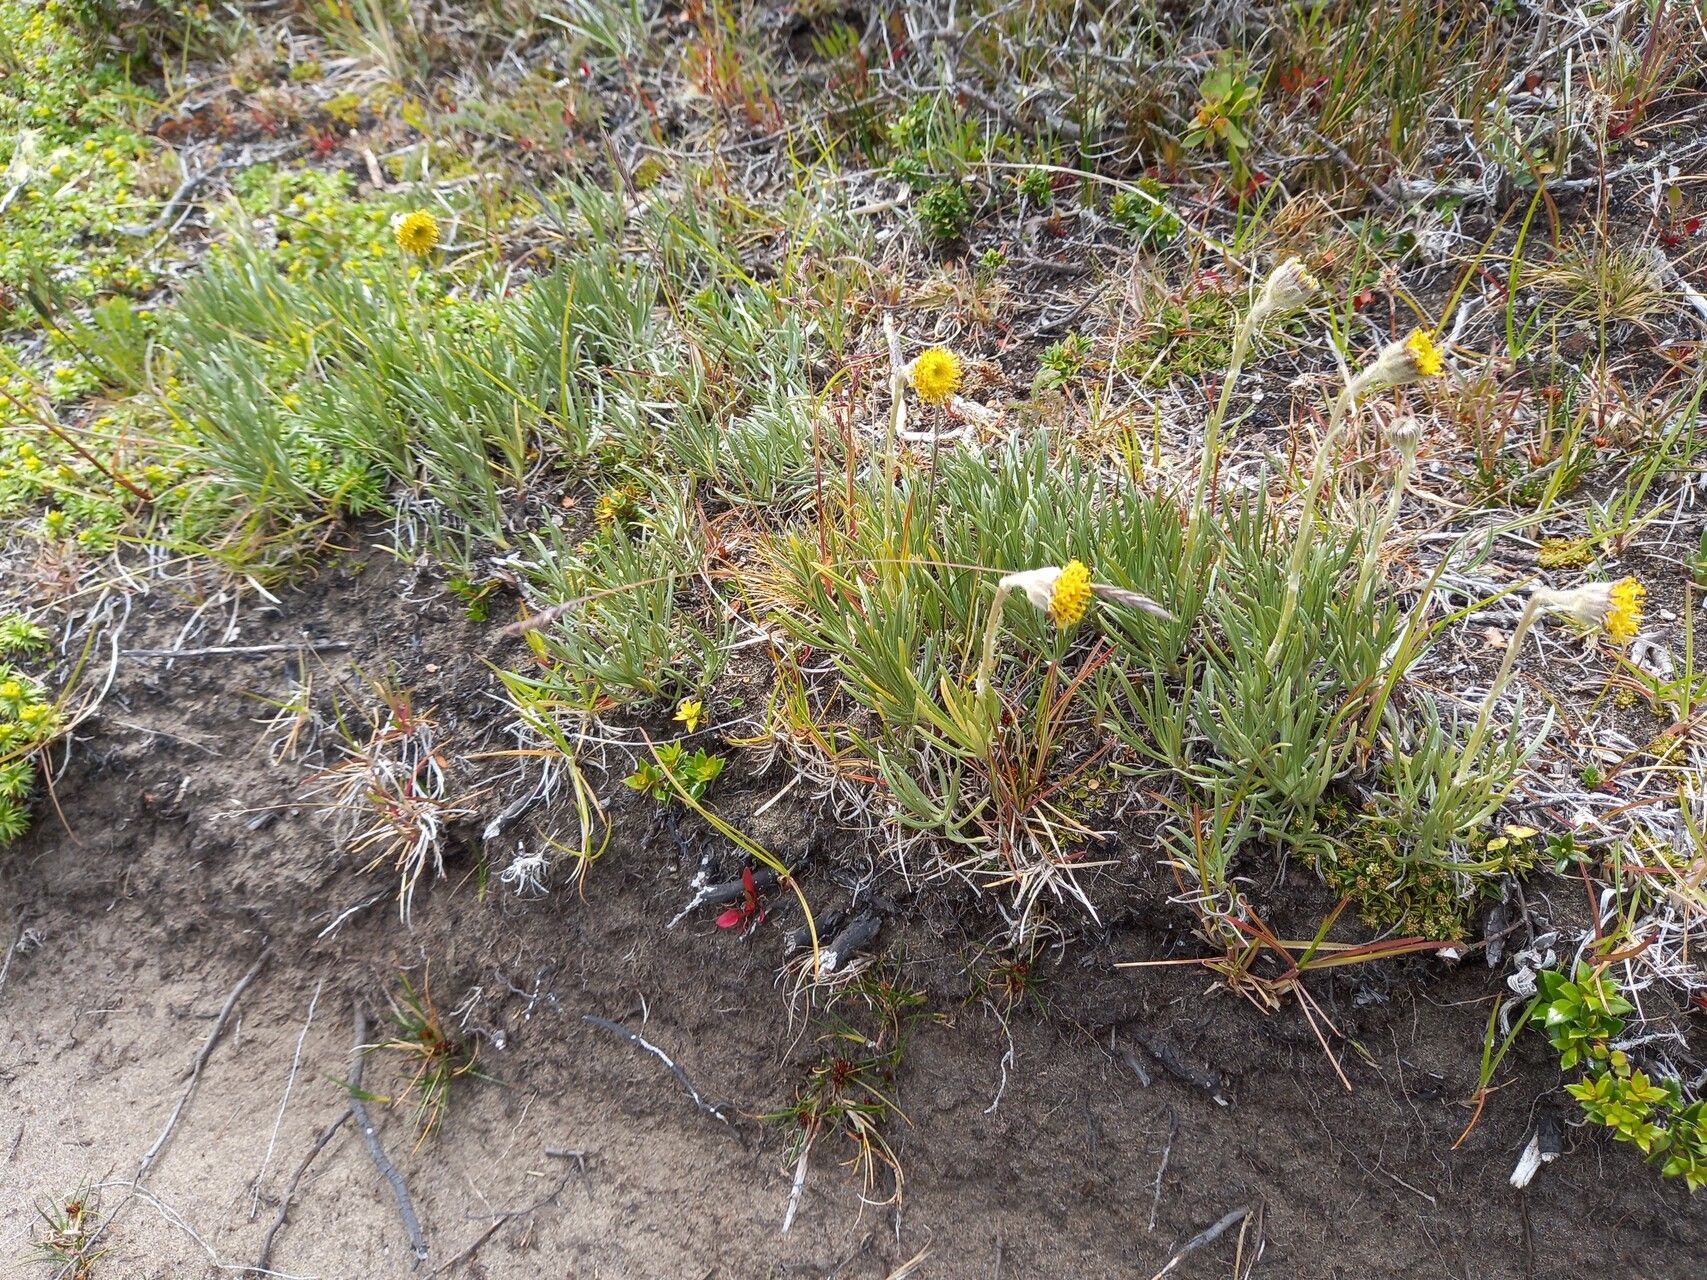
Oh, hello there! Pull up a chair and let’s chat about one of my absolute favorites: Hymenopappus filifolius. You might know it by its common name, Woollywhite, or even Desert Marigold because of its cheerful, daisy-like blooms. I’ve spent years with this beauty in my garden, and honestly, its delicate, feathery foliage and bright, sunny flowers are just so uplifting.
The real joy, though, comes from seeing these little wonders pop up from your own efforts. Propagating Woollywhite is a surprisingly rewarding process, and I’m thrilled to share how I do it. It’s not the absolute easiest plant for a complete beginner, but with a little care and these tips, you’ll be well on your way to a garden full of them!
The Best Time to Start
For Hymenopappus filifolius, spring is definitely your best friend for propagation. Aim for late spring to early summer, just as the plant is starting to put on a good flush of new growth. This is when the stems are most vigorous and have the energy to root successfully. Waiting until after the initial bloom period can also work, but I find early spring gives the best results.
Supplies You’ll Need
Here’s what you’ll want to have on hand before you get started:
- Sharp, clean pruning shears or a sharp knife: For making clean cuts.
- Small pots or seed trays: With good drainage holes.
- Well-draining potting mix: I like a blend of equal parts potting soil and perlite or coarse sand. You could also use a commercial succulent or cactus mix for extra grit.
- Rooting hormone (optional but recommended): A light dusting can really give your cuttings a boost.
- Plastic bags or propagation domes: To create a humid environment.
- Watering can with a fine rose: For gentle watering.
- Labels: To keep track of your efforts!
Propagation Methods
While Woollywhite can be grown from seed, I find the most reliable and satisfying method is stem cuttings. It’s straightforward and gives you a great success rate if you’re patient.
Taking Stem Cuttings:
- Select Healthy Stems: Look for young, non-flowering stems that are about 4-6 inches long. They should be flexible but not woody.
- Make Your Cuts: Using your sharp shears or knife, make a clean cut just below a leaf node (where a leaf attaches to the stem). This is where the plant has the best chance of forming roots.
- Prepare the Cuttings: Gently remove the lower leaves from the cutting. This prevents them from rotting when buried in the soil. Leave just a few sets of leaves at the top.
- Apply Rooting Hormone (Optional): If using rooting hormone, dip the cut end of the stem into the powder, tapping off any excess.
- Plant the Cuttings: Fill your pots with your well-draining potting mix. Make a small hole in the center of the soil with a pencil or your finger. Insert the prepared cutting into the hole, ensuring the leaf nodes are buried. Gently firm the soil around the base of the cutting.
- Water Gently: Water the soil thoroughly but gently, making sure not to disturb the cuttings.
- Create Humidity: Cover the pots with a plastic bag or propagation dome. This helps maintain the high humidity the cuttings need to stay hydrated until they develop roots.
The “Secret Sauce” (Pro Tips)
Here are a couple of things I’ve learned over the years that can really make a difference:
- Don’t Let Leaves Touch the Soil: This is crucial. Any leaves that are in contact with the potting mix are just sitting ducks for rot. Always remove them before planting.
- Bottom Heat is Your Friend: If you have an old seedling heat mat lying around, use it! A little gentle warmth from below can significantly speed up root development. Just place your pots on top of it.
- Patience with the Leaves: You might see the leaves on your cutting droop a bit initially. Don’t despair! As long as the stem is firm and the leaves haven’t turned yellow or collapsed entirely, your cutting is likely still good and just needs time to establish.
Aftercare & Troubleshooting
Once your cuttings are planted, keep them in a bright spot, but out of direct, hot sun. The soil should be kept consistently moist but never waterlogged. Check the humidity inside the bag regularly and mist if needed.
You’ll know your cuttings have rooted when you see new leaf growth or gently tug on a stem and feel resistance. This usually takes 2-4 weeks, but can sometimes take longer. Once they’re well-rooted, you can slowly start to acclimate them to normal garden conditions by removing the plastic for increasing periods each day. Then, it’s time to transplant them into their own small pots.
Now, for troubleshooting. The most common issue you’ll face is rot. If a cutting turns black and mushy, or its leaves become yellow and floppy and don’t perk up, it’s likely succumbed to rot. This is usually due to overwatering, poor drainage, or lack of ventilation. If you see this, sadly, that cutting is lost, but don’t let it discourage you! Simply try again, ensuring your soil drains well and you’re not keeping it too soggy.
A Encouraging Closing
Propagating Hymenopappus filifolius is a wonderful way to fill your garden with these cheerful blooms. Be patient with your little cuttings; nature has its own timeline. Enjoy the process of nurturing these new plants, and soon you’ll have a whole patch of sunny Woollywhites to admire! Happy gardening!
Resource:
https://identify.plantnet.org/k-world-flora/species/Hymenopappus%20filifolius%20Hook./data