Oh, hello there! Pull up a chair, let’s chat about one of my absolute favorites: Weinmannia mauritiana. I’ve been coaxing this beauty to grow and multiply in my garden for years, and honestly, it never gets old.
Why Weinmannia mauritiana is Worth the Effort
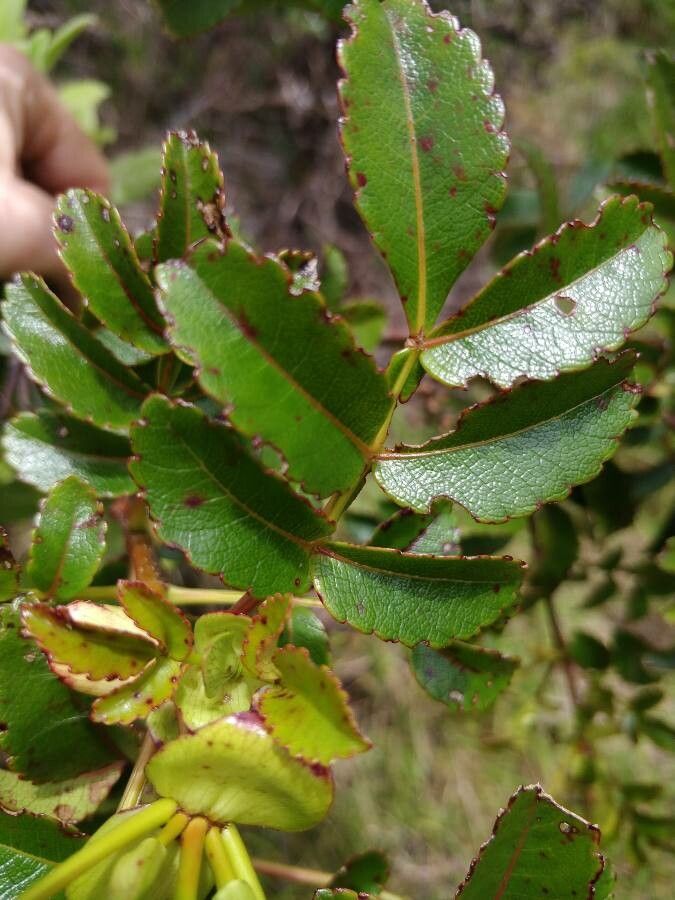
There’s something so special about Weinmannia mauritiana. Its delicate, often pink-tinged foliage and graceful habit make it a standout. Whether you’re looking for a unique shrub or a charming small tree, this one delivers. And the best part? Growing new plants from your existing ones is incredibly rewarding. You’ll have more of that lovely greenery to share, or simply to fill out your own garden. Now, is it a walk in the park for the complete novice? It can be a little finicky, but with a few pointers, I’m confident you’ll do wonderfully.
The Best Time to Start
For Weinmannia mauritiana, I find the late spring or early summer to be your golden ticket. This is when the plant is actively growing, which means it’s brimming with hormones ready to form new roots. Aim for stems that are semi-hardwood – not brand new and floppy, but not old and woody either. Think of stems that have just lost their distinct softness.
Supplies You’ll Need
Gathering your tools before you begin makes the whole process so much smoother. Here’s what I always have on hand:
- Sharp Pruning Shears or a Sharp Knife: Clean cuts are crucial.
- Rooting Hormone Powder or Gel: This isn’t strictly necessary for Weinmannia, but it really gives your cuttings a boost.
- Medium for Cuttings: I prefer a mix of equal parts perlite and coco coir, or a good quality seed-starting mix. Something that drains well is key.
- Small Pots or Seedling Trays: Clean ones, please!
- Plastic Bags or a Propagator: To create a humid environment.
- Watering Can with a Fine Rose: Gentle watering is important.
- Labels and a Marker: To keep track of what’s what!
Propagation Methods: Stem Cuttings
This is my go-to method for Weinmannia mauritiana. It’s reliable and I’ve had great success with it.
- Take Your Cuttings: In late spring or early summer, select healthy, non-flowering stems. Using your clean pruning shears, cut sections that are about 4-6 inches long. Make the cut just below a leaf node (where a leaf attaches to the stem).
- Prepare the Cuttings: Gently remove the lower leaves. You want to expose at least one or two leaf nodes at the bottom, as this is where roots will form. If your cuttings have large leaves, you can trim them in half. This reduces water loss while still allowing for photosynthesis.
- Apply Rooting Hormone: Dip the bottom cut end of each stem into your rooting hormone powder or gel. Tap off any excess.
- Plant Your Cuttings: Fill your clean pots or trays with your prepared well-draining potting mix. Make a small hole with a pencil or your finger. Insert the prepared cutting, ensuring the leaf nodes are buried. Gently firm the soil around the base of the stem.
- Create Humidity: Water the soil gently, then cover the pots with a clear plastic bag. You can use skewers or sticks to keep the bag from touching the leaves. Alternatively, place the pots inside a propagator.
The “Secret Sauce” (Pro Tips)
Here are a couple of things I’ve learned over the years that make all the difference:
- Don’t Drown Your Hopes: While humidity is vital, standing water on the leaves is asking for trouble. It can lead to rot and fungal diseases. Ensure good air circulation, even with the cover on, and regularly check for any condensation that needs a gentle wipe.
- Bottom Heat is Your Friend: If you can, place your pots on a heated propagator mat. For Weinmannia, consistent, gentle warmth from below really encourages root formation. It’s like giving them a cozy little incubator.
Aftercare & Troubleshooting
Once your cuttings are planted, give them a good watering and place them in a bright spot, out of direct sunlight. Keep the soil consistently moist but not waterlogged. You’ll know they’re rooting when you see new growth or feel a gentle resistance when you tug on them ever so slightly. This can take anywhere from 4-10 weeks, so be patient!
If your cuttings start to look sad, turn black, or get mushy at the base, it’s usually a sign of rot. This often happens from overwatering or poor air circulation. Don’t be discouraged; just discard the affected cuttings and try again, perhaps with a slightly drier mix or better ventilation next time.
Happy Propagating!
Growing new plants is such a peaceful and rewarding part of gardening. Take your time, enjoy the process, and remember that even seasoned gardeners have their failures. Each attempt is a learning opportunity, and soon enough, you’ll have a whole new generation of Weinmannia mauritiana to admire. Happy growing!
Resource:
https://identify.plantnet.org/k-world-flora/species/Weinmannia%20mauritiana%20D.Don/data