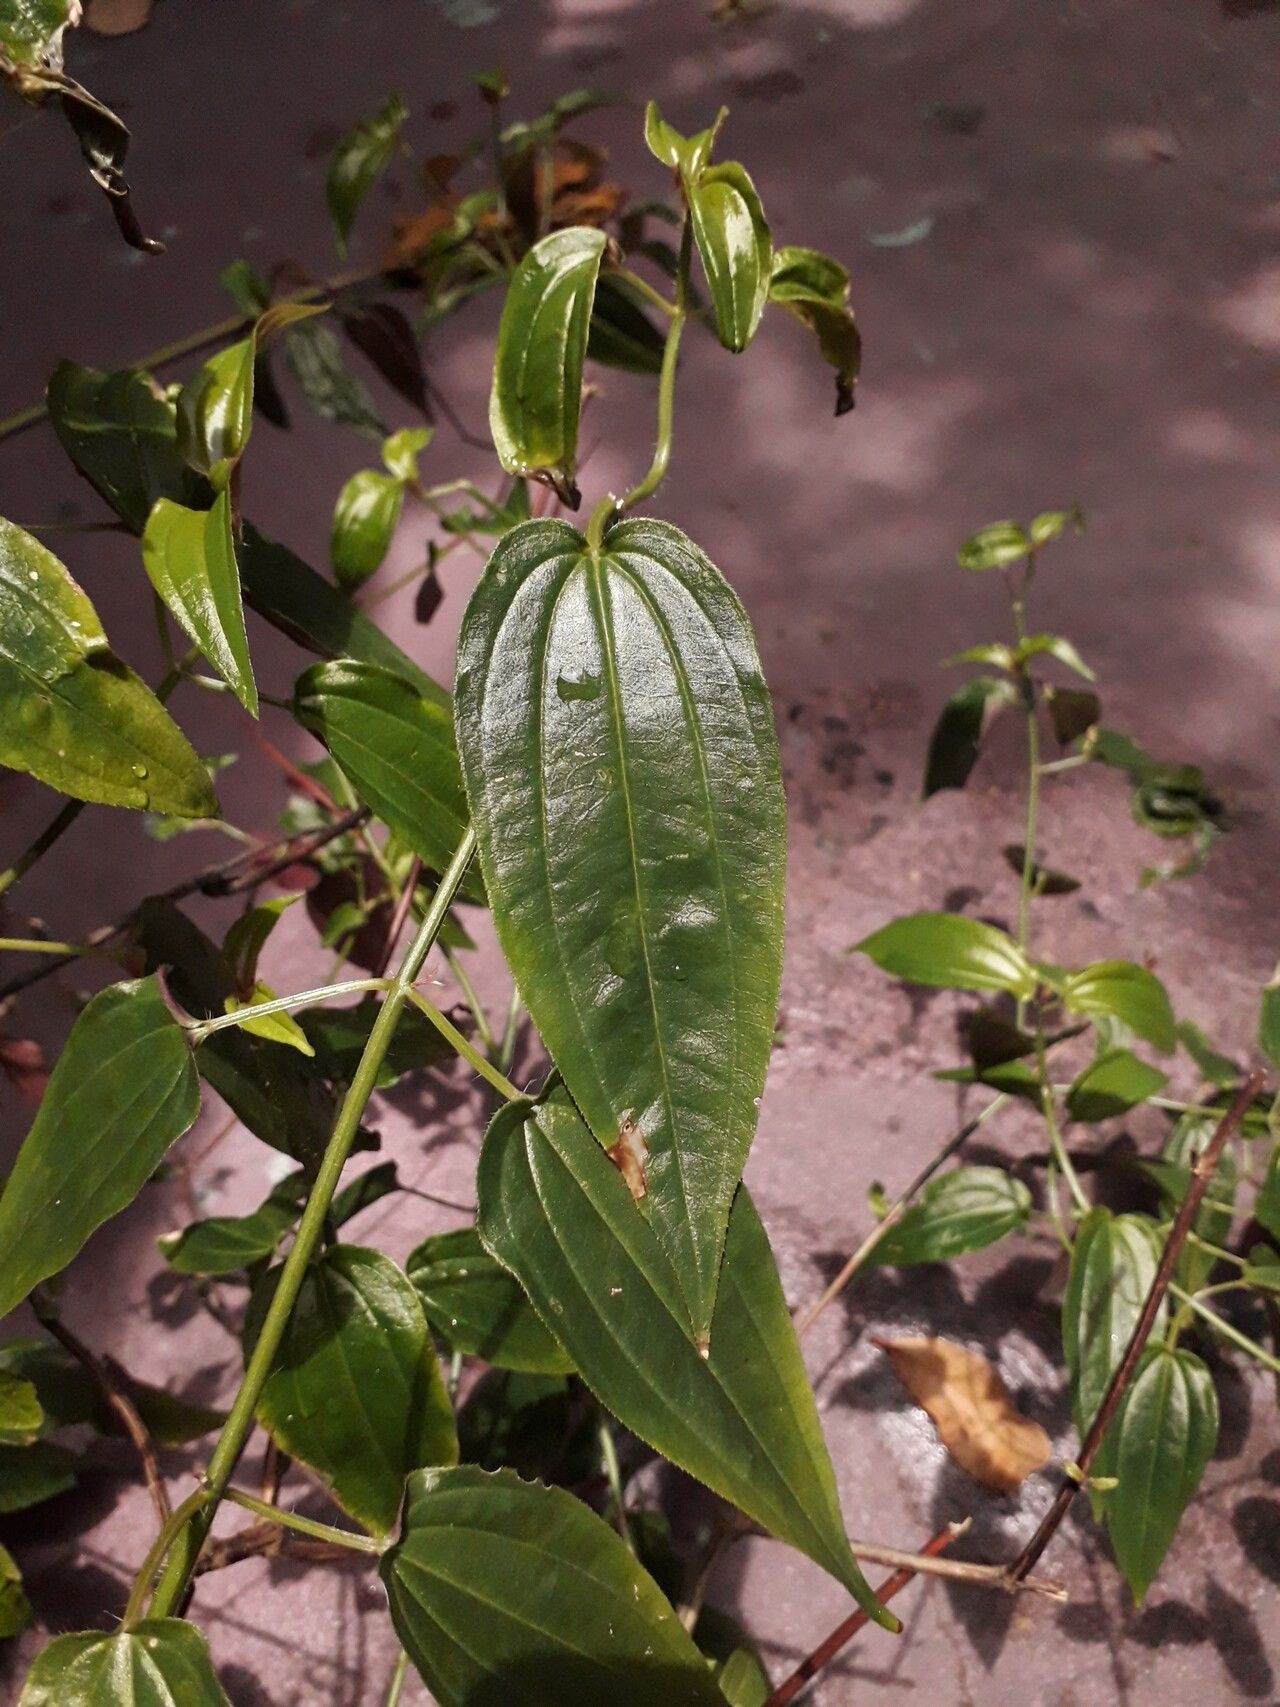
Oh, hello there! Come on in, grab a mug. Today, we’re going to talk about a truly special plant: Aciotis circaeifolia. If you haven’t had the pleasure yet, imagine delicate, jewel-toned leaves, often with a captivating iridescence that shimmers in the light. It’s a plant that brings a touch of wild magic to any corner, and honestly, its beauty is just so rewarding.
Now, the big question: is it easy to propagate? I’d say it’s moderately easy, meaning it’s not quite as foolproof as a pothos cutting, but with a little attention, you’ll have success. And isn’t that half the fun? Watching something grow from a tiny piece of itself? It’s a feeling that never gets old.
The Best Time to Start
For Aciotis circaeifolia, the springtime is absolutely your best bet. Think about new growth – that’s when the plant has the most energy to dedicate to rooting. After the winter slumber, when the days are getting longer and the light is increasing, that’s when you want to reach for your pruning shears. Aim for when the plant is actively growing, avoiding periods of dormancy or flowering.
Supplies You’ll Need
Here’s what I always have on hand when I’m propagating:
- Sharp pruning shears or a clean craft knife: For making clean cuts.
- A well-draining potting mix: I usually use a blend of peat moss, perlite, and a bit of orchid bark. This helps keep things airy, which these plants love.
- Small pots or seed trays: Clean containers are a must to prevent disease.
- Rooting hormone (optional but helpful): A liquid or powder can give your cuttings a good start.
- A clear plastic bag or a propagator lid: To create a humid environment.
- Watering can with a fine rose: For gentle watering.
- Small labels: To remember what you’ve planted and when!
Propagation Methods
Aciotis circaeifolia is a wonderfully responsive plant, and we can usually get it going with a few common methods.
1. Stem Cuttings:
This is my go-to method for this beauty.
- Select your cutting: Look for healthy stems that are not flowering. You want a piece that has at least two or three leaf nodes. These are the little bumps on the stem where leaves emerge.
- Make the cut: Using your sharp shears or knife, make a clean cut just below a leaf node. This is where the magic of root formation usually happens.
- Prepare the cutting: Gently remove the lower leaves, leaving just the top set or two. This prevents the buried leaves from rotting in the soil.
- Apply rooting hormone (optional): If you’re using rooting hormone, dip the cut end into the powder or solution.
- Plant the cutting: Fill your small pot or tray with your prepared potting mix. Make a small hole with your finger or a pencil and insert the cut end of the stem. Gently firm the soil around it, ensuring the leaf nodes are buried.
- Water gently: Give the soil a light watering.
2. Water Propagation (Use with Caution!)
While many plants root easily in water, Aciotis circaeifolia can be a bit more prone to rot if left too long. However, it can work if you’re attentive.
- Prepare the cutting: Follow the same steps as for stem cuttings, making sure to remove lower leaves.
- Place in water: Put the cutting in a small jar or glass filled with clean, room-temperature water.
- Positioning is key: Make sure no leaves are submerged in the water. Just the stem should be in contact.
- Change water regularly: Change the water every couple of days to keep it fresh and oxygenated.
- Watch for roots: You’ll start to see tiny white roots emerge from the nodes. Once the roots are about an inch long, it’s time to transplant it into soil.
The “Secret Sauce” (Pro Tips)
Here are a few little tricks I’ve learned over the years that can really boost your success rate:
- Bottom Heat is Your Friend: These tropical little darlings love warmth. Placing your pots on a heat mat can significantly speed up root development. It mimics the warmth they’d get from a mother plant in their natural environment.
- Think Humidity, Not Drenching: After planting your cuttings, cover them with a clear plastic bag, a propagator lid, or even a plastic bottle cut in half. This creates a mini-greenhouse, keeping the humidity high, which is crucial for preventing the cuttings from drying out before they can root. However, make sure to occasionally open the cover to allow for some air circulation – we don’t want to invite mold!
- Patience with the Water Method: If you do choose water propagation, don’t wait too long to move those rooted cuttings into soil. As soon as you see decent root growth, get them into that well-draining mix. They transition better when they haven’t become too accustomed to water.
Aftercare & Troubleshooting
Once you see signs of new growth – a tiny leaf unfurling or the stem looking plumper – that’s a good indicator that roots are forming!
- Acclimate slowly: If you’ve used a humidity dome, gradually introduce your new plant to the surrounding air by opening the cover for longer periods over a few days.
- Watering: Keep the soil consistently moist but not waterlogged. Allow the very top layer to dry out slightly between waterings.
- Light: Provide bright, indirect light. Direct sun can scorch those delicate new leaves.
Now, what if things go wrong? The most common culprits are rot and drying out.
- Rot: This usually looks like mushy, black stems or leaves. It’s often caused by overwatering, poor drainage, or lack of air circulation. If you see rot, unfortunately, that cutting is likely lost. You’ll need to discard it, clean your tools thoroughly, and inspect your other cuttings. Ensure your soil drains well and don’t let them sit in soggy conditions.
- Drying Out: This is much easier to spot – the leaves will wilt and look sad, and the stem will feel dry and papery. This is where that humidity cover is your best friend! Make sure it’s creating a good seal.
A Warm Goodbye
Propagating plants is all about learning, experimenting, and embracing the journey. Don’t be discouraged if a cutting doesn’t make it; learn from it, and try again! There’s such a deep satisfaction in nurturing a new life from a parent plant. Be patient, enjoy the process, and soon you’ll have a whole collection of your own beloved Aciotis circaeifolia. Happy growing!
Resource:
https://identify.plantnet.org/k-world-flora/species/Aciotis%20circaeifolia%20(Bonpl.)%20Triana/data