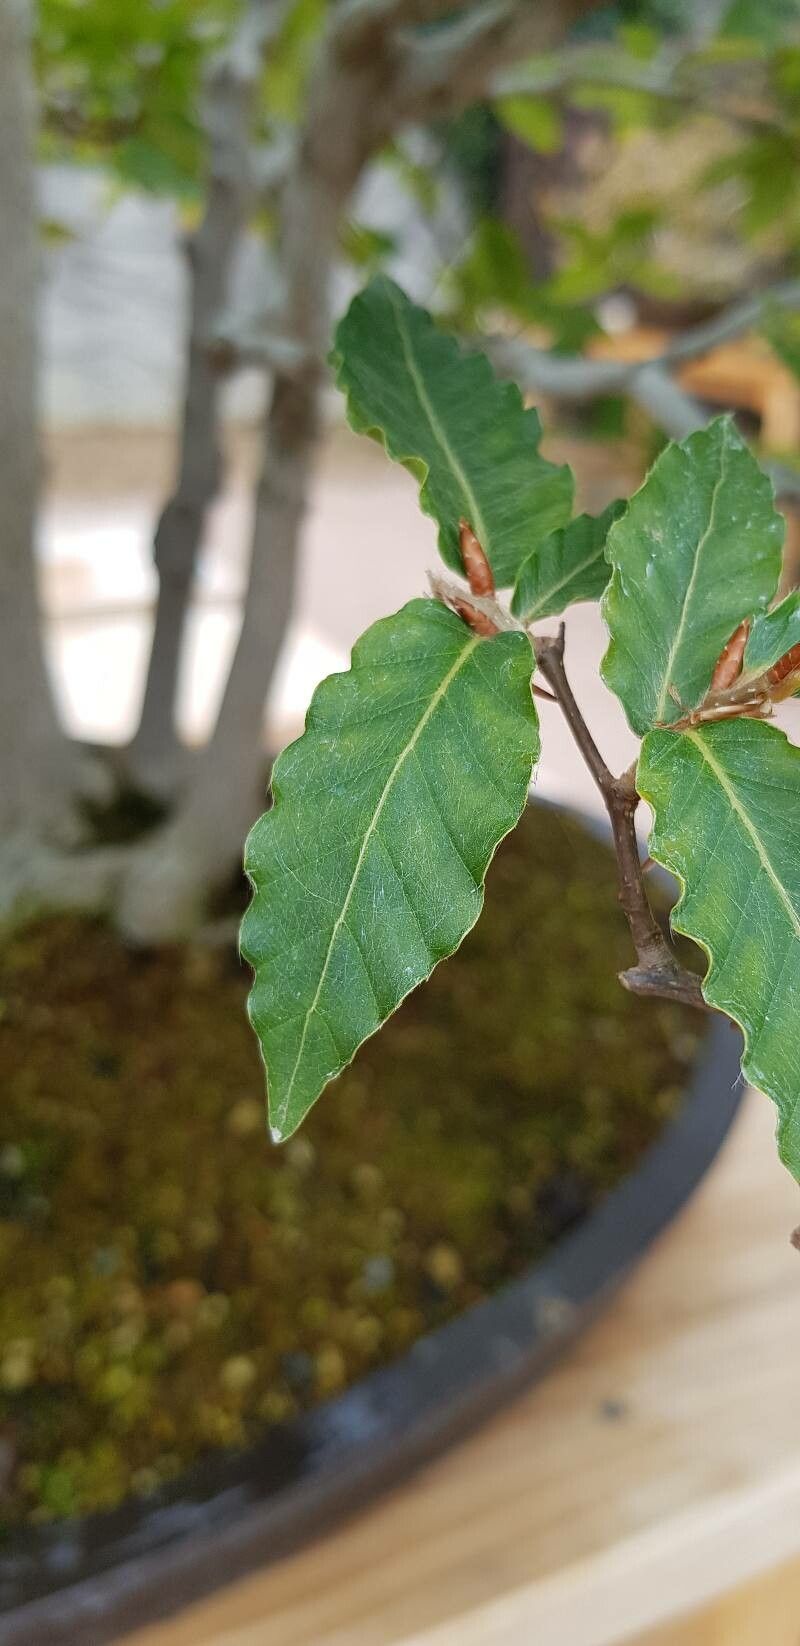
Hello, fellow plant lovers! It’s so good to be chatting with you today about a tree that truly captures my heart: Fagus crenata, the Japanese Beech. Isn’t she a beauty? With her elegant, smooth gray bark and those wonderfully textured leaves that turn such gorgeous shades in the fall, this tree is a real specimen for any garden. The quiet grace she brings is simply unmatched.
Now, you might be wondering if propagating your own Fagus crenata is a task for the faint of heart. Honestly, I’d say for absolute beginners, it’s a bit of a challenge. This isn’t a plant that’s going to burst forth roots overnight, but with a little patience and the right approach, it’s absolutely doable, and the reward of nurturing a new tree from a tiny piece of an established one is just immense.
The Best Time to Start
For the highest chance of success with Fagus crenata, I always recommend working with softwood cuttings taken in late spring or early summer. Think late May or June. The plant is in full, vigorous growth at this time, and those young, flexible shoots have the best chance of developing roots. You’re looking for stems that have started to firm up a bit from their initial watery stage, but are still pliable.
Supplies You’ll Need
Gathering your tools beforehand makes the whole process so much smoother! Here’s what I usually have on hand:
- Sharp, clean pruning shears or a knife: Essential for making clean cuts.
- Rooting hormone powder or gel: This is a must-have for beech.
- A good-quality potting mix: I like a blend of peat moss, perlite, and a bit of sand for excellent drainage and aeration. You can also buy specialized seed-starting or cutting mixes.
- Small pots or propagation trays: With drainage holes, of course!
- A plastic bag or propagation dome: To create a humid environment.
- A spray bottle: For misting.
- A small trowel or dibber: For making planting holes.
- Labels and a marker: To keep track of your cuttings!
Propagation Methods
While Fagus crenata can be tricky, stem cuttings are generally your best bet for bringing a new tree into existence from an existing one.
Stem Cuttings:
- Take your cuttings: Using your clean shears, select healthy, non-flowering shoots from your Fagus crenata. Aim for pieces that are about 4-6 inches long. Make your cut just below a leaf node (where a leaf attaches to the stem).
- Prepare the cuttings: Gently remove the lower leaves, leaving just a few at the top. This helps the plant focus its energy on rooting, not leaf production. If the leaves are large, you can even cut them in half to reduce water loss.
- Apply rooting hormone: Dip the cut end of each cutting into rooting hormone. Tap off any excess. This stuff really gives the cuttings a boost.
- Pot them up: Make a hole in your potting mix with a dibber or trowel, then carefully insert the treated end of the cutting. Gently firm the soil around it. Don’t crowd them; give each cutting its space.
- Water gently: Water the soil thoroughly but gently, ensuring all the mix is moistened.
- Create humidity: Cover the pots with a plastic bag or propagation dome. Make sure the plastic doesn’t touch the leaves! You can use stakes to keep it tented. Place a light on top if you have one.
The “Secret Sauce” (Pro Tips)
Here are a couple of things I’ve learned over the years that really make a difference:
- Bottom Heat is Your Friend: If you have the means, placing your pots on a propagator heat mat will dramatically speed up root development. Beech cuttings are keen on a little warmth from below, encouraging root formation.
- Mist, Don’t Drench: Once you’ve got your cuttings covered, resist the urge to open them up and water them constantly. Instead, use your spray bottle to lightly mist the inside of the bag or dome every few days, or whenever you see condensation starting to disappear. This keeps the humidity high without waterlogging the stems, which is their biggest enemy.
- Patience, Patience, Patience: This is perhaps the most crucial tip. Fagus crenata can take a long time to root, sometimes months. Don’t despair if you don’t see progress immediately. Resist the urge to pull them up and check!
Aftercare & Troubleshooting
Once you start to see new leaf growth, that’s a great sign that roots are forming! Gently tug on a cutting. If you feel resistance, congratulations, it’s rooted!
- Acclimatize gradually: Once rooted, you’ll need to slowly harden them off. This means gradually exposing them to less humid conditions. Start by opening the bag for an hour or two each day.
- Smaller pots, happy roots: Once they have a decent root system, you can transplant them into slightly larger individual pots. Continue to keep them in a sheltered spot, out of direct sun, for their first season.
- Watch for rot: The most common sign of failure is stem rot. If your cuttings turn mushy and black, or develop fuzzy mold, it’s usually a sign of too much moisture and poor air circulation. If you see this, it’s often best to discard the affected cuttings to prevent spreading.
Taking cuttings can feel like a leap of faith sometimes. There will be times when they don’t make it, and that’s perfectly okay. Every gardener has had their share of failures! The joy is in the trying, in the learning, and in the hope that comes with each tiny shoot. So, grab those shears, get your hands in the soil, and enjoy the beautiful journey of bringing your own Fagus crenata to life! Happy gardening!
Resource:
https://identify.plantnet.org/k-world-flora/species/Fagus%20crenata%20Blume/data