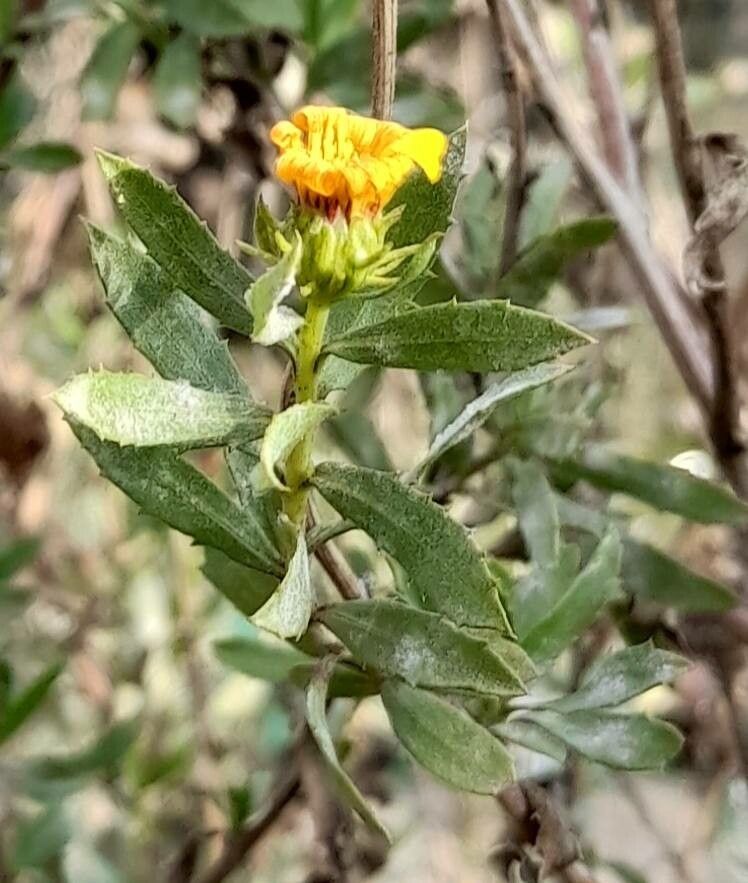
Grow Your Own Gumweed: A Gardener’s Guide to Propagating Grindelia pulchella
Hello there, fellow garden enthusiasts! It’s so lovely to have you join me. Today, we’re diving into the wonderfully utilitarian world of Grindelia pulchella, also known as California gumweed or prickly gumweed. I’ve always had a soft spot for this native beauty. It’s tough, drought-tolerant, and its bright yellow, daisy-like flowers are a beacon for pollinators well into the fall. Plus, there’s a certain satisfaction in multiplying the plants you love, don’t you agree? Propagating Grindelia pulchella is a very rewarding endeavor, and I’d say it’s quite beginner-friendly. With a little patience and a few key steps, you’ll be surrounded by this cheerful bloomer in no time.
When Should You Get Your Hands Dirty?
The sweet spot for propagating Grindelia pulchella is generally late spring to early summer. This is when the plant is actively growing and has plenty of energy to put into developing new roots. You’ll want to select new, non-woody growth. Think of it like taking cuttings from a young, vigorous shoot – it’s more adaptable and eager to establish itself.
Gearing Up for Success: Your Propagation Toolkit
To make this process as smooth as possible, gather these essentials:
- Clean, sharp pruning shears or a sharp knife: For making clean cuts.
- Rooting hormone (optional but recommended): This can give your cuttings a helpful boost. Look for one formulated for stem cuttings.
- Well-draining potting mix: A good blend of potting soil, perlite, and coarse sand works beautifully. You can also find specific seed-starting or succulent mixes.
- Small pots or seedling trays: Ensure they have drainage holes.
- Watering can with a fine rose or a spray bottle: For gentle watering.
- Plastic bags or a propagator lid: To create a humid environment.
- Labels and a permanent marker: To keep track of your efforts!
Bringing New Life: Propagation Methods
Grindelia pulchella is a plant that’s quite amenable to propagation from stem cuttings. This is my go-to method because it’s efficient and reliable.
- Select Your Cuttings: On a healthy Grindelia pulchella plant, look for stems that are about 4-6 inches long and have at least two sets of leaves. Gently snap or cut a stem just below a leaf node (where a leaf attaches to the stem). Remove the lower leaves, leaving just two to four at the top.
- Prepare the Cutting: If you’re using rooting hormone, gently dip the cut end of the stem into the powder or gel. Tap off any excess.
- Planting Your Cuttings: Fill your small pots or trays with your well-draining potting mix. Make a small hole in the center of each pot with your finger or a pencil. Carefully insert the bottom end of your cutting into the hole, ensuring at least one leaf node is below the soil surface. Gently firm the soil around the cutting.
- The Humidity Tent: Water the soil gently until it’s lightly moist. Then, cover the pots with a clear plastic bag or place them inside a propagator with a lid. This creates a humid microclimate, which is crucial for preventing the cuttings from drying out before they develop roots. Place them in a bright spot, but out of direct, scorching sunlight.
The “Secret Sauce”: My Insider Tips
You know, after years of tinkering in the garden, a few little tricks tend to stick. Here are a couple of things I’ve learned that really help with Grindelia pulchella:
- Don’t Drown Your Dreams: When you water after planting, be gentle. You want the soil moist, not waterlogged. Overwatering is the quickest way to invite rot. I often mist my cuttings with a spray bottle for the first week or two, and only water from the bottom if they look dry.
- The Gentle Nudge: If you used a rooting hormone that’s a powder, sometimes I will lightly mist the end of the cutting right before dipping it in the hormone. This helps the powder adhere a bit better. It’s a small thing, but I’ve noticed a little difference.
Nurturing Your New Sprouts: Aftercare and When Things Go Wrong
Once your cuttings have rooted – you’ll know when you see new growth or feel a slight resistance when you gently tug on the stem – it’s time to treat them like the precious babies they are!
Aftercare:
- Acclimatization: Gradually remove the plastic bag or propagator lid over a few days. This helps the young plants adjust to the regular humidity.
- Watering: Continue to water when the top inch of soil feels dry.
- Light: Keep them in bright, indirect light. As they get stronger, you can slowly introduce them to more direct sunlight.
- Potting Up: Once they have a good root system and are showing sturdy growth, you can carefully transplant them into slightly larger pots.
Troubleshooting:
The most common issue you’ll face is rot. If a cutting turns black or mushy at the base, or the leaves start to wilt and turn yellow despite being watered, it’s likely rot. This usually means the conditions were too wet. Move the pot to a brighter, slightly warmer spot, and reduce watering. Sometimes, you can salvage a cutting by re-cutting the stem above the rotted section, but often, it’s best to start fresh.
Happy Planting!
There you have it! Propagating Grindelia pulchella is a wonderfully accessible way to expand your garden and share the joy of this resilient native. Don’t be discouraged if your first few attempts aren’t perfect – the garden is always teaching us. Be patient, observe your cuttings, and most importantly, enjoy the process of nurturing new life. Happy gardening!
Resource:
https://identify.plantnet.org/k-world-flora/species/Grindelia%20pulchella%20Dunal/data